ActivityHD includes numerous reports designed using Crystal Reports. You can use built-in reports as is, you can modify them to suit your specific needs, or you can design your own custom reports.
A "Word" report design type was introduced in ActivityHD 8.19-0. Microsoft Word, a document editing platform familiar to most users, can be used to create custom report designs. See the section below labeled "Microsoft Word report designs" for instructions specific to creating and using Word report designs.
Report designs are managed from the Output tabs of the report wizards.
Crystal report designs
Add a Crystal Reports design
- Start the report wizard for the report you want to add a design for.
- Select the Output tab.
- Click
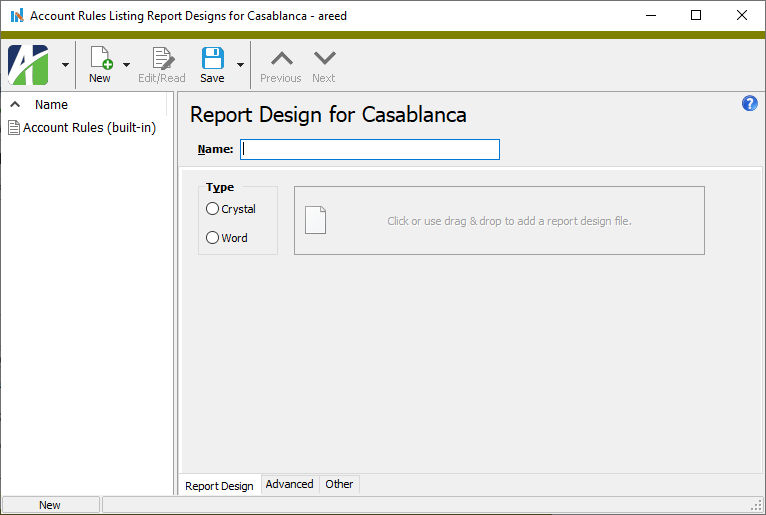
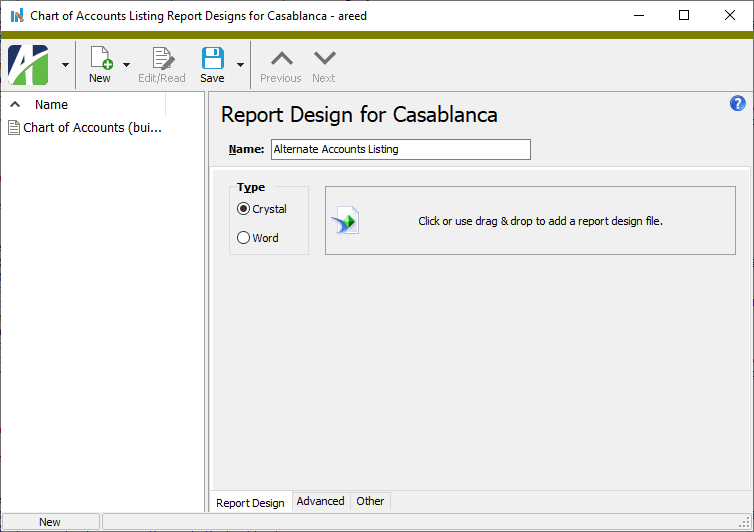
 . The Report Designs dialog box opens.
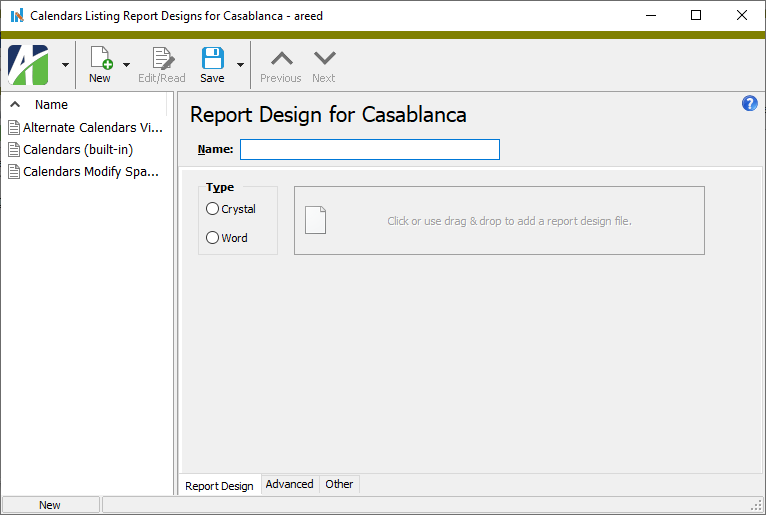
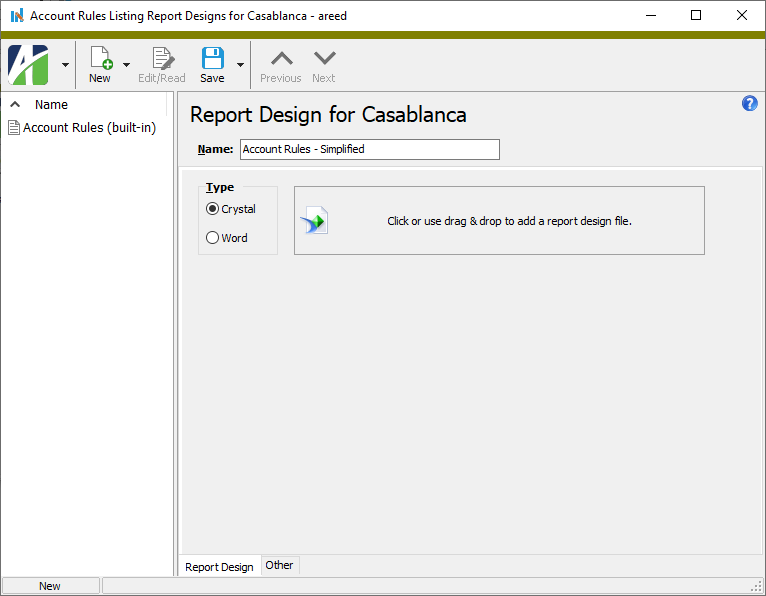
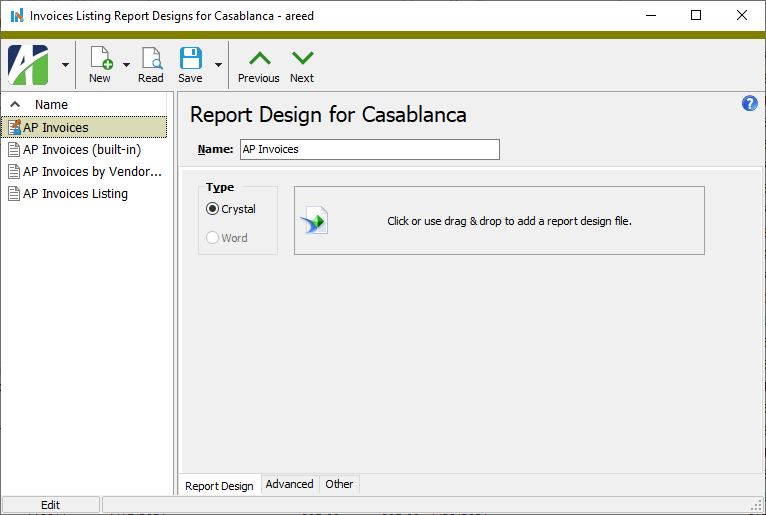
- Enter a Name for the report design you are adding.
- In the Type field, select "Crystal".
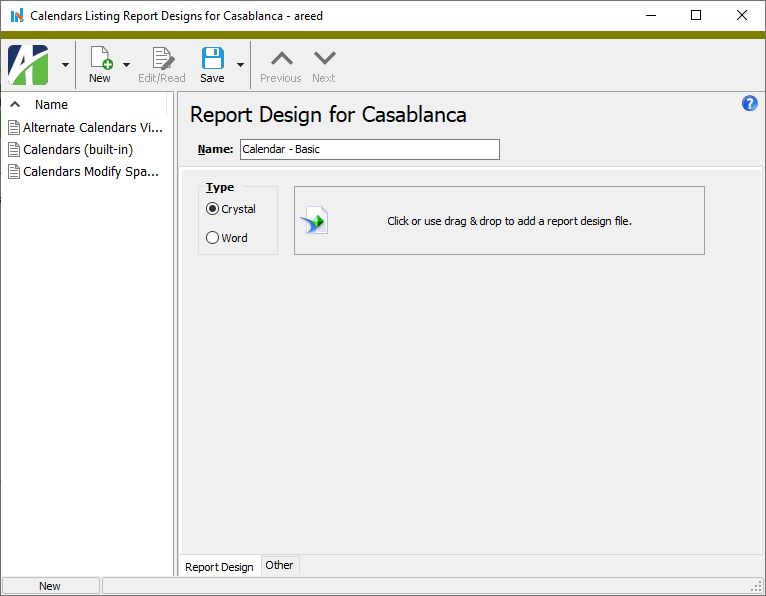
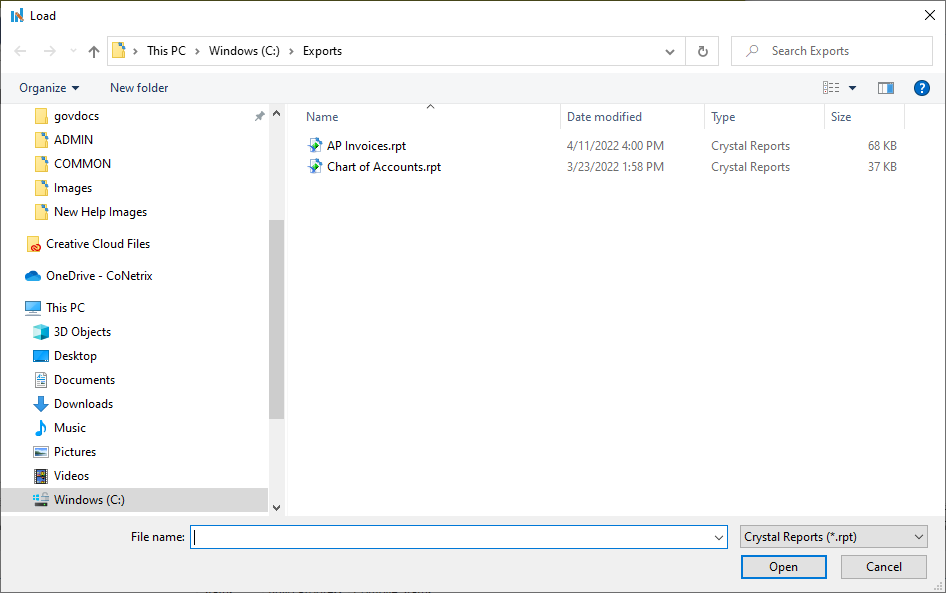
- Click in the region to the right of the Type field to open the Load dialog box.
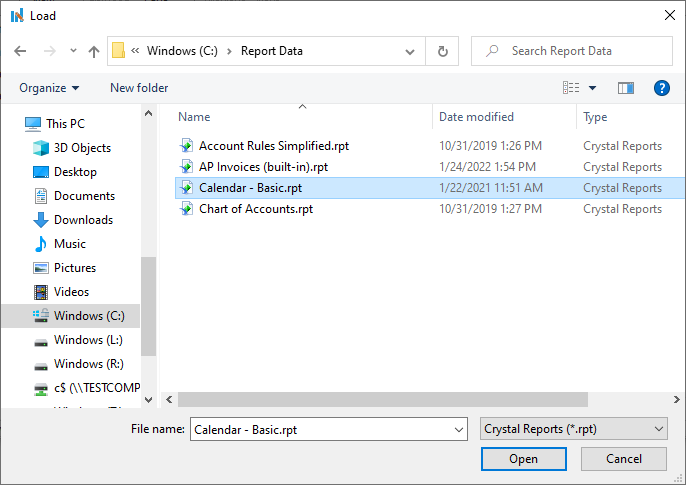
- Navigate to the folder where the report design is stored and click on the file name to select it.
- Click Open.
- Click Save to load the new design in the Report Design list box.

Note
After a report design is named and saved, it becomes available for use in saved answers.
![]() Add a Crystal Reports design by dragging and dropping
Add a Crystal Reports design by dragging and dropping
Add a Crystal Reports design by dragging and dropping
- Start the report wizard for the report you want to add a design for.
- Select the Output tab.
- Click . The Report Designs dialog box opens.
- Enter a Name for the report design you are adding.
- In the Type field, select "Crystal".
- Open File Explorer and navigate to the folder that contains the report design you need to add.
- In File Explorer, click on the file name, drag the file to the area labeled "Click or use drag & drop to add a report design file" in the Report Designs dialog box, and release the mouse button.
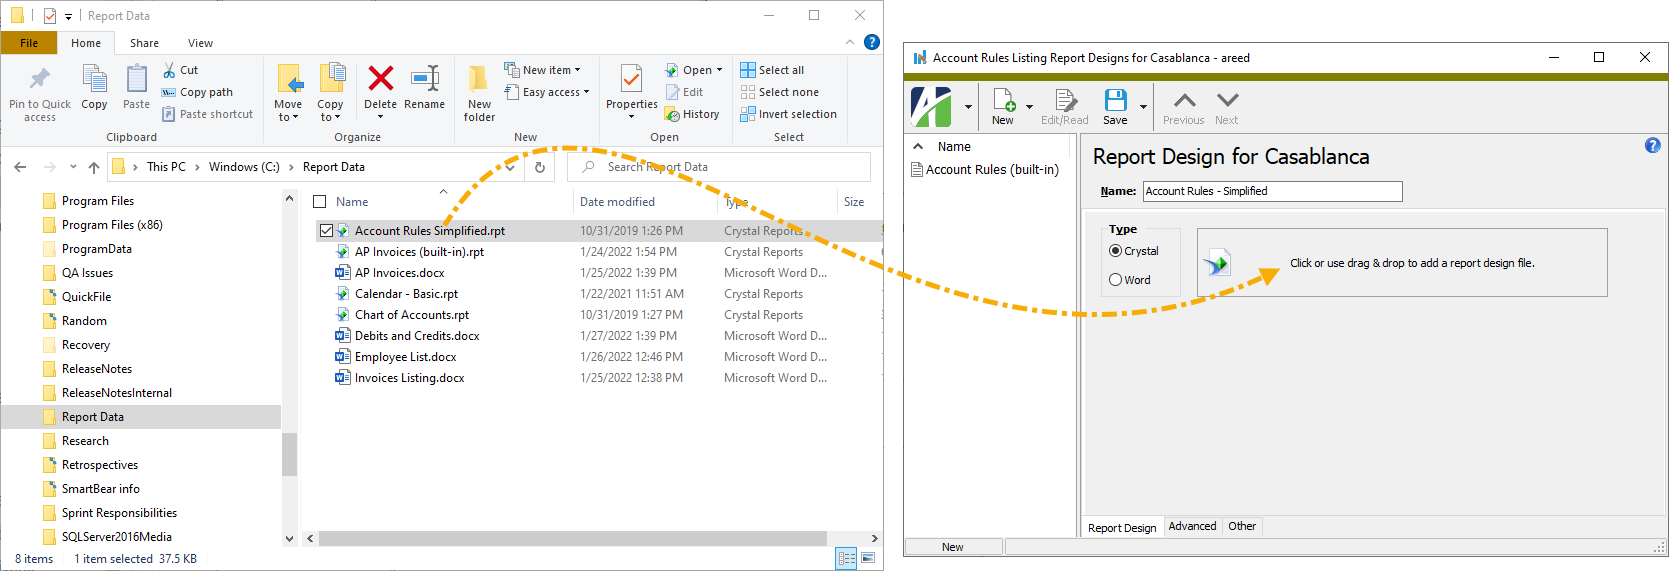
- Click Save to load the new design in the Report Design list box.

Note
After a report design is named and saved, it becomes available for use in saved answers.
![]() Save a Crystal Reports design to a file
Save a Crystal Reports design to a file
Save a Crystal Reports design to a file
- Start the report wizard for the report with the report design you want to save to a file.
- Select the Output tab.
- Click . The Report Designs dialog box opens.
- In the Report Design list box, highlight the report design to save to a file.
- Select
 > Tools > Save Design to File. The Save As dialog box opens.
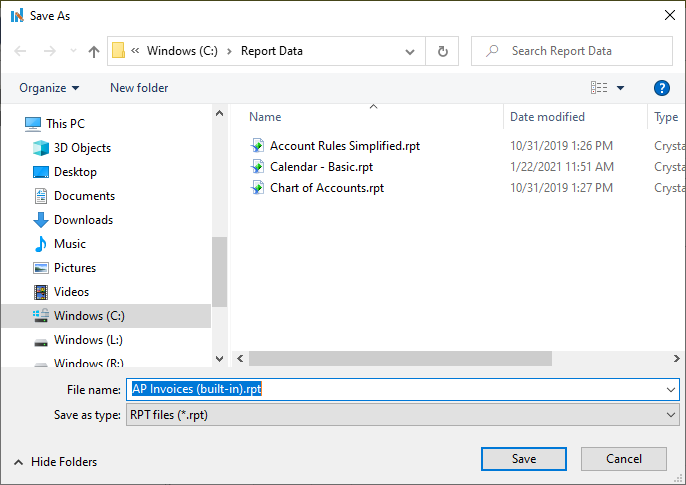
- Navigate to the folder where you want to save the file.
- In the File name field, enter a name for the report design file. (The file extension will be .rpt.)
- Click Save. ActivityHD saves the file to the designated location.
![]() Load a Crystal Reports design from a file
Load a Crystal Reports design from a file
Load a Crystal Reports design from a file
- Start the report wizard for the report associated with the report design you want to load from a file.
- Select the Output tab.
- Click . The Report Designs dialog box opens.

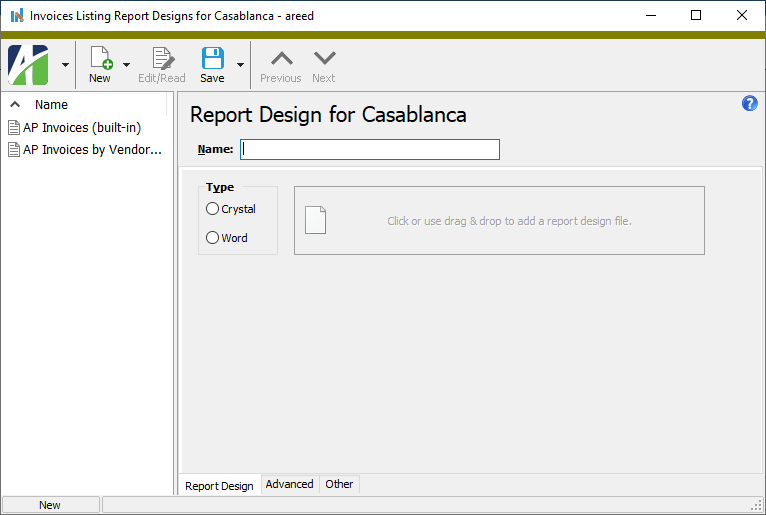
- In the Name field, enter a name for the report design you are loading.
- In the Type field, select "Crystal".
- Select > Tools > Load Design from File. The Load dialog box opens.
- Navigate to and select the report design file to load.
- Click Open.
- Save your changes.
![]() Export a Crystal Reports design's XML schema
Export a Crystal Reports design's XML schema
Export a Crystal Reports design's XML schema
- Start the report wizard for the report with the XML schema you want to export.
- Select the Output tab.
- Click . The Report Designs dialog box opens.
- In the Report Design list box, highlight the report design to export the XML schema for.
- Select > Tools > Export XML Schema File. The Save As dialog box opens.
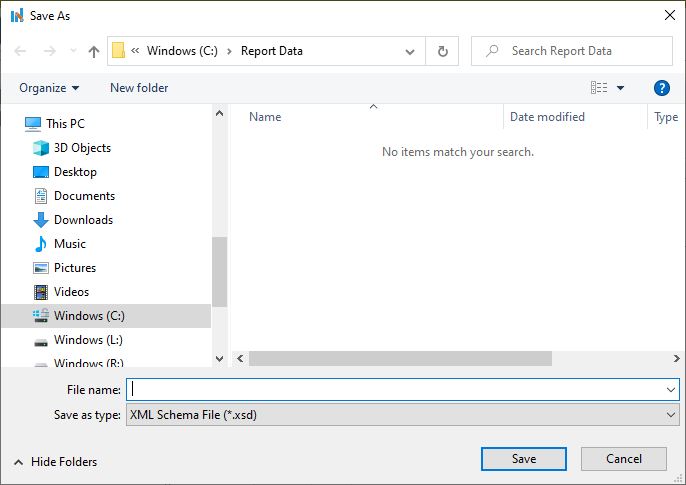
- Navigate to the folder where you want to save the XML schema.
- In the File name field, enter a name for the XML schema. (The file extension will be .xsd.)
- Click Save. ActivityHD saves the XML schema to the designated location.
Note
If the report you are exporting has one or more subreports, you will be prompted to save each subreport individually.
![]() Delete a Crystal Reports design
Delete a Crystal Reports design
Delete a Crystal Reports design
- Start the report wizard for the report that has the design you want to delete.
- Select the Output tab.
- Click . The Report Designs dialog box opens.
- In the Report Design list box, highlight the report design to delete.

- Select > Edit > Delete. ActivityHD prompts you to confirm that you want to delete the design.
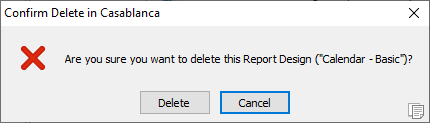
- Click Delete.
![]() Update an out-of-date custom Crystal Reports design
Update an out-of-date custom Crystal Reports design
Update an out-of-date custom Crystal Reports design
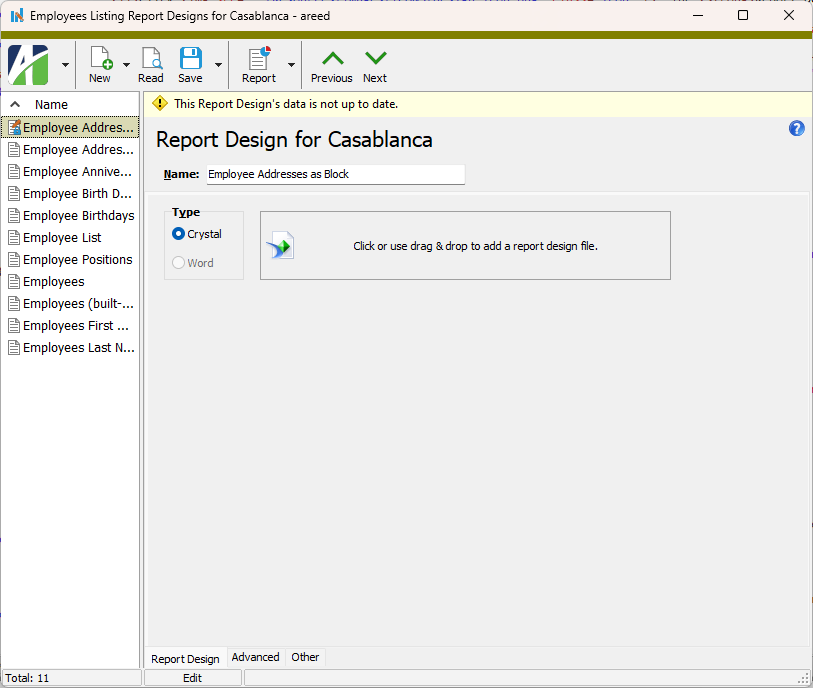
Occasionally, changes to the software can render some custom report designs "out-of-date". When this occurs, you will see a banner advising you of the circumstances in the Report Designs window. Contact AccountingWare Support for an updated report design.
To update a custom report design:
- Start the report wizard for the report that has the custom design you need to update.
- Select the Output tab.
- At the end of the Design field, click . The Report Design window for the report opens.

- In the list box on the left, locate and highlight the out-of-date custom report.
- From the menu, select > Edit > Delete. You are prompted to confirm that you want to delete the report design.
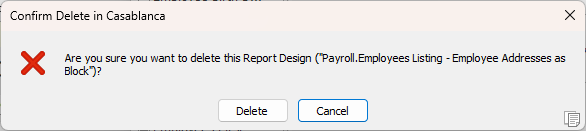
- Click Delete. The report design is removed from the list box.
- Next, from the menu, select > Tools > Import. The Import Report Design dialog opens.
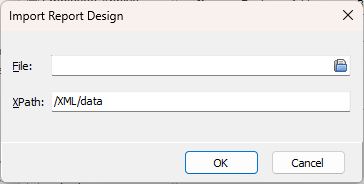
- In the File field, click
 . The Browse dialog opens.
 - Browse to the location where the updated report design is saved and select it.
- Click Open. The path and file name of the selected report design load in the File field.
- Click OK. You are prompted to confirm that you want to import the report design.
- Click Yes. The report design is imported into the Report Designs window, its name is available in the list box, and the report design is ready for use.
Microsoft Word report designs
Important!
Every time you update a report design in Word, you must reload the report design in ActivityHD.
Add a Word report design
- Start the report wizard for the report you want to add a design for.
- Select the Output tab.
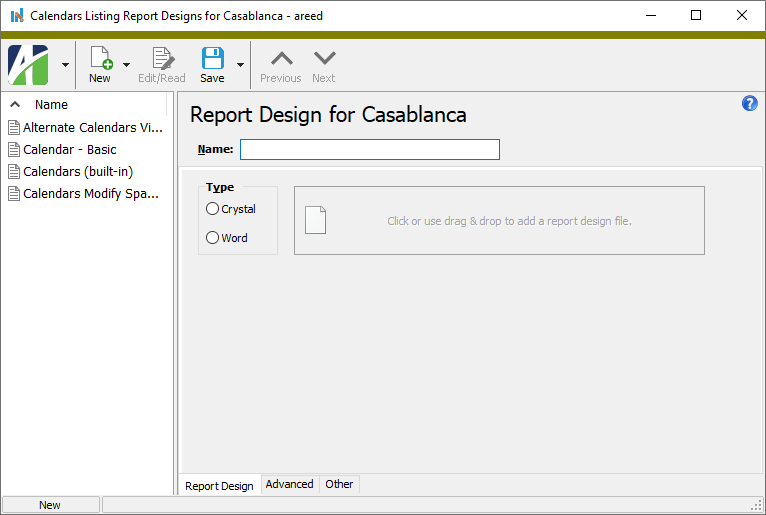
- Click . The Report Designs dialog box opens.
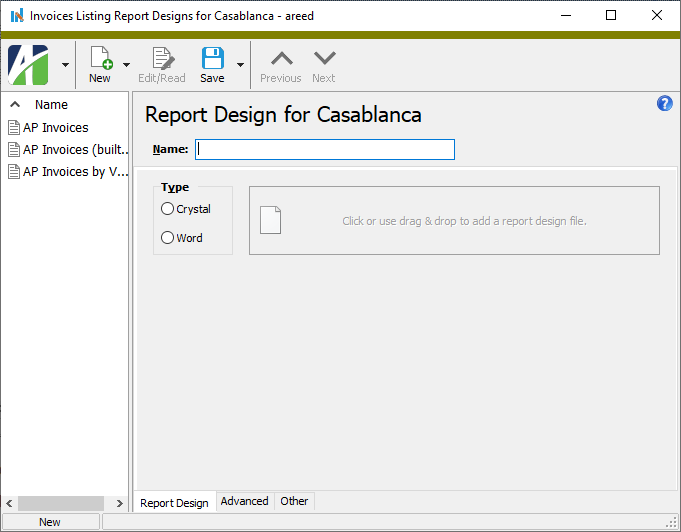
- Enter a Name for the report design you are adding.
- In the Type field, select "Word".
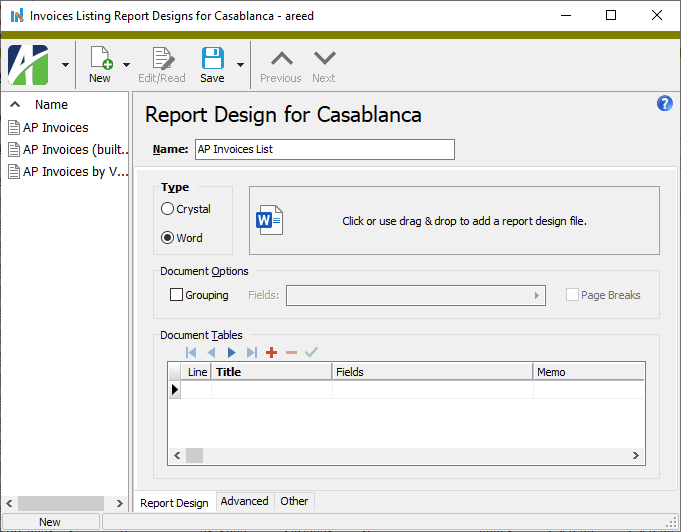
- Click in the region to the right of the Type field to open the Load dialog box.
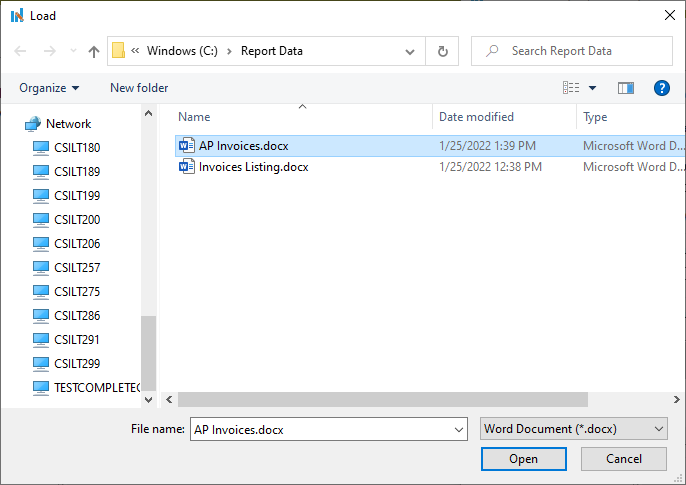
- Navigate to the folder where the report design is stored and click on the file name to select it.
- Click Open.
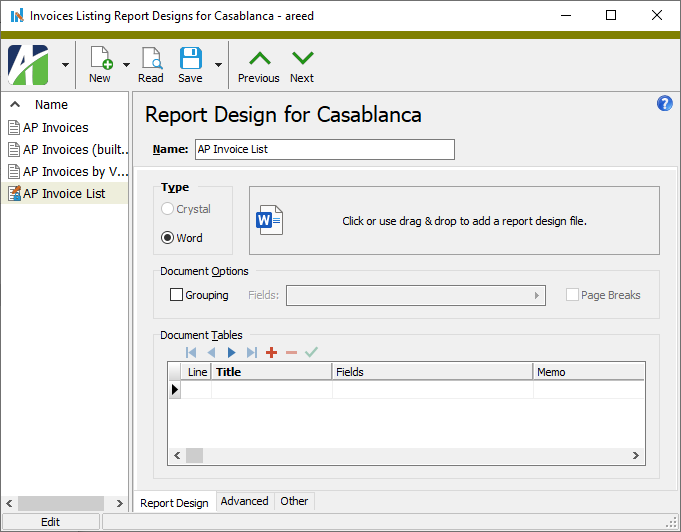
- Click Save to load the new design in the Report Design list box.

Note
After a report design is named and saved, it becomes available for use in saved answers.
![]() Add a Word report design by dragging and dropping
Add a Word report design by dragging and dropping
Add a Word report design by dragging and dropping
- Start the report wizard for the report you want to add a design for.
- Select the Output tab.
- Click . The Report Designs dialog box opens.
- Enter a Name for the report design you are adding.
- In the Type field, select "Word".
- Open File Explorer and navigate to the folder that contains the report design you need to add.
- In File Explorer, click on the file name, drag the file to the area labeled "Click or use drag & drop to add a report design file" in the Report Designs dialog box, and release the mouse button.

- Click Save to load the new design in the Report Design list box.
Note
After a report design is named and saved, it becomes available for use in saved answers.
![]() Add a content control to a Word design
Add a content control to a Word design
Add a content control to a Word design
Content controls are the conduit for adding data from ActivityHD to your Word report designs. The instructions below explain how to add a single content control to a Word document. You can build upon this knowledge to add numerous fields and even data tables to your designs.
ActivityHD currently supports three content control types: rich text  , plain text
  , and check box
  . You can access the content controls from the Controls section of the Developer tab.
To insert a content control:
- Open a blank Word document.
- Save the document in a convenient location with a descriptive name.
- Associate the Word document with a document design by following either the "Add a Word report design" procedure or the "Add a Word report design by dragging and dropping" procedure above. Leave the Report Design dialog open.
- In Word, if the Developer tab is not visible, enable it.
 Expand this link to learn how.
- Select the File tab.
- In the navigation area, click Options. The Word Options dialog opens.

- Select the Customize Ribbon tab.
- In the Customize the Ribbon field, ensure "Main Tabs" or "All Tabs" is selected.
- In the list box below the field, scroll to find the "Developer" option.
- Mark the "Developer" checkbox.
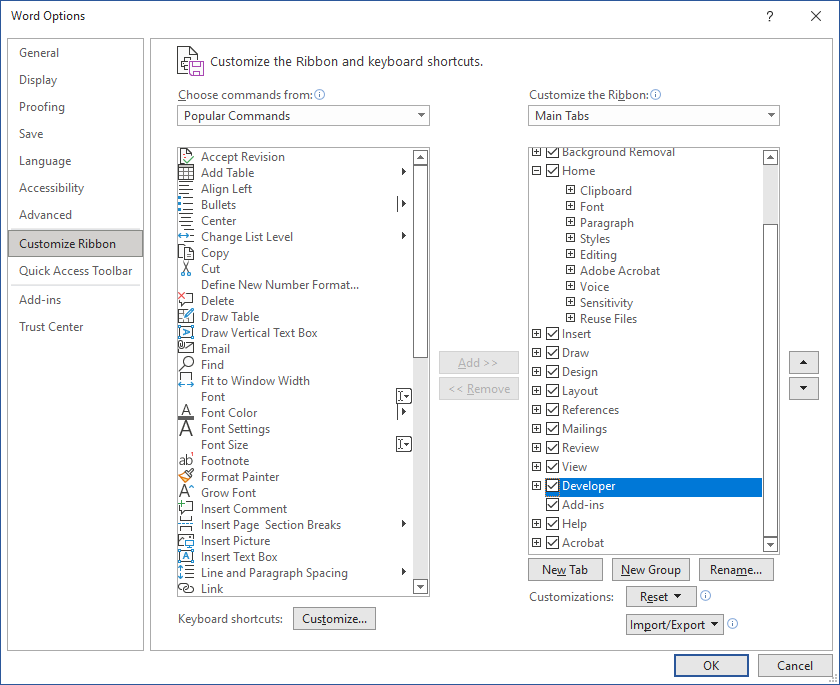
- Click OK to close the dialog. The Developer tab is added to the ribbon.

- Select the Developer tab.
- In the Word document, locate the cursor at the position in the document where you want to insert the content control.
- Click the icon for the content control you want to insert in the document. For illustration, this procedure will use a rich text control. A placeholder is inserted in the document.

-
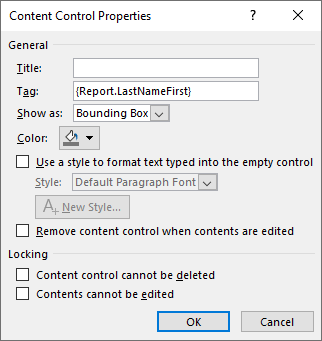
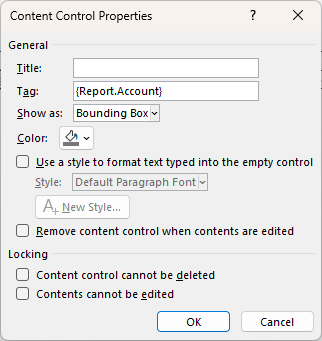
With the content control selected, click Properties in the Controls section of the Developer tab. The Content Control Properties dialog box opens.
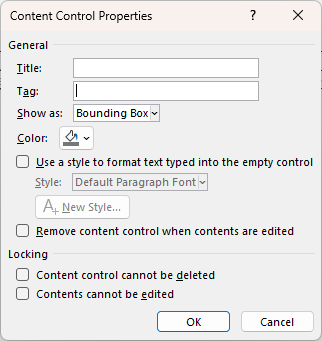
While all other fields in the dialog are optional, an entry is required in the Tag field in order to link the content control in Word with the data in ActivityHD. In the next few steps, we'll learn how to determine what to enter in the Tag field.
- Return to the Report Design dialog in ActivityHD, ensuring that the report design you added in step 3 is selected in the Name list.
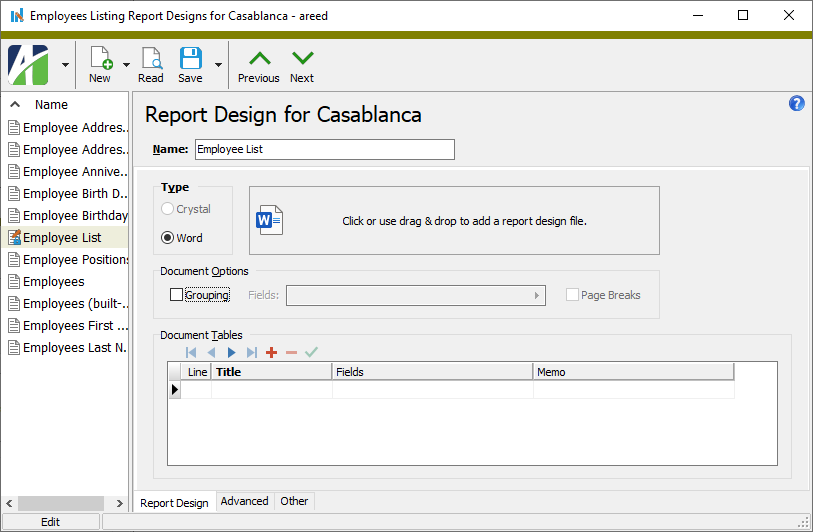
- In the Document Tables table, give focus to the Fields cell in the first row and press F2. The Report Fields list box opens.

- From the dropdown, select "Word Content Control Tags".
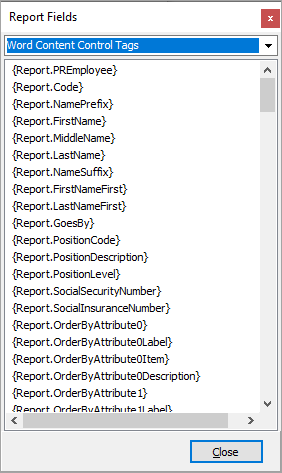
- Browse the list to locate the tag that represents the information you want to load in the content control and highlight it. For this illustration, we'll highlight "{Report.LastNameFirst}".
- With the tag highlighted, press Ctrl+C to copy the tag.
- Back in Word in the Content Control Properties dialog, paste (Ctrl+V) the tag in the Tag field.
- Click OK.
- Save and close the Word document.
- Back in the Report Design dialog, click and browse or drag and drop to update the association between the Word document and ActivityHD.
- For the illustration, we'll mark the Grouping checkbox.
- Save the report design.
- Dismiss the Report Design dialog to return to the report wizard.
- On the Output tab in the Design field, select the report design just created.
- In the menu, select Preview > Preview to PDF.

![]() Add a table with content controls to a Word design
Add a table with content controls to a Word design
Add a table with content controls to a Word design
- Open a blank Word document.
- Save the document in a convenient location with a descriptive name.
- Associate the Word document with a document design by following either the "Add a Word report design" procedure or the "Add a Word report design by dragging and dropping" procedure above. Leave the Report Design dialog open.
- In Word, if the Developer tab is not visible, enable it. Expand this link to learn how.
- Select the File tab.
- In the navigation area, click Options. The Word Options dialog opens.
- Select the Customize Ribbon tab.
- In the Customize the Ribbon field, ensure "Main Tabs" or "All Tabs" is selected.
- In the list box below the field, scroll to find the "Developer" option.
- Mark the "Developer" checkbox.
- Click OK to close the dialog. The Developer tab is added to the ribbon.
- In the Word document, locate the cursor at the position in the document where you want to insert the table.
- Select the Insert tab.
-
Click Table and move the cursor over the grid until you highlight the number of rows and columns you want.
If you want to include headings in the table, be sure to include one row for headings and one row for the data template. ActivityHD always expects the data template for a table to appear in the last row of the table.
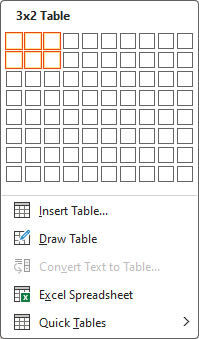
- Once you reach the rightmost and bottommost box of your selection, click to add the table to the document.
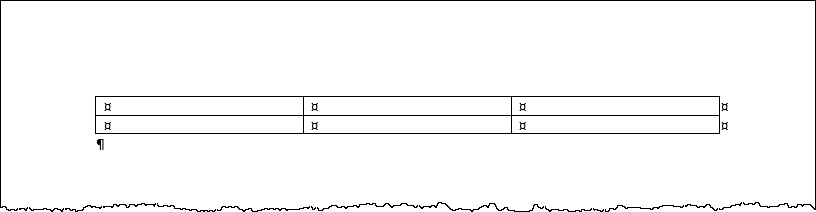
- Hover over the table until the table selector is visible, then right-click and select Table Properties from the context menu. The Table Properties dialog box opens.
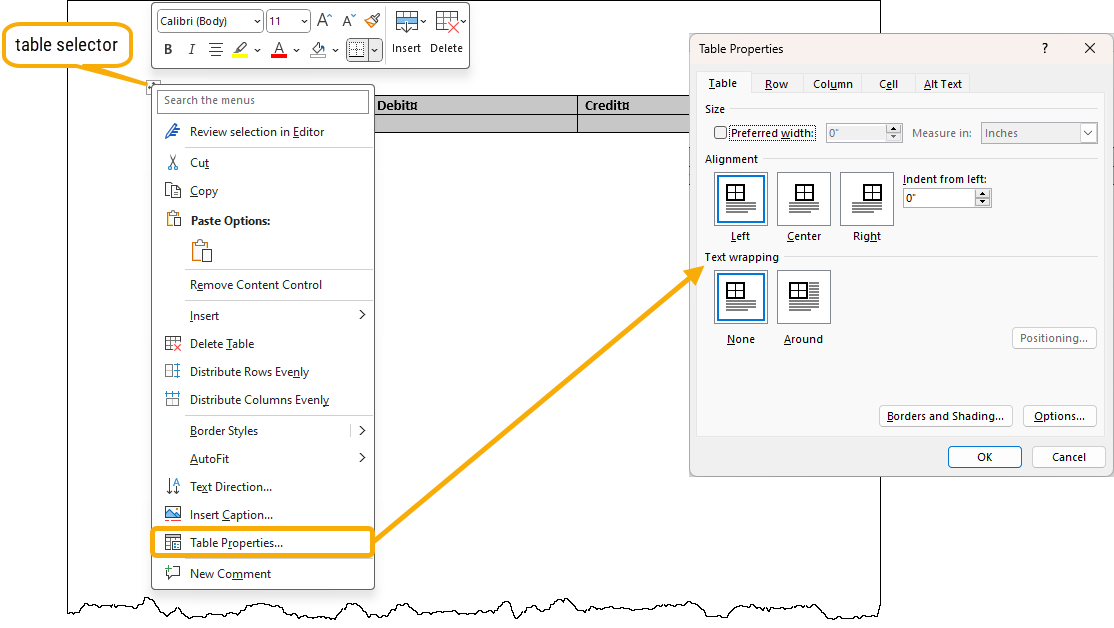
- Select the Alt Text tab.
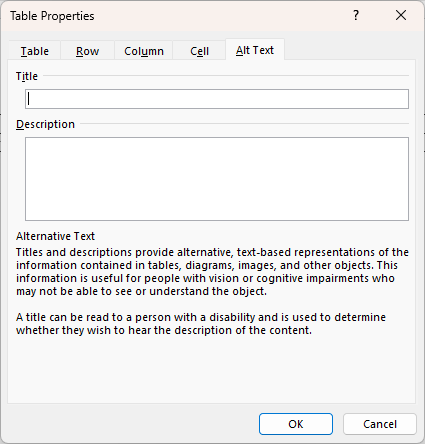
- In the Title field, enter a name for the table. Remember the name; you will enter it in the ActivityHD Report Design window to associate the table with the design.
- Click OK.
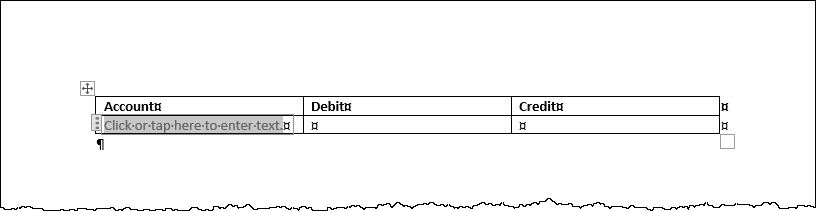
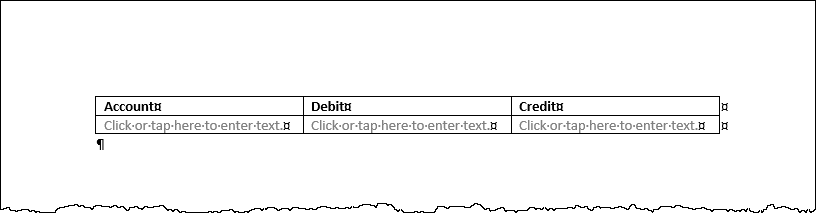
- In the top row of the table, enter and format headings as desired.

- Select the Developer tab.
- In the table, locate the cursor in the cell where you want to insert a content control.
- Click the icon for the content control you want to insert into the table. For illustration, this procedure will use rich text controls. A placeholder is inserted in the table cell.
-
With the content control selected, click Properties in the Controls section of the Developer tab. The Content Control Properties dialog box opens.
While all other fields in the dialog are optional, an entry is required in the Tag field in order to link the content control in Word with the data in ActivityHD. In the next few steps, we'll learn how to determine what to enter in the Tag field.
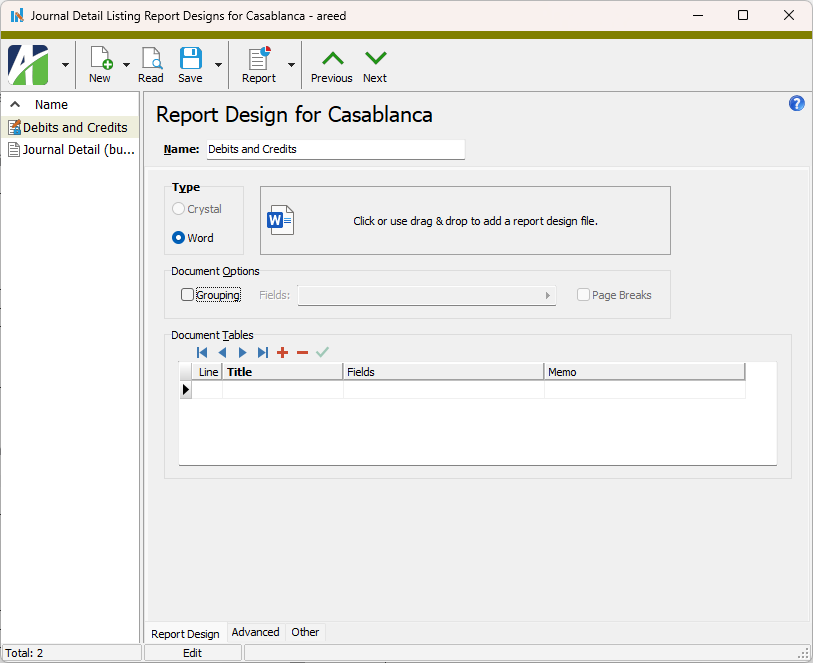
- Return to the Report Design dialog in ActivityHD, ensuring that the report design you added in step 3 is selected in the Name list.
- In the Document Tables table, give focus to the Fields cell in the first row and press F2. The Report Fields list box opens.
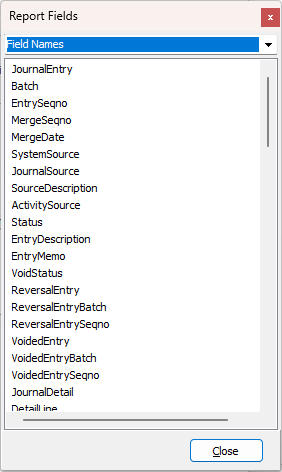
- From the dropdown, select "Word Content Control Tags".
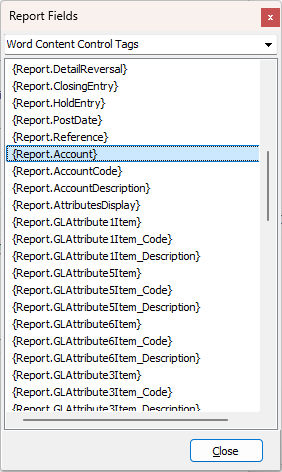
- Browse the list to locate the tag that represents the information you want to load in the content control and highlight it. For this illustration, we'll highlight "{Report.Account}".
- With the tag highlighted, press Ctrl+C to copy the tag.
- Back in Word in the Content Control Properties dialog, paste (Ctrl+V) the tag in the Tag field.
- Click OK.
- Repeat steps 15-24 for each content control you need to add to the table.
- Save and close the Word document.
- Back in the Report Design dialog, click and browse or drag and drop to update the association between the Word document and ActivityHD.
- For the illustration, we'll mark the Grouping checkbox.
- When you mark the Grouping checkbox, the Fields field is enabled. Press F2 to use the Report Fields list box to select and copy the fields to group the report data by. A separate document is created for each change in the selected fields. You can use Ctrl and/or Shift selection to select multiple fields.
- Paste your selection(s) in the Fields field. For this illustration, we'll group by "JournalEntry".
- In the Document Tables table in the Title column, enter the name you assigned to the Word table in step 11.
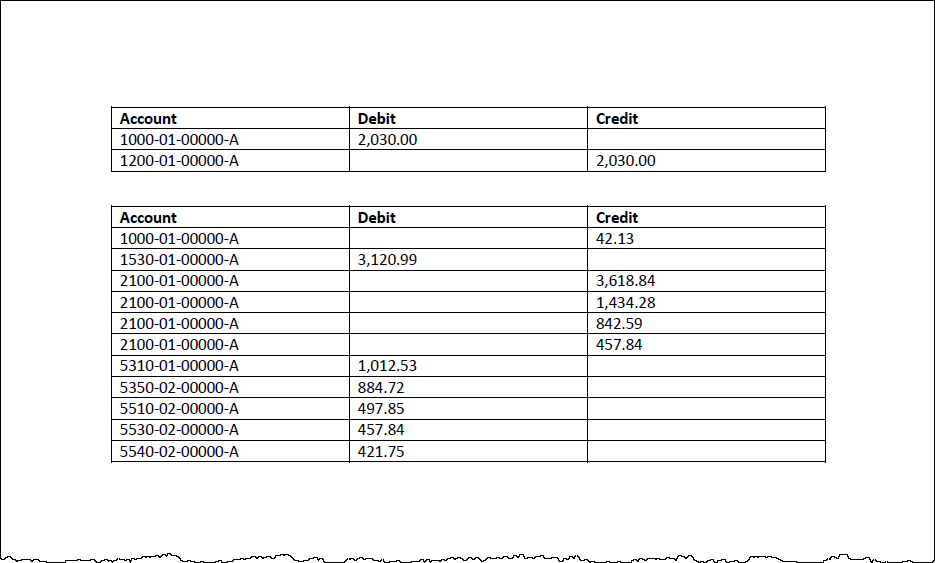
- In the Fields column, press F2 to use the Report Fields list box to select and copy the fields to group the table data by. One row is created in the table each time the selected fields change. You can use Ctrl and/or Shift selection to select multiple fields. For this illustration, we'll select "JournalDetail".
- Paste your selection(s) in the Fields column.

- Save the report design.
- Dismiss the Report Design dialog to return to the report wizard.
- On the Output tab in the Design field, select the report design just created.
- In the menu, select Preview > Preview to PDF.
Report data
In the past, the data available to a report was limited to the data that AccountingWare's developers made available. If there was enough clamor for more data, occasionally developers would provide an "extended view" with additional data for custom reporting. With ActivityHD 8.21-0 and the introduction of data sources and data extensions, users can define for themselves the data that is available to a report (within reason, of course). For example, you can use the data extension feature to provide fields from the vendor record, including custom fields, to AP invoice printing.
![]() Add a data extension to a report design
Add a data extension to a report design
Add a data extension to a report design
- Start the report wizard of the report for which you want to augment the data.
- If you have not already added a report design for the report you want to create, do so. You cannot directly add an extension to a built-in report. If you want to use a built-in report as the basis for a report design, you can save it with a new name.
-
In the left-hand pane of the Report Designs window, highlight the report for which to extend the data.
-
Select the Advanced tab.
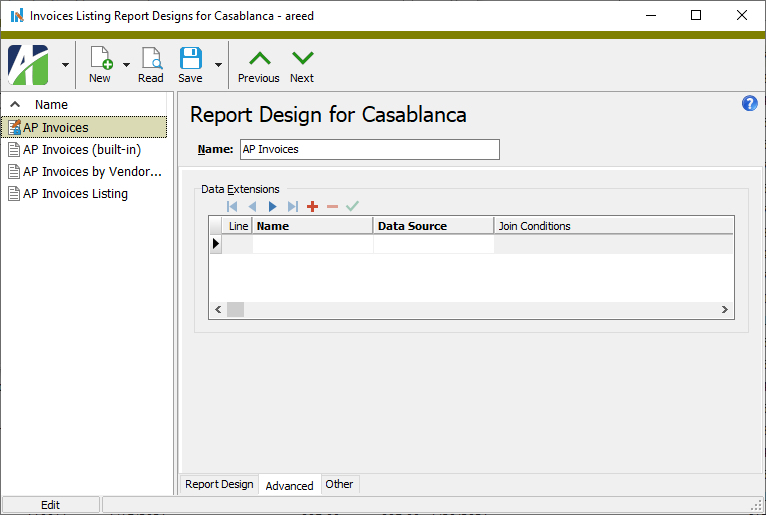
- In the Name column of the Data Extensions table, select the extension name from the drop-down list of available extensions. The extensions available depend on the report you are extending. Notice that the join conditions for the extension load in the Join Conditions column.
- In the Data Source column, select the data source for the report design.
- Save your changes.
Once the extended data is available, you can create new or modify existing report designs to take advantage of the additional available data.
|
5225 S Loop 289, #207 Lubbock, TX 79424 806.687.8500 | 800.354.7152 |
© 2025 AccountingWare, LLC All rights reserved. |