The Self-Serve web portal allows users to view documents and perform actions over the Internet or a corporate intranet. ActivityHD currently supports Self-Serve functions for Accounts Payable, Payroll, and Purchasing.
This article covers day-to-day use of the Self-Serve website. For information on how to deploy a Self-Serve web portal, consult this article.
Your options to access Self-Serve depend on your company's configuration. If you do not have access but need access to your company's web portal, contact your supervisor or system administrator.
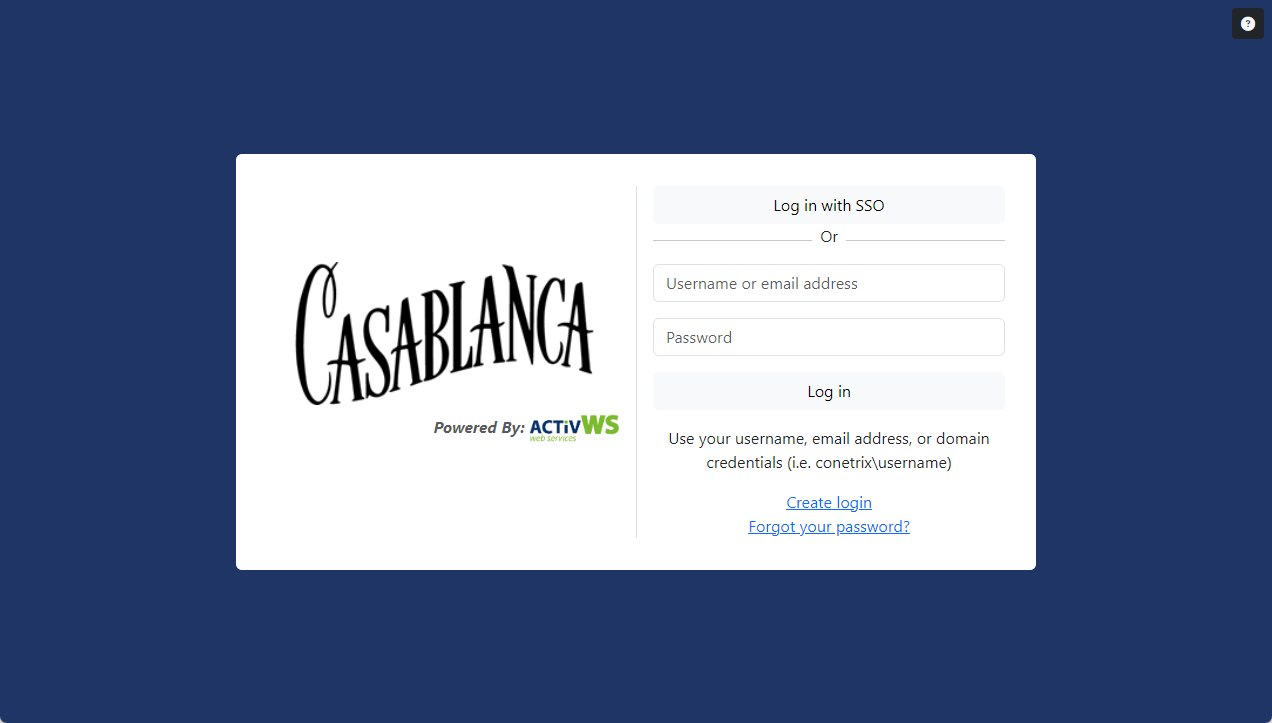
If your Self-Serve site is configured to use Single Sign-on (SSO), you must use SSO to log in; otherwise, provide a username, email address, or domain credentials and the corresponding password to log in.
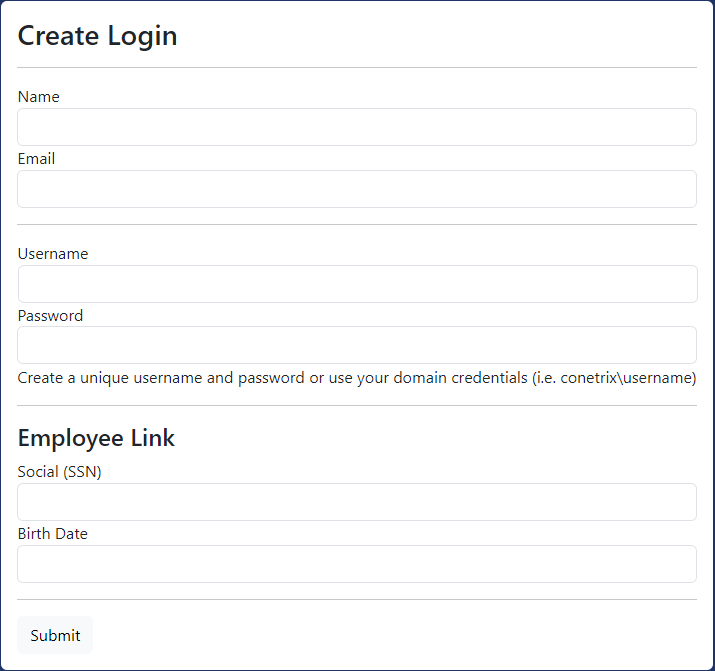
To create a web only login, you must provide your social security number (SSN) or social insurance number (SIN) and birth date in order to establish a match with your Payroll employee record.
In your browser address bar, enter the URL for your Self-Serve website and press Enter. The Self-Serve login screen loads.
Click Create login. The Create Login form opens.
Enter your Name and Email.
Enter a Username. The username must be unique among Self-Serve users.
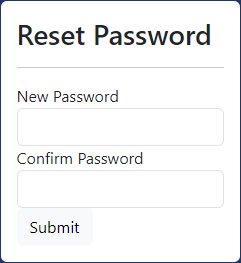
Enter a Password.
Enter your social security number in the Social field.
Enter your Birth Date.
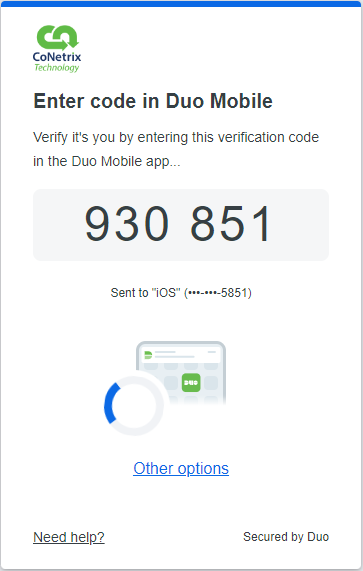
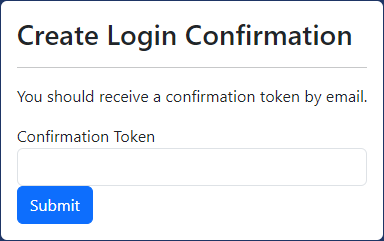
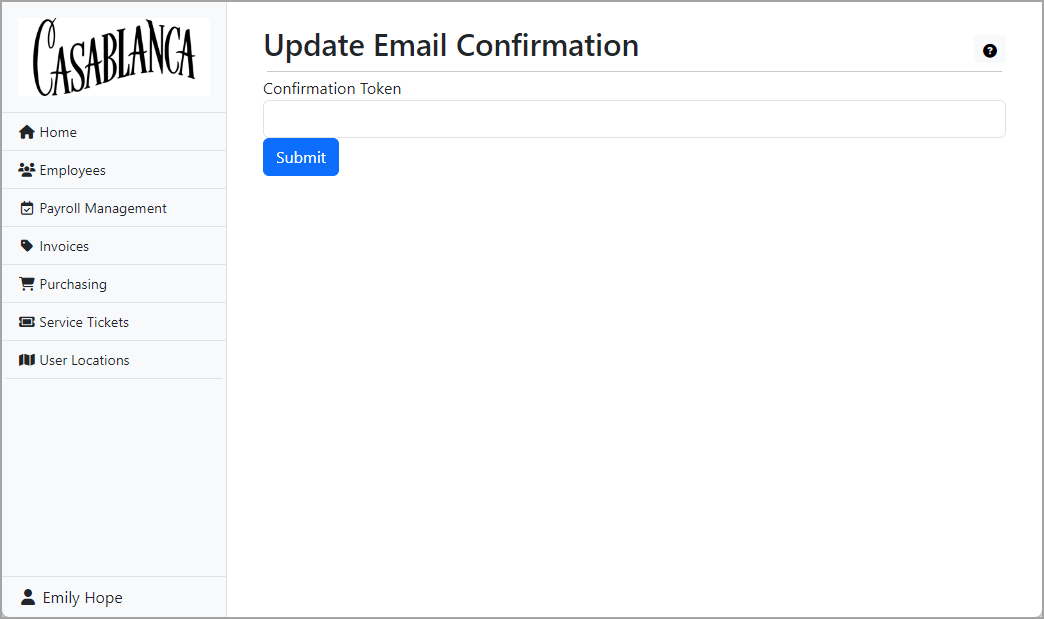
Click Submit. You are prompted to provide a confirmation token.
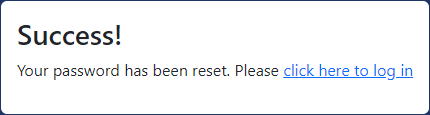
Check your email to retrieve the token, then enter it in the Create Login Confirmation form.
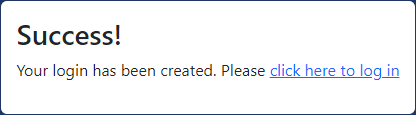
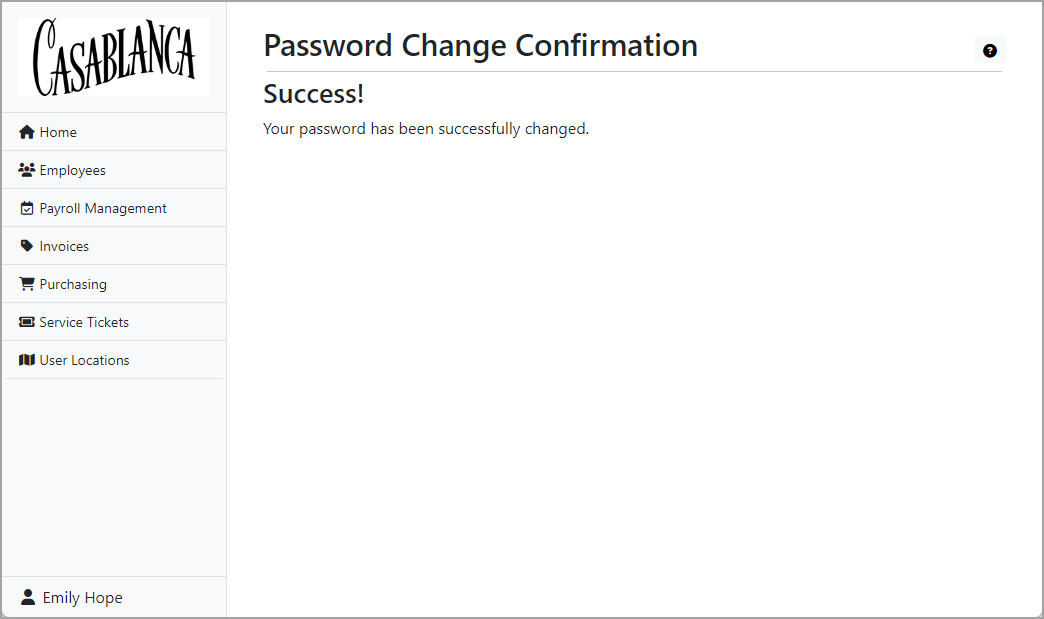
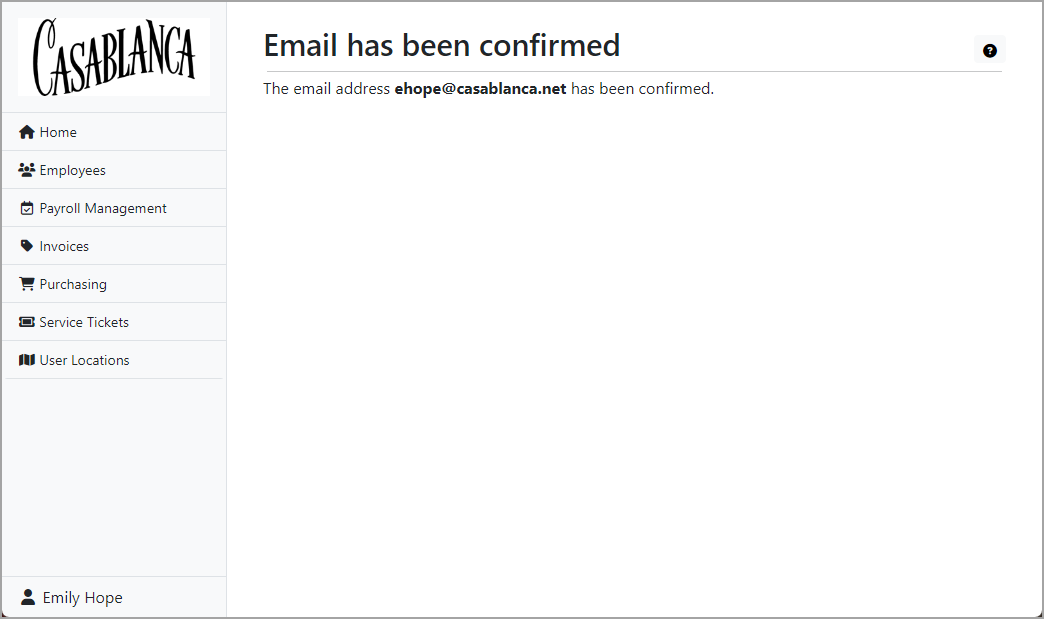
Click Submit. If your efforts were successful, Self-Serve apprises you:
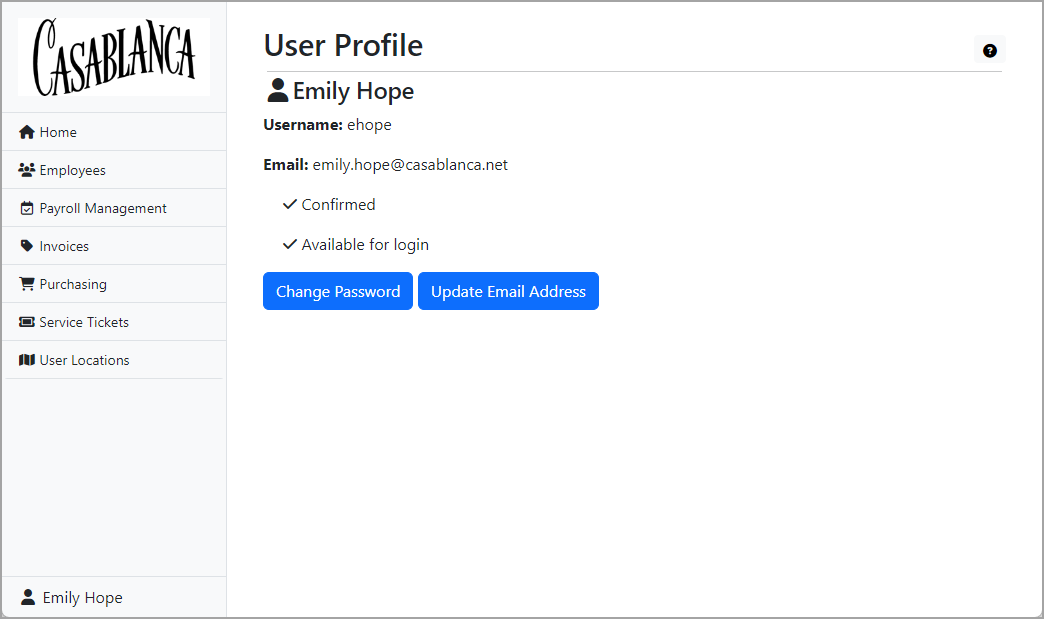
The User Profile page shows, at a minimum, your name, your username, and your email address. If your email address has been confirmed, that is indicated. The page also indicates whether your email address can be used for login.
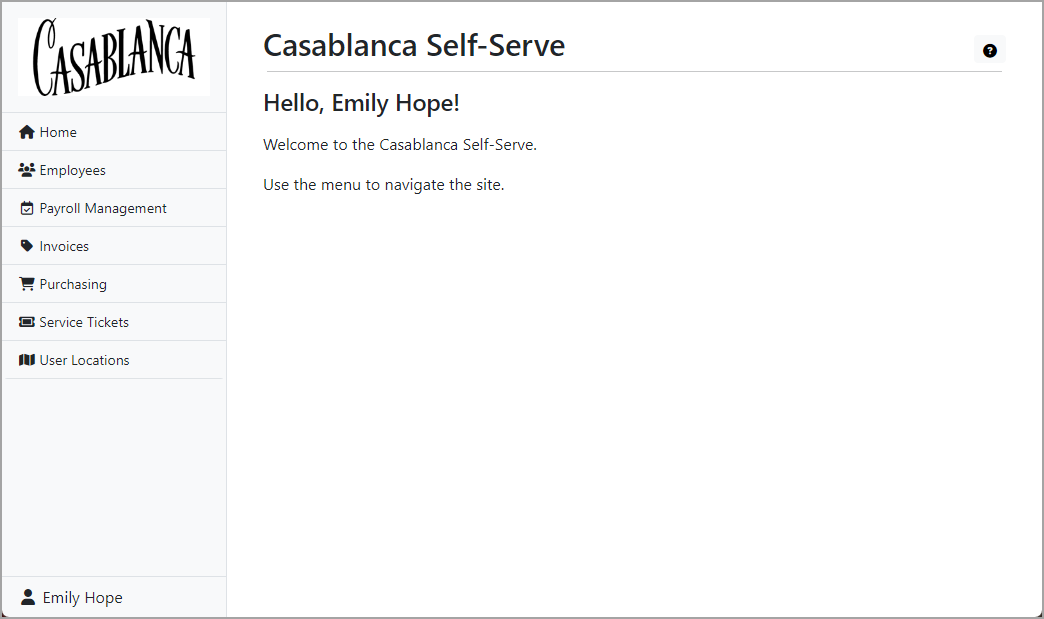
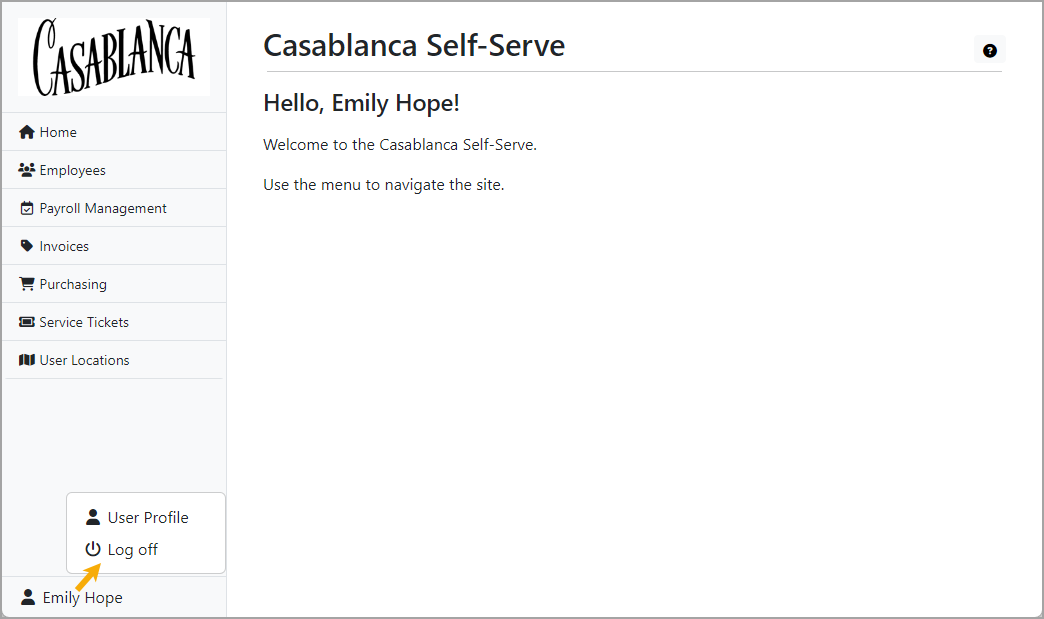
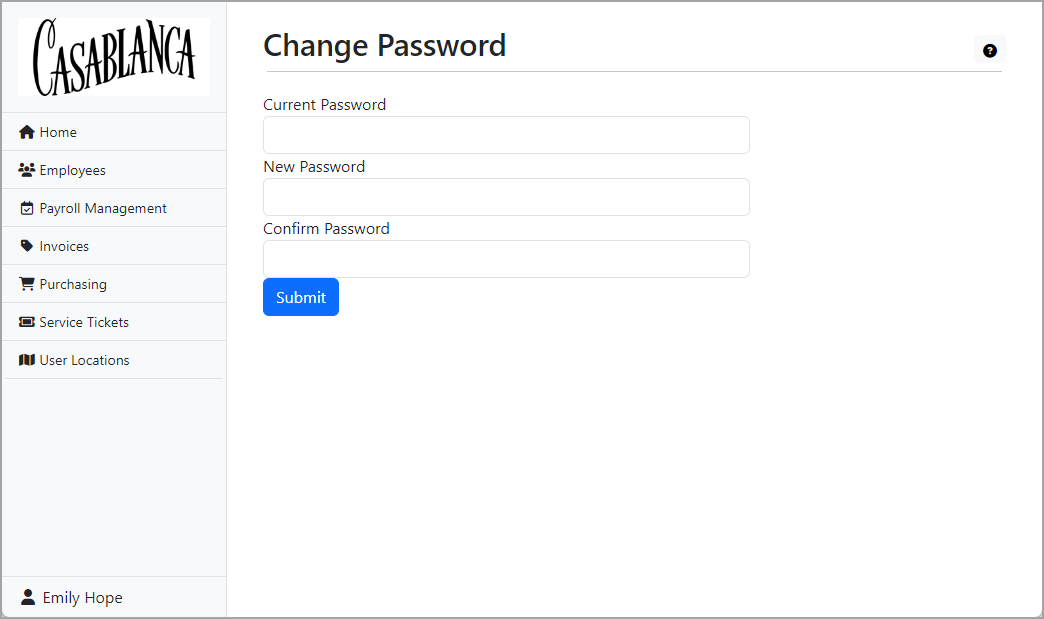
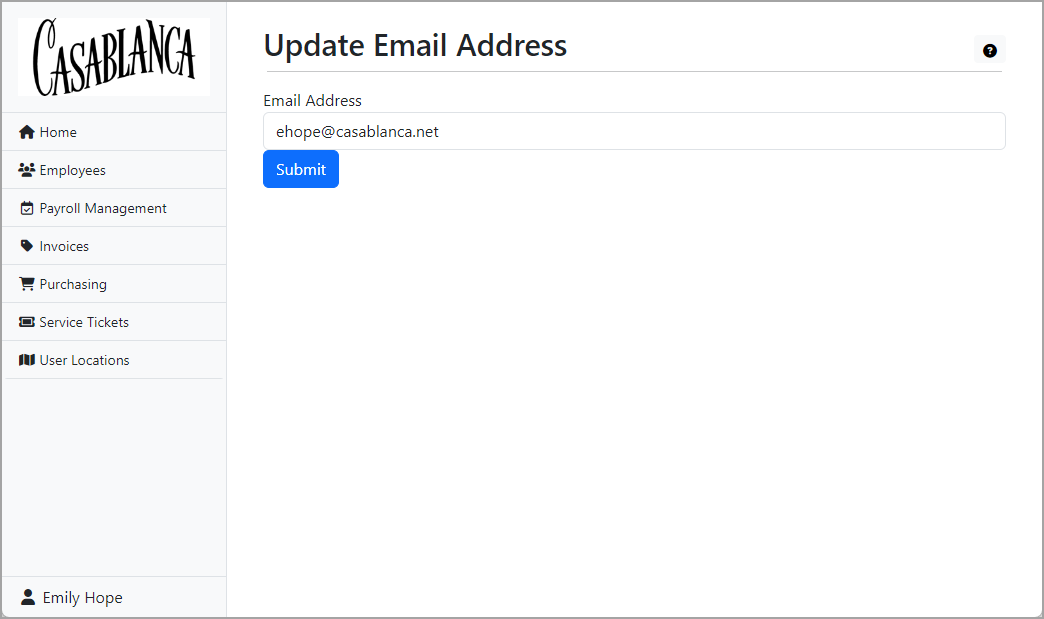
From any page of Self-Serve, click your name in the lower left corner to open a shortcut menu.
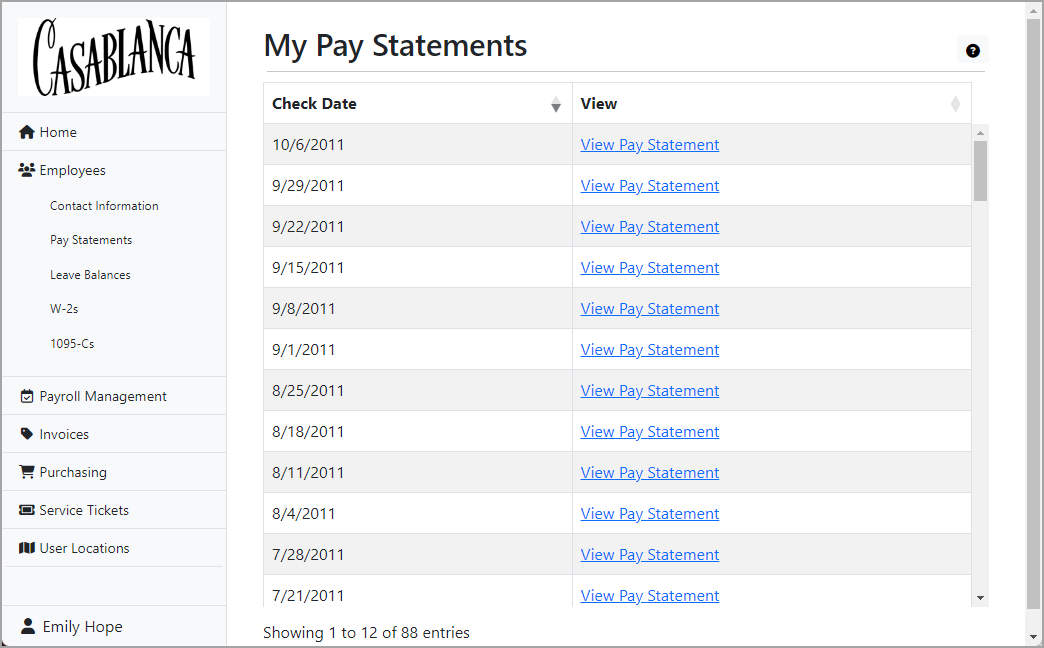
In the navigation pane, expand Employees and click Pay Statements. The My Pay Statements page opens.
Locate the pay statement of interest and click the corresponding View Pay Statement link to open the pay statement in a new browser tab where you can view it, print it, or download it.
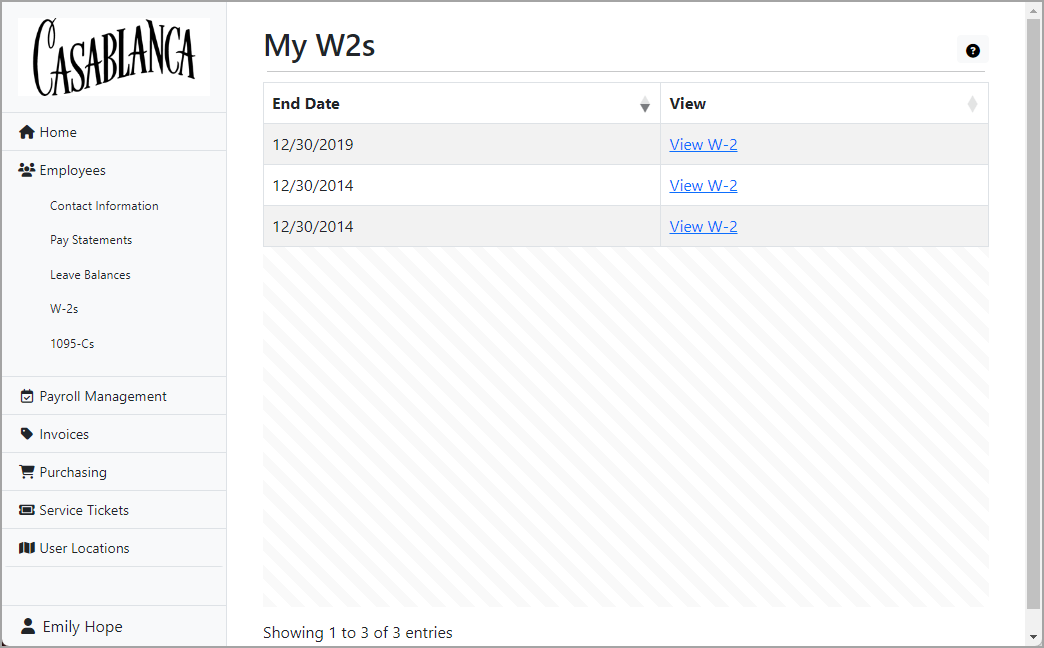
In the navigation pane, expand Employees and click W-2s. The My W2s page opens.
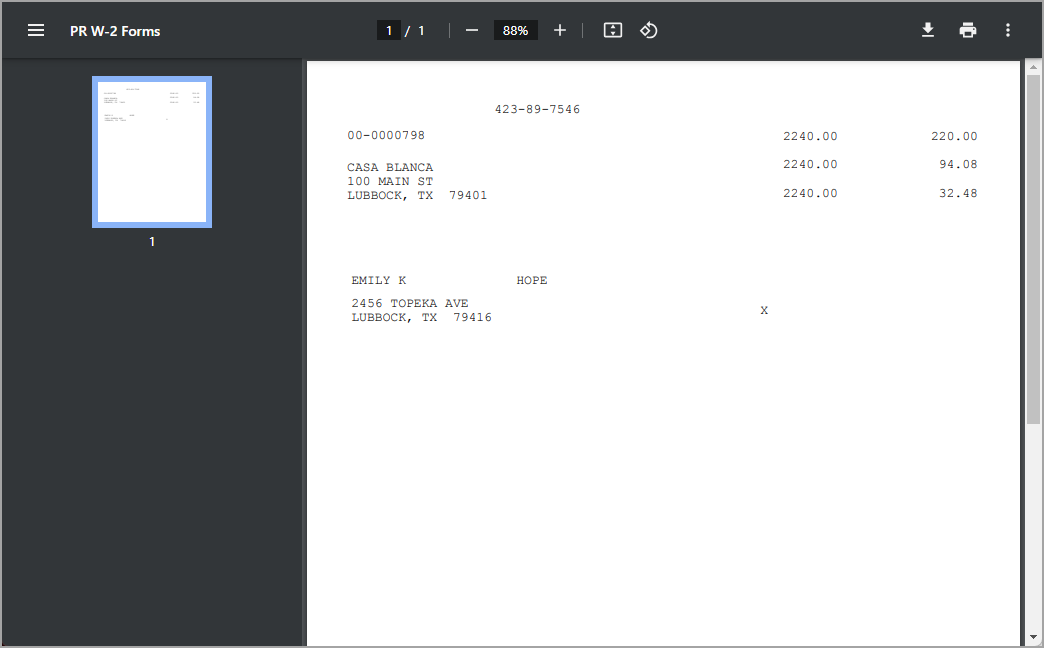
Locate the W-2 of interest and click the corresponding View W-2 link to open the W-2 in a new browser tab where you can view it, print it, or download it.
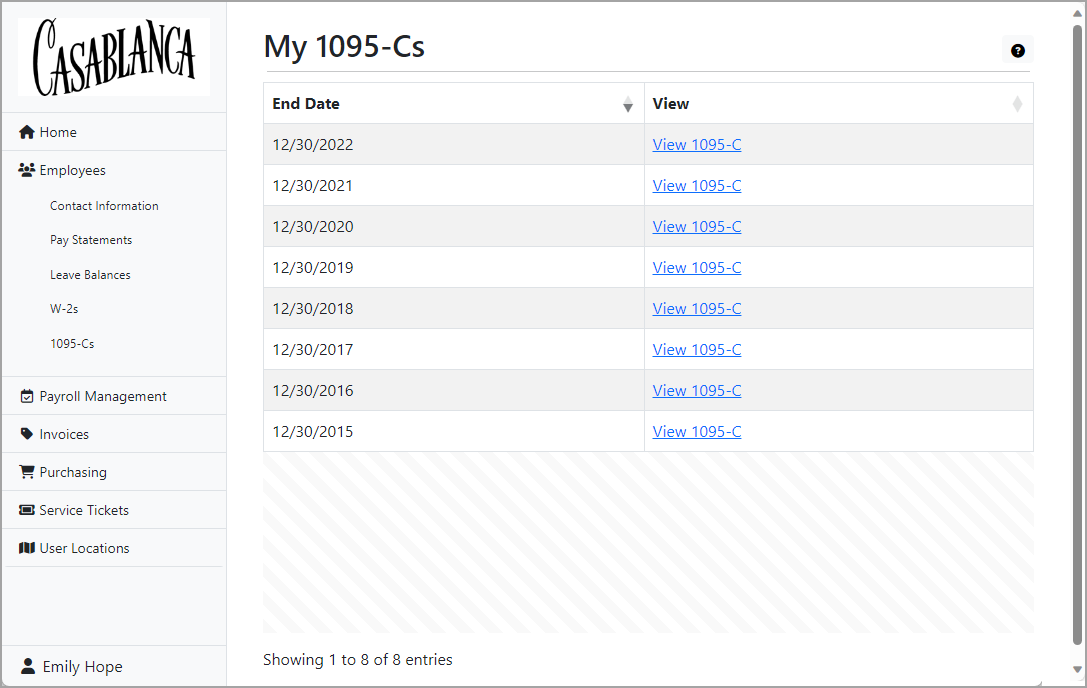
In the navigation pane, expand Employees and click 1095-Cs. The My 1095-Cs page opens.
Locate the 1095-C of interest and click the corresponding View 1095-C link to open the 1095-C in a new browser tab where you can view it, print it, or download it.
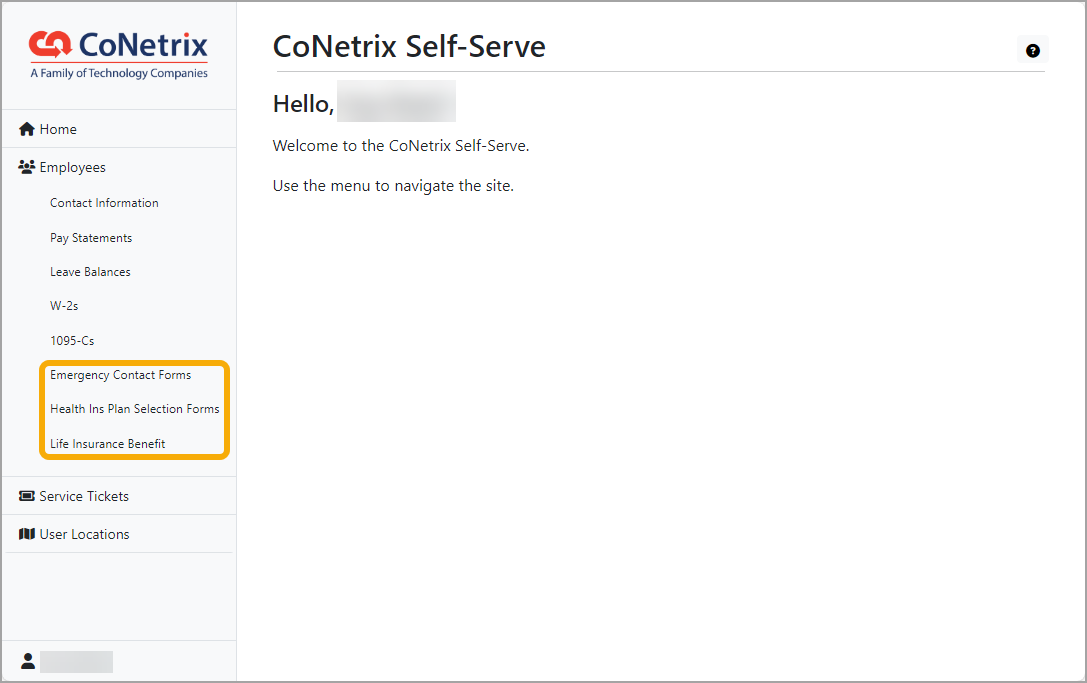
Companies can provide access to additional employee documents on Self-Serve. If your company does, the links to these documents are visible at the bottom of the Employees menu.
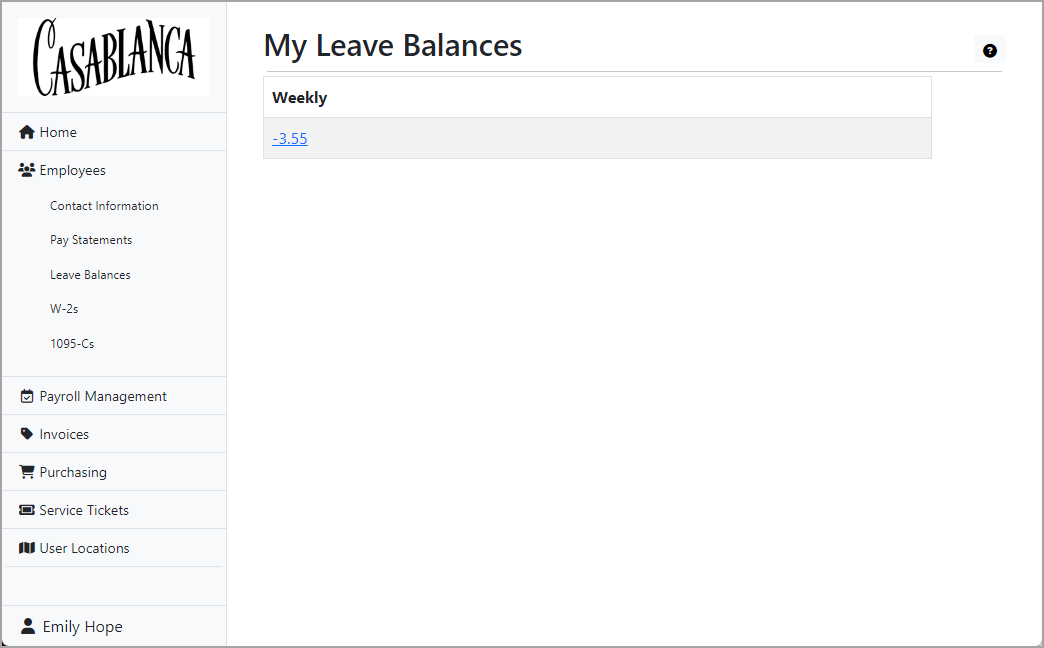
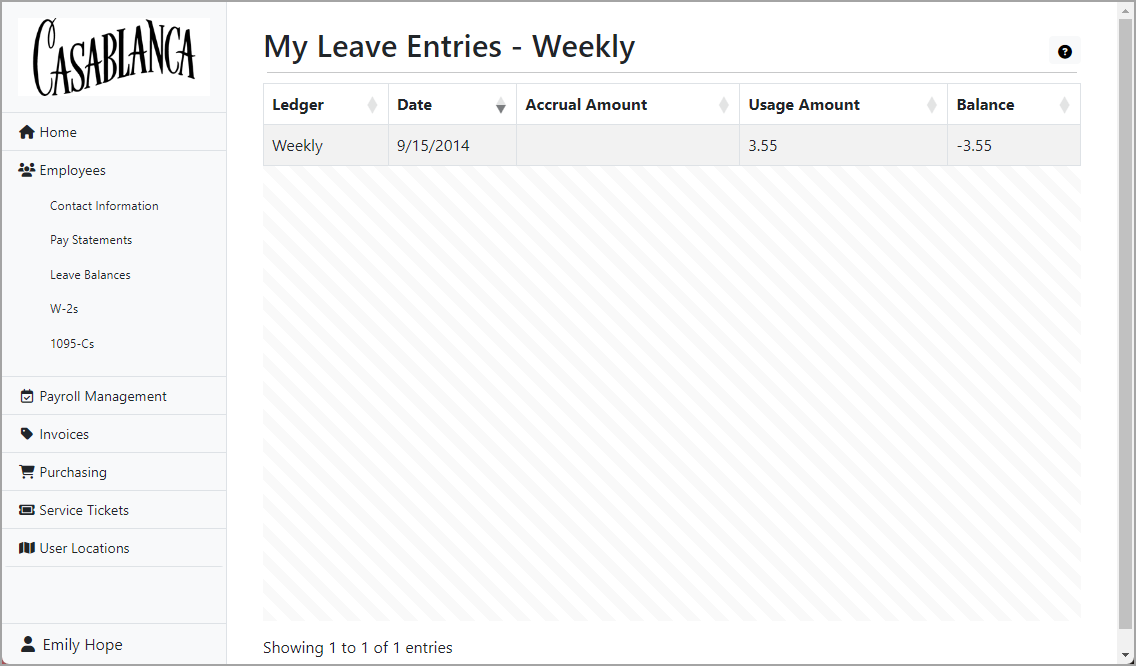
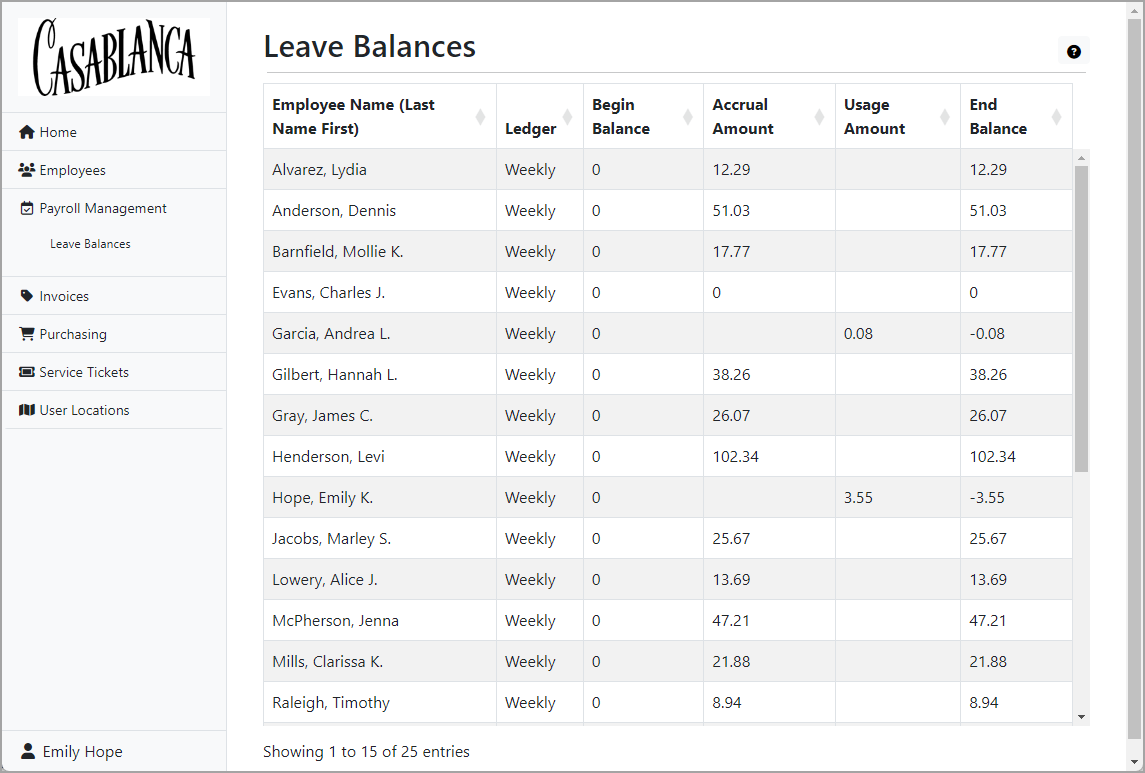
The Payroll Management > Leave Balances item is visible in the navigation pane provided you have "Visible" access to leave ledger balances. You also need "Visible" and "Read" access to the Seniority & Leave Entries folder in order to drill down to view the entries which comprise a leave balance.
A user only sees the leave balances for the employees the user is authorized to view.
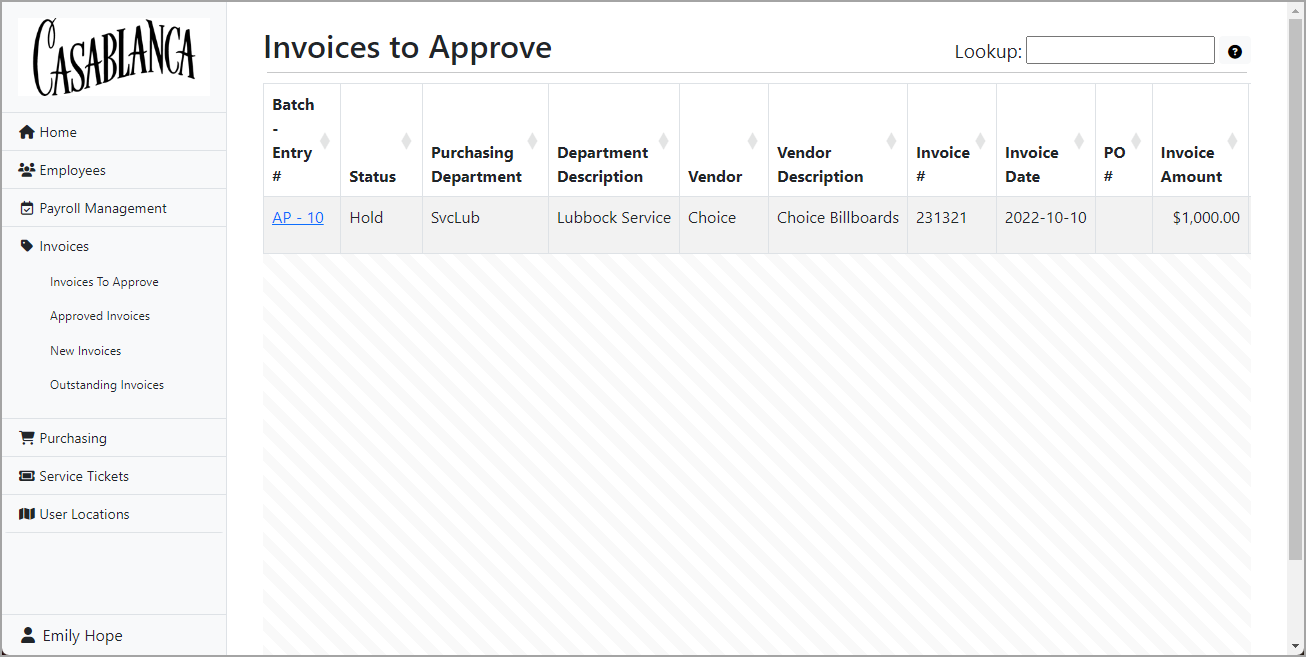
In the navigation pane, expand Invoices and click Invoices To Approve. The Invoices to Approve page opens.
Locate the row in the table which contains the invoice to approve and click the link in the Batch - Entry # column to load the invoice record and its details.
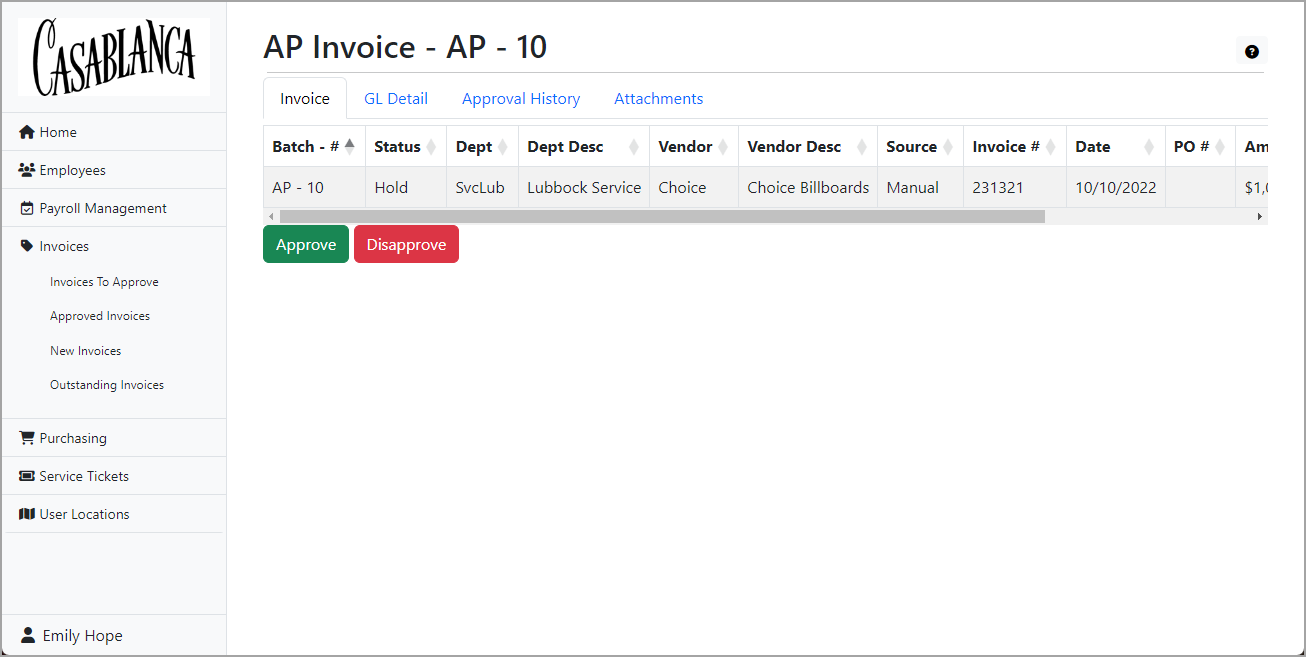
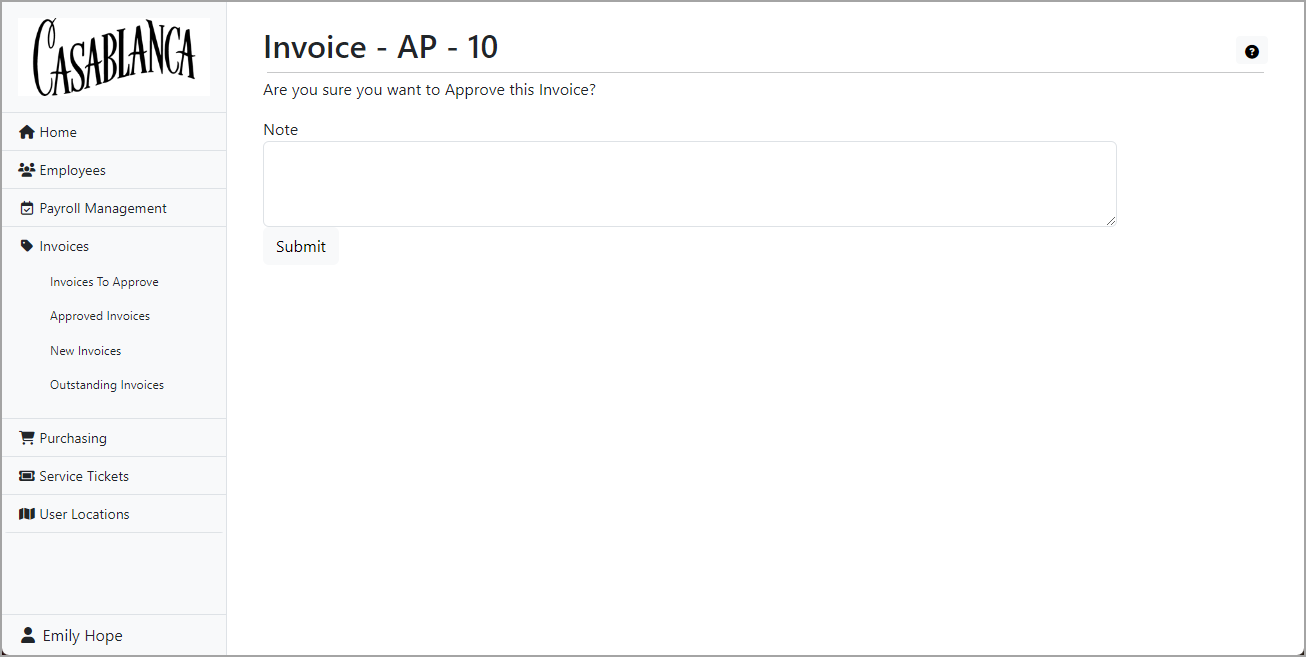
After you view the invoice details and determine that you do indeed want to approve it, click Approve. You are prompted to confirm that you want to approve the invoice.
In the navigation pane, expand Invoices and click Invoices To Approve. The Invoices to Approve page opens.
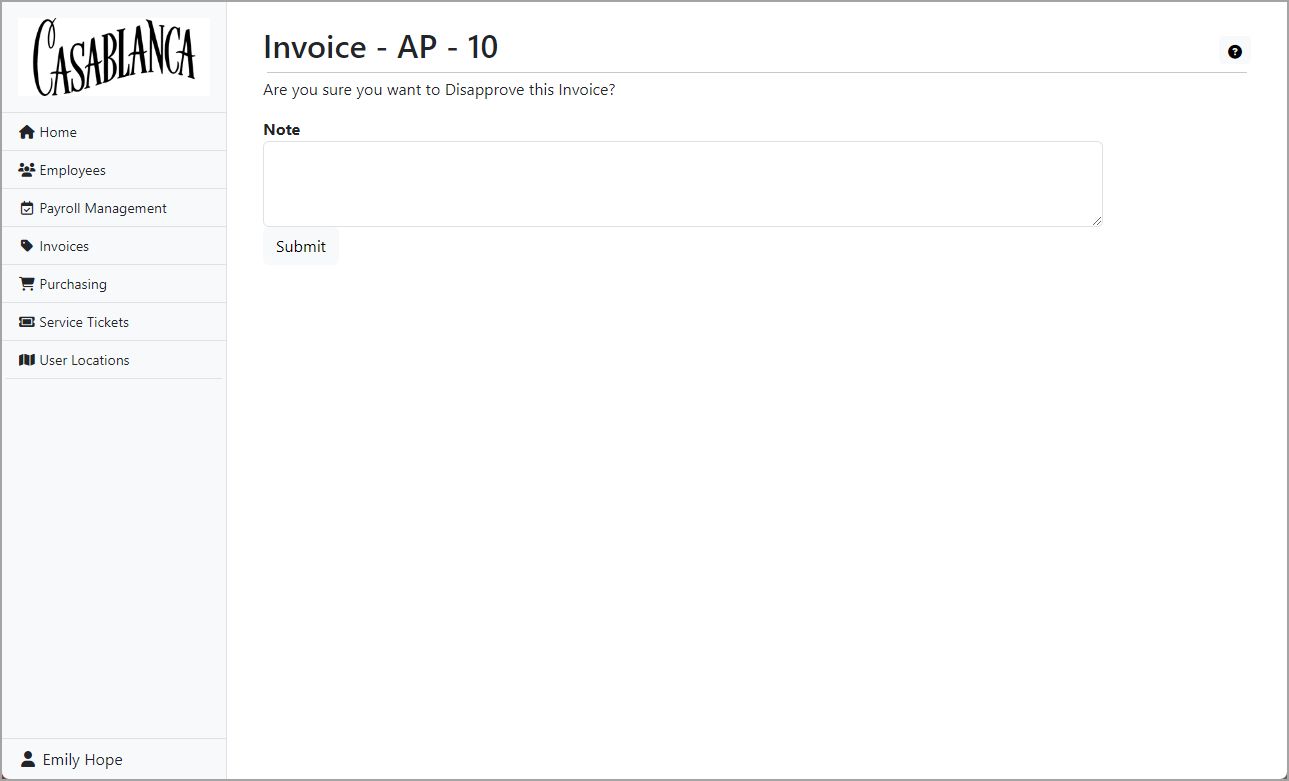
Locate the row in the table which contains the invoice to disapprove and click the link in the Batch - Entry # column to load the invoice record and its details.
After you view the invoice details and determine that you do indeed want to disapprove it, click Disapprove. You are prompted to confirm that you want to disapprove the invoice.
Enter a Note about the disapproval. Notes are required on disapprovals.
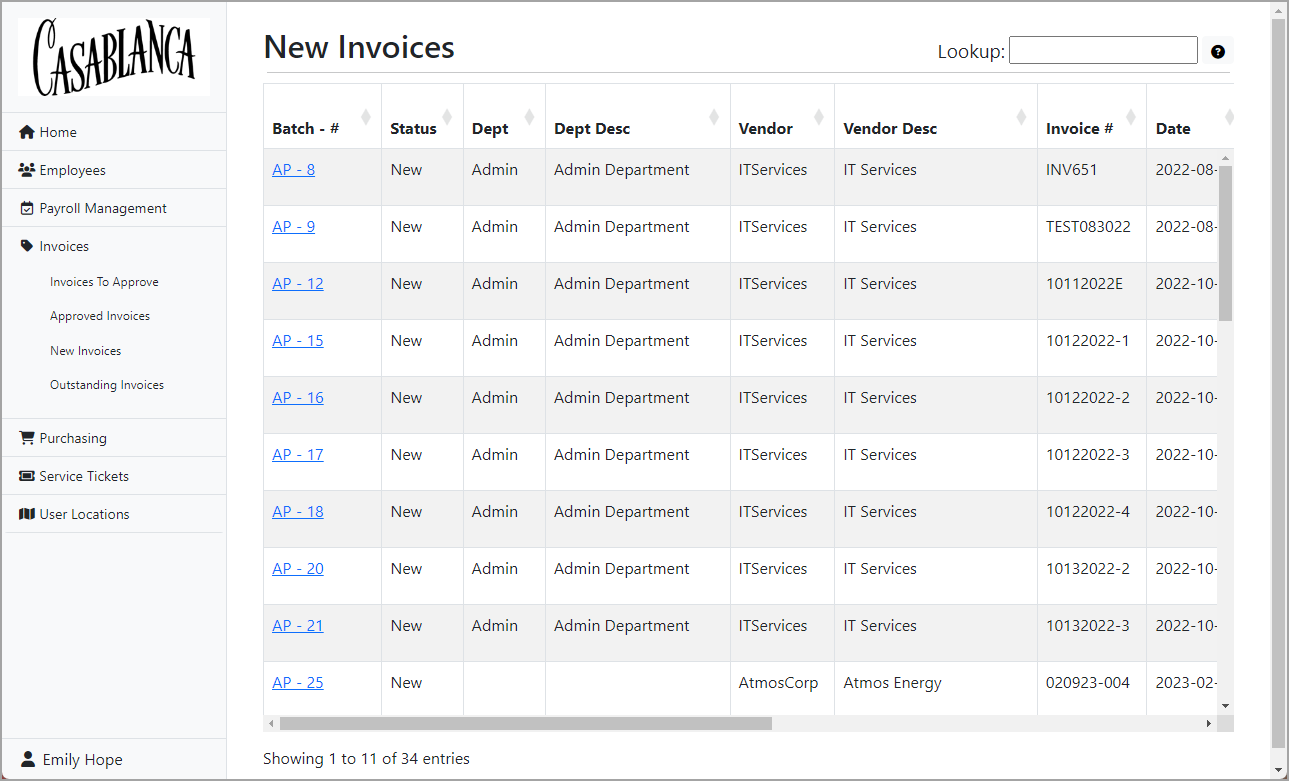
In the navigation pane, expand Invoices and click New Invoices. The New Invoices page opens.
To view details for a particular new invoice, locate the row in the table which contains the new invoice and click the link in the Batch - # column to load the invoice record and its details.
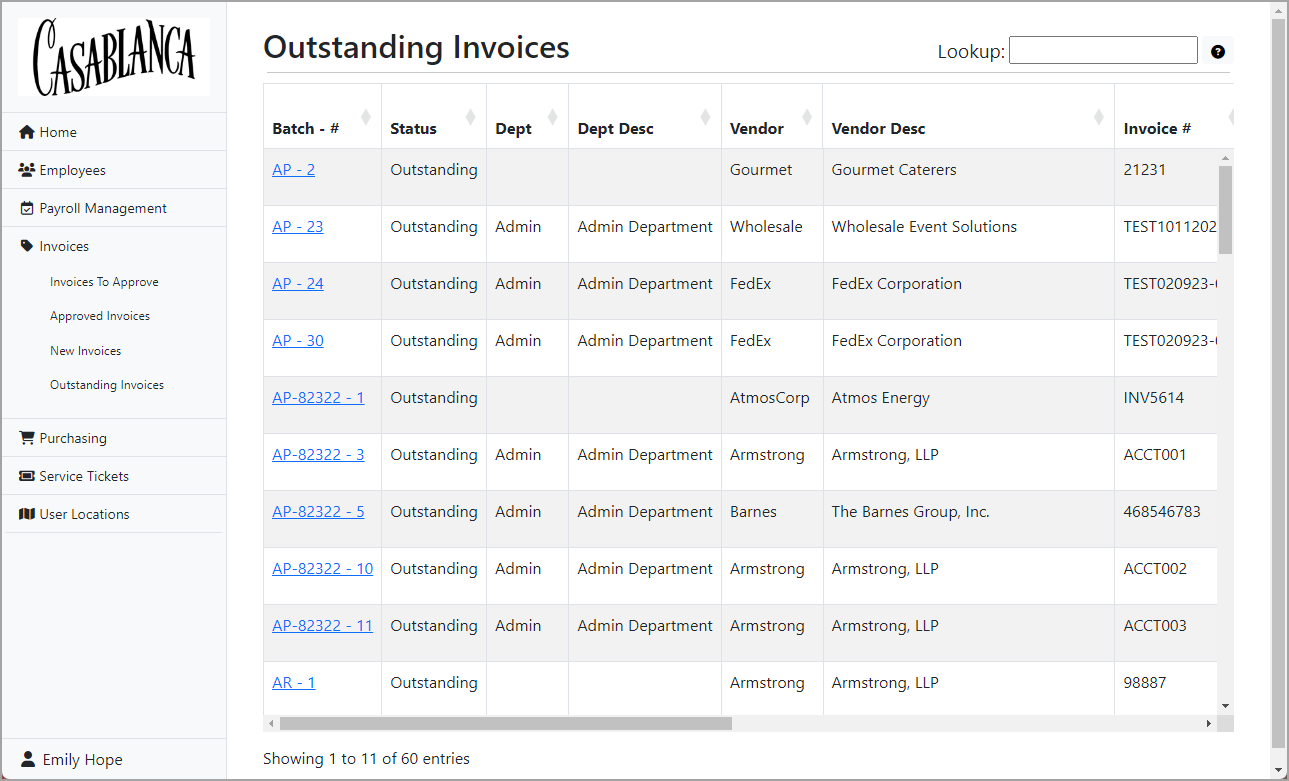
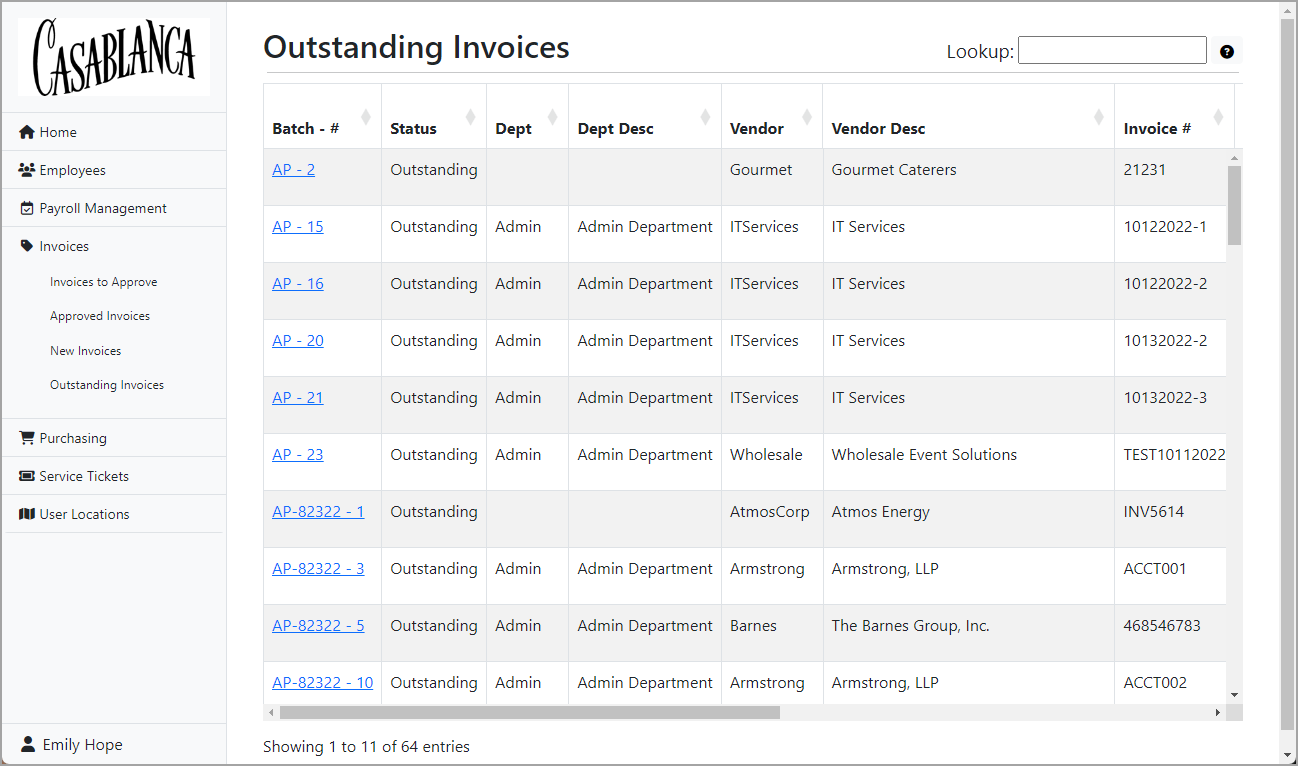
In the navigation pane, expand Invoices and click Outstanding Invoices. The Outstanding Invoices page opens.
To view details for a particular outstanding invoice, locate the row in the table which contains the invoice and click the link in the Batch - # column to load the invoice record and its details.
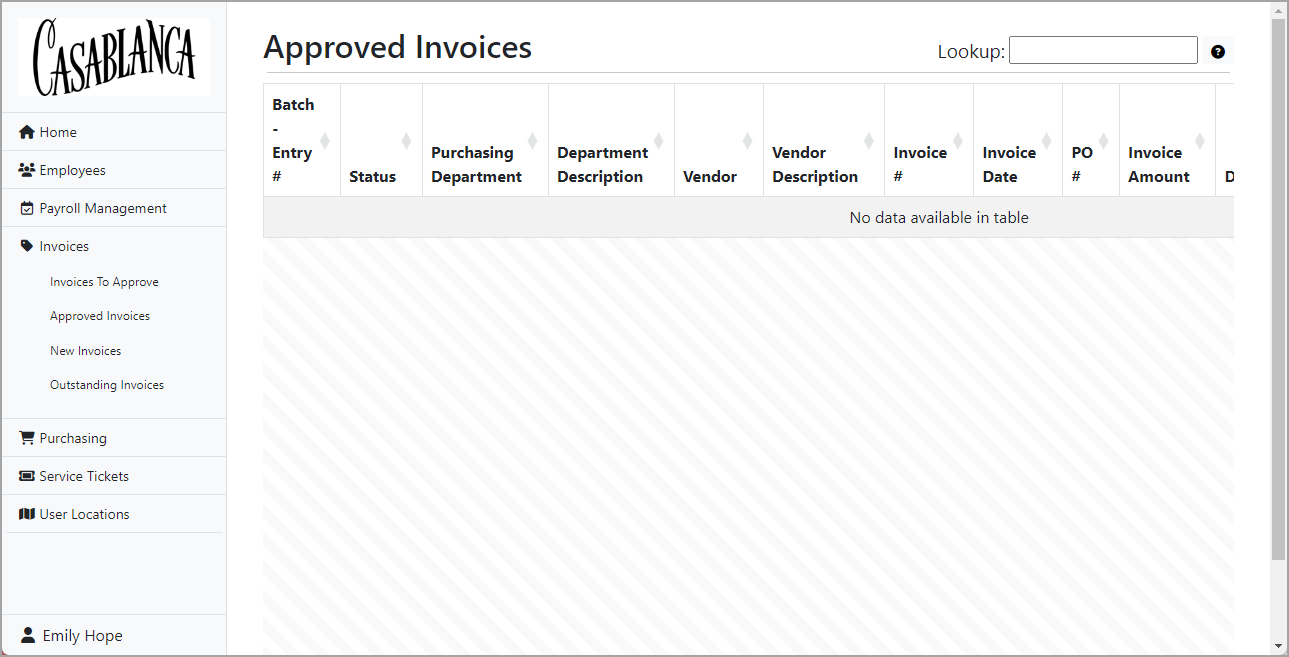
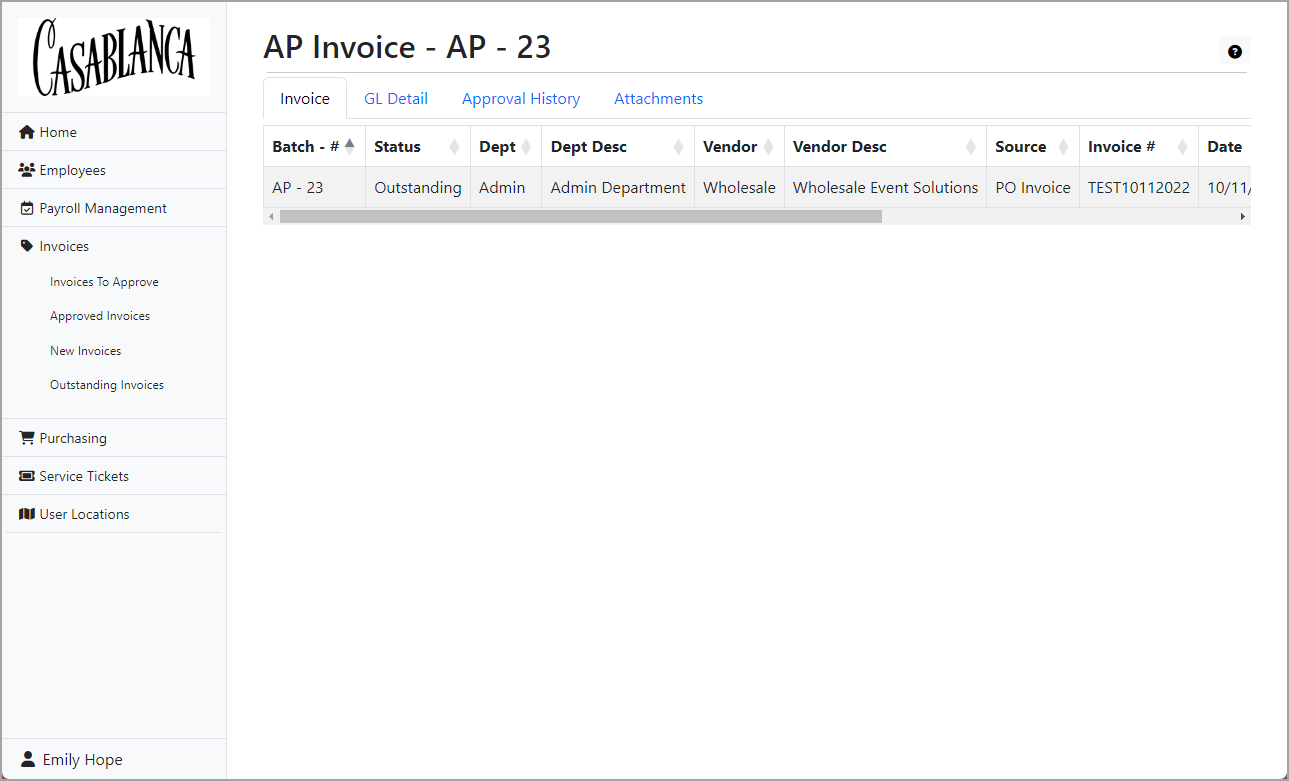
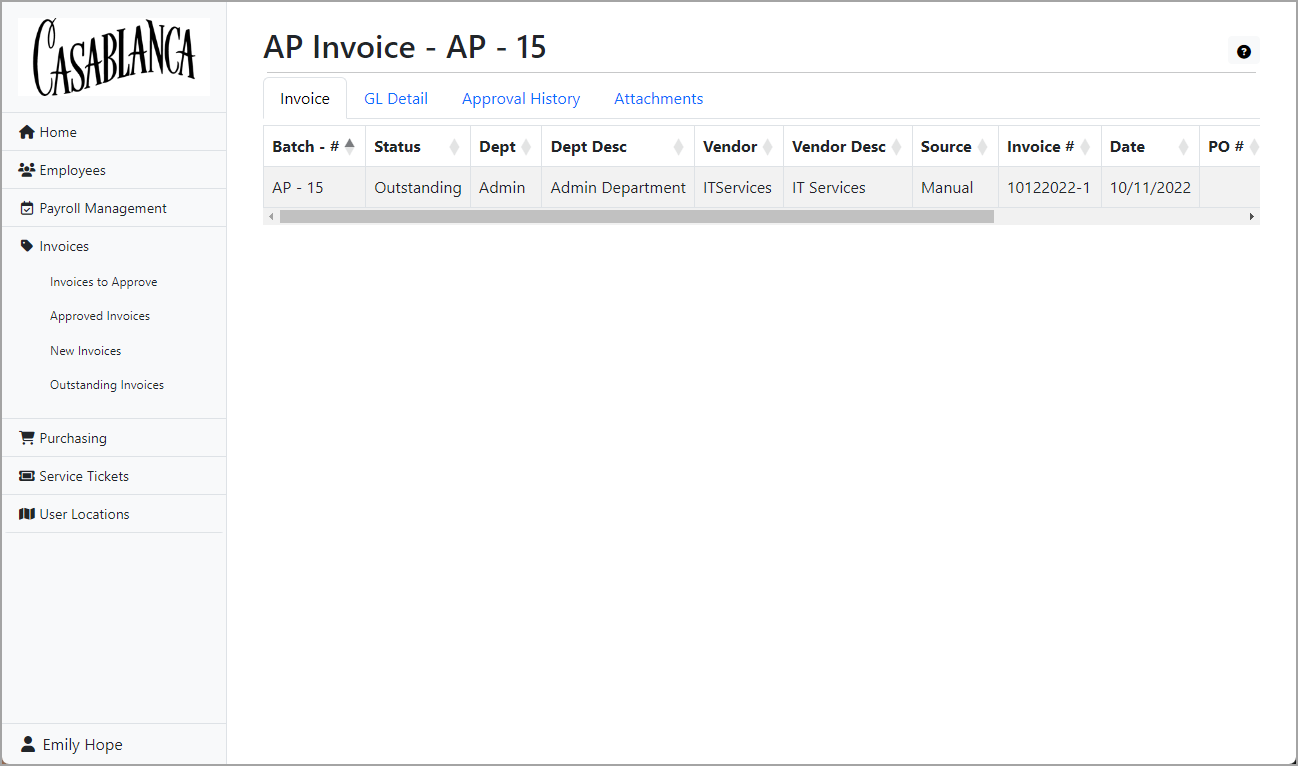
In the navigation pane, expand Invoices and click the link for the status of the invoice you want to view. The appropriate page opens.
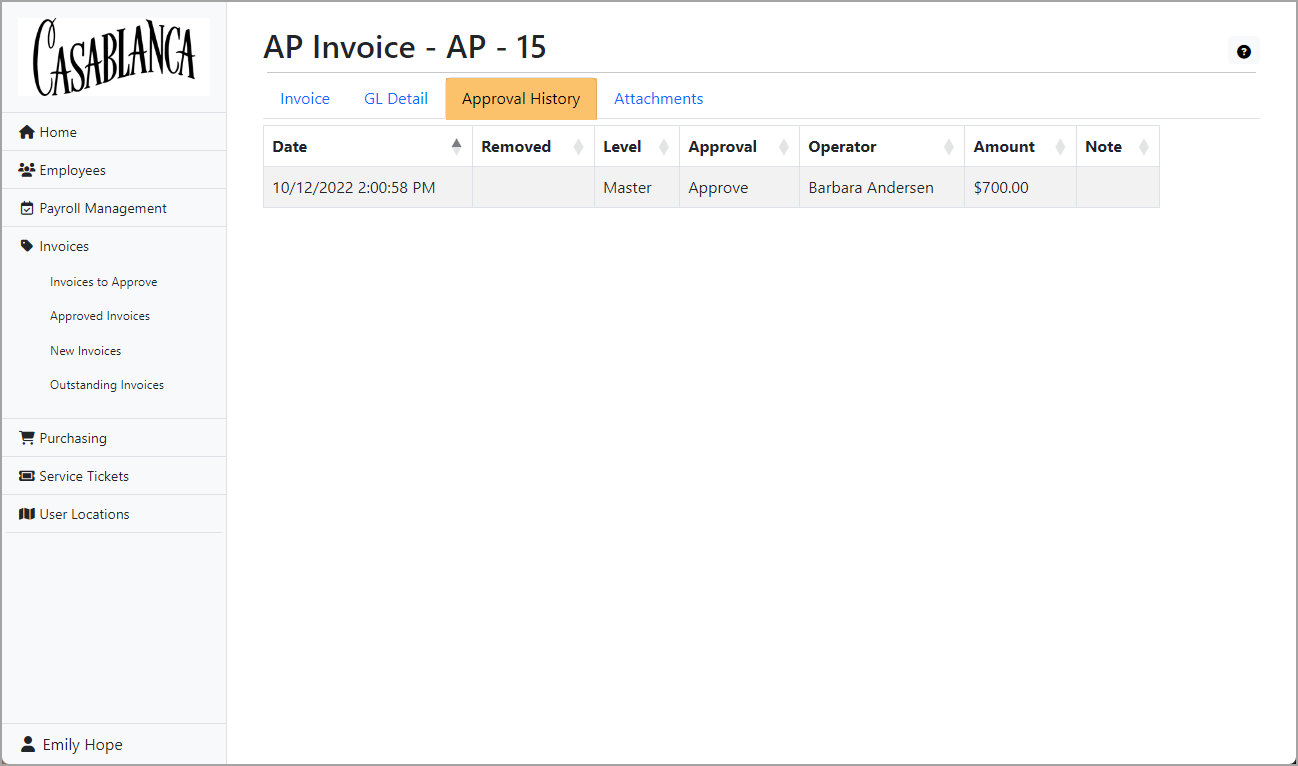
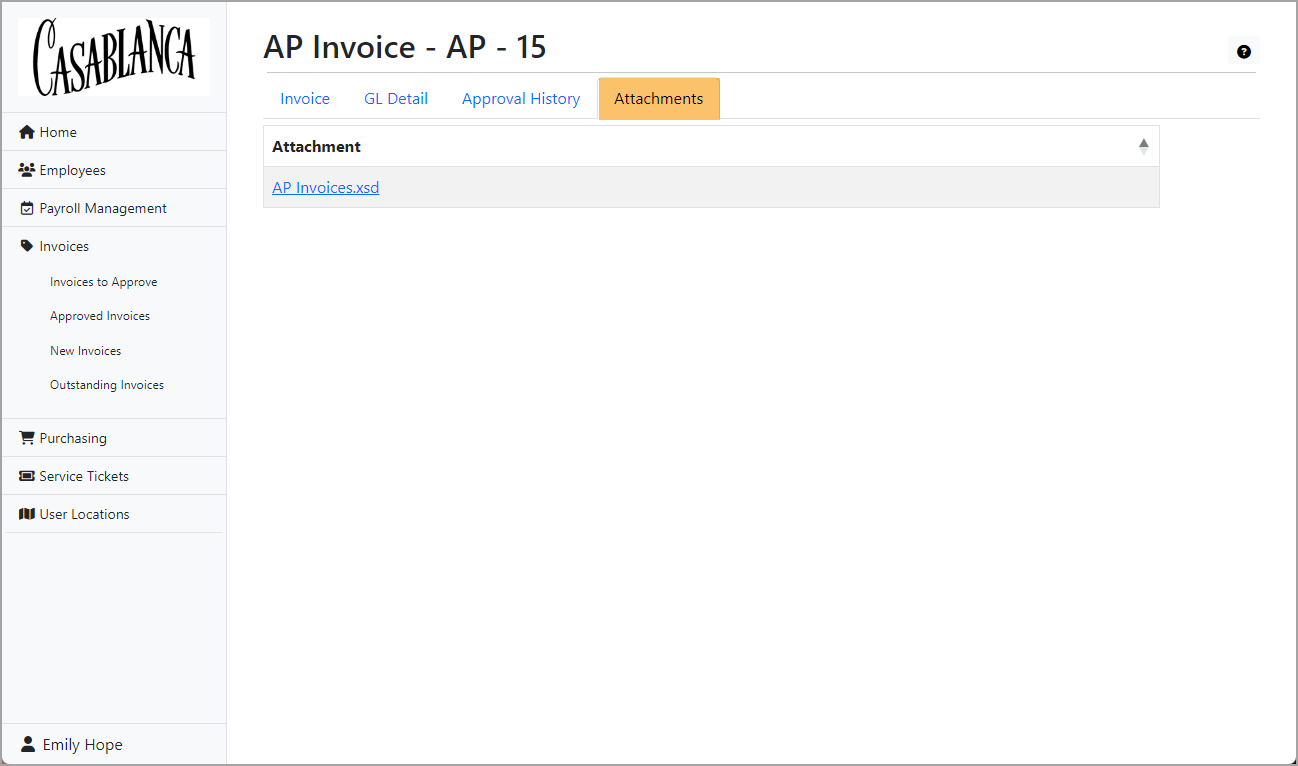
To view details for a particular invoice, locate the row in the table which contains the invoice and click the link in the Batch - # column to load the invoice record and its details.
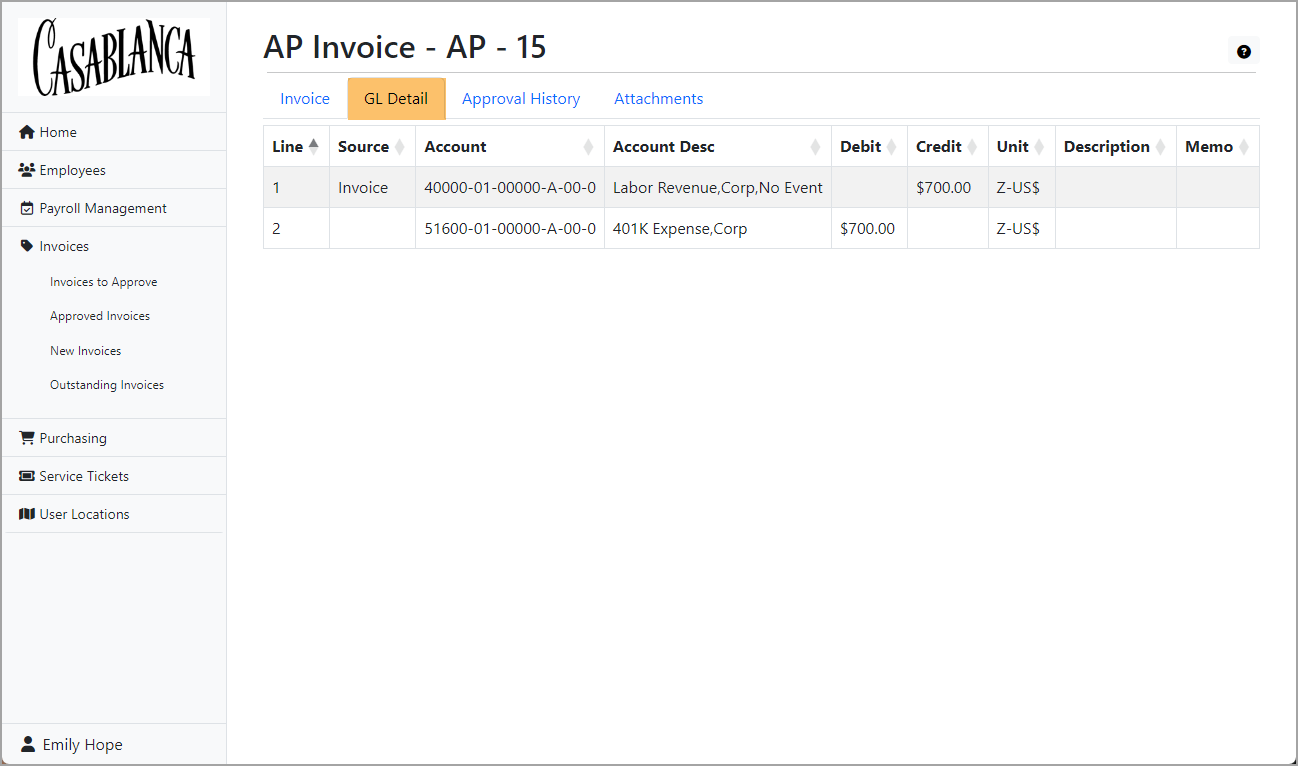
Visit the GL Detail, Approval History, and Attachments tabs as needed.
Use the Purchasing feature of Self-Serve to approve/disapprove purchase orders, view open purchase orders, and view your purchases.
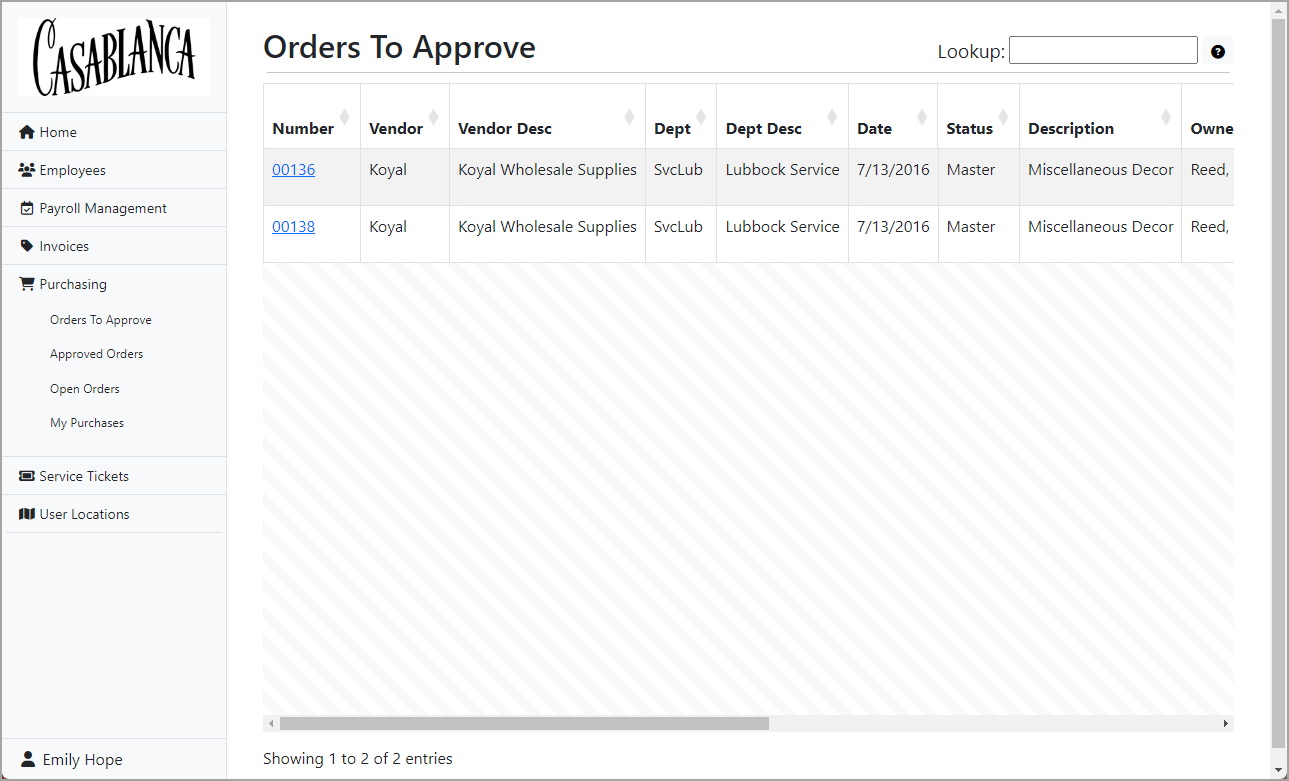
The Orders To Approve link is visible if you are an operator with approval permission. The Orders to Approve page shows only the purchase orders which require your direct approval.
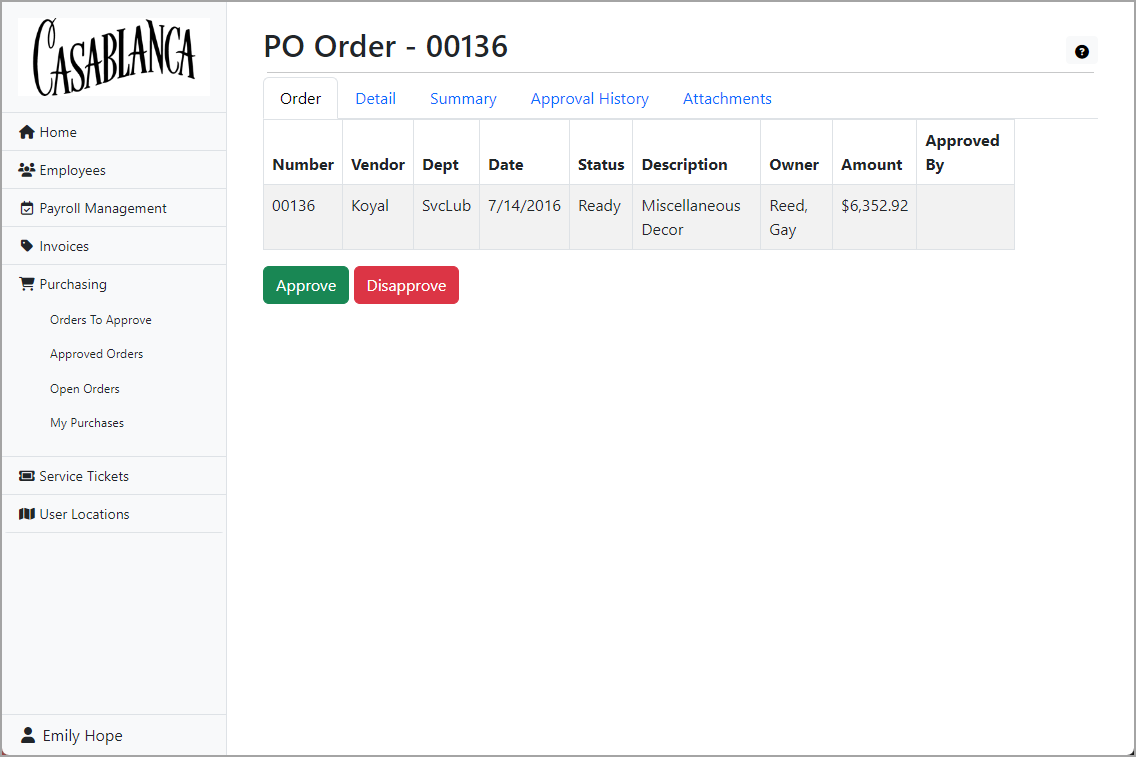
In the navigation pane, expand Purchasing and click Orders To Approve. The Orders to Approve page opens.
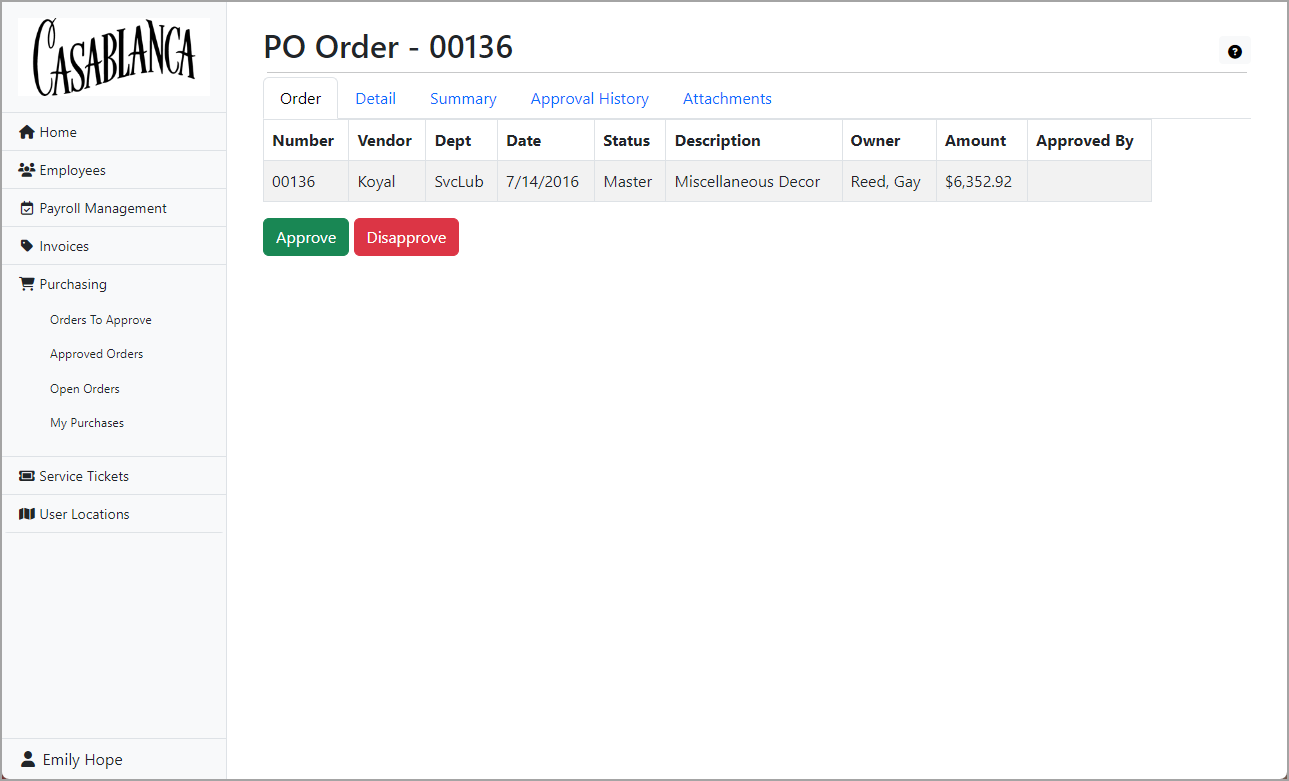
Locate the row in the table which contains the order to approve and click the link in the Number column to load the purchase order record and its details.
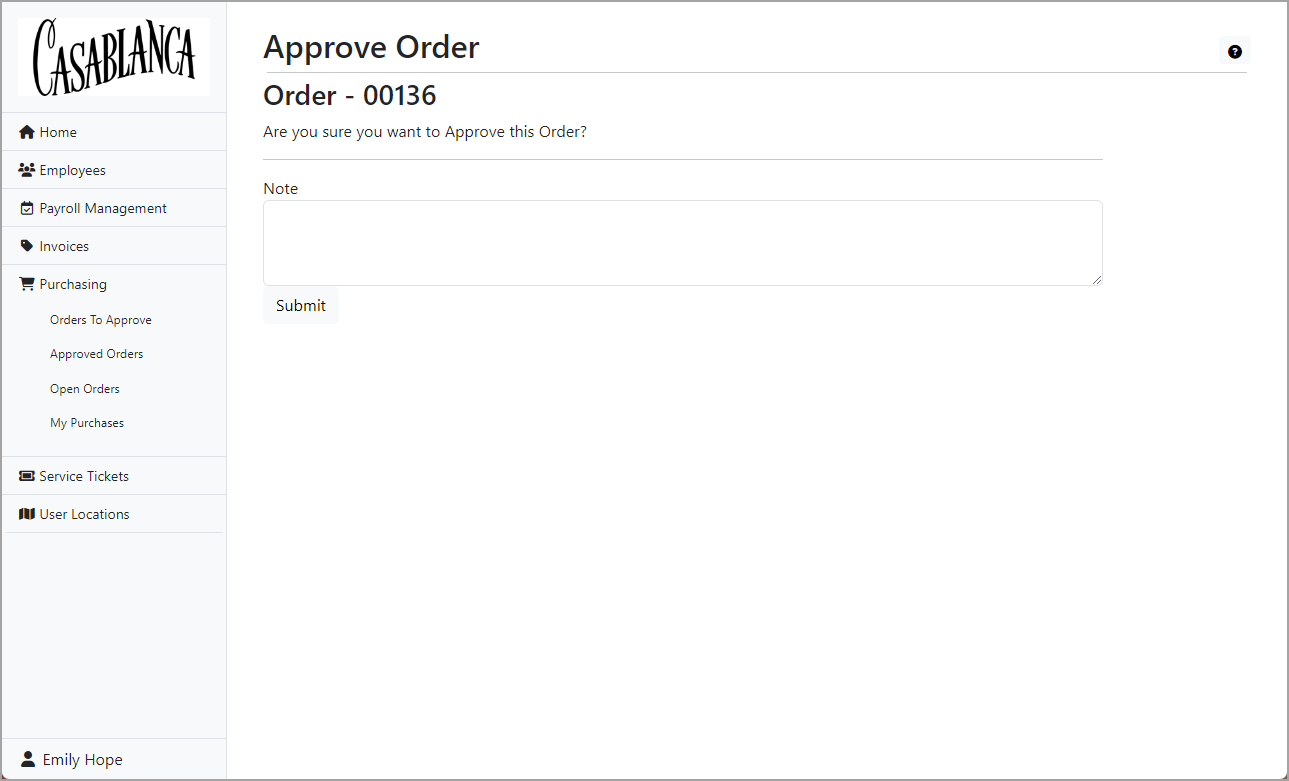
After you view the purchase order details and determine that you do indeed want to approve it, click Approve. You are prompted to confirm that you want to approve the purchase order.
The Orders To Approve link is visible if you are an operator with approval permission. The Orders to Approve page shows only the purchase orders which require your direct approval.
In the navigation pane, expand Purchasing and click Orders To Approve. The Orders to Approve page opens.
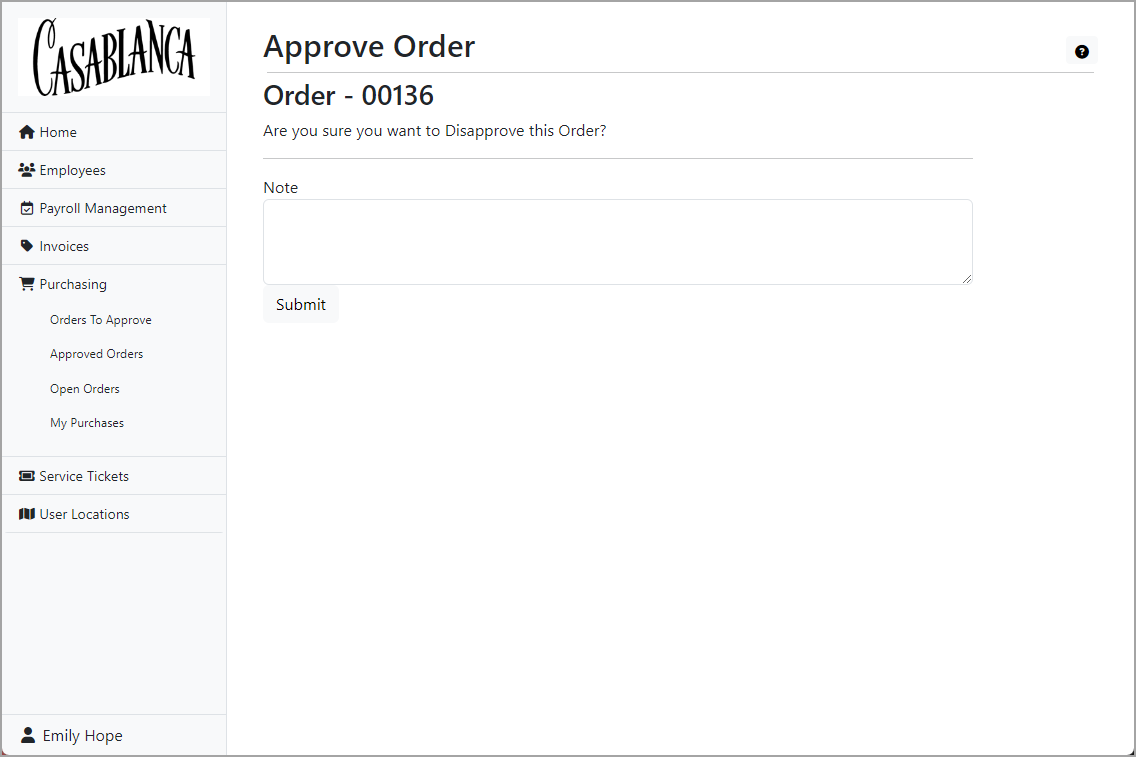
Locate the row in the table which contains the order to disapprove and click the link in the Number column to load the purchase order record and its details.
After you view the purchase order details and determine that you do indeed want to disapprove it, click Disapprove. You are prompted to confirm that you want to disapprove the purchase order.
Enter a Note about the disapproval. Notes are required on disapprovals.
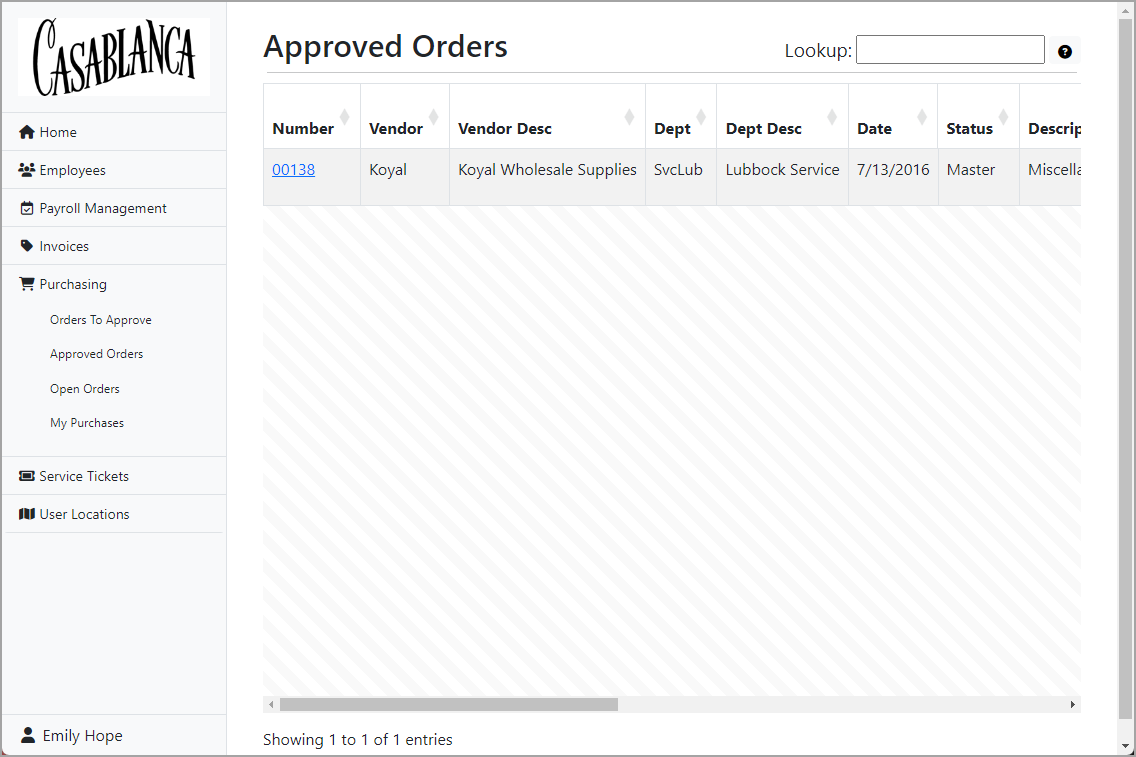
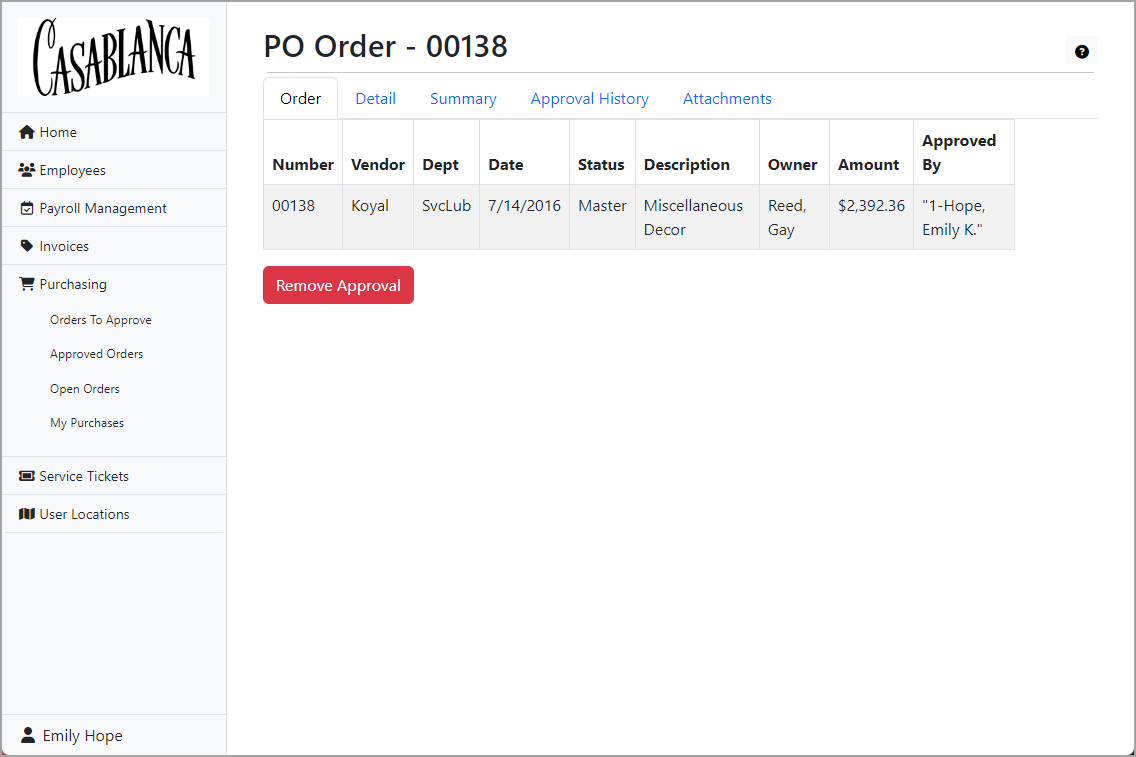
In the navigation pane, expand Purchasing and click Approved Orders. The Approved Orders page opens.
Locate the row in the table which contains the order to remove approval from and click the link in the Number column to load the purchase order record and its details.
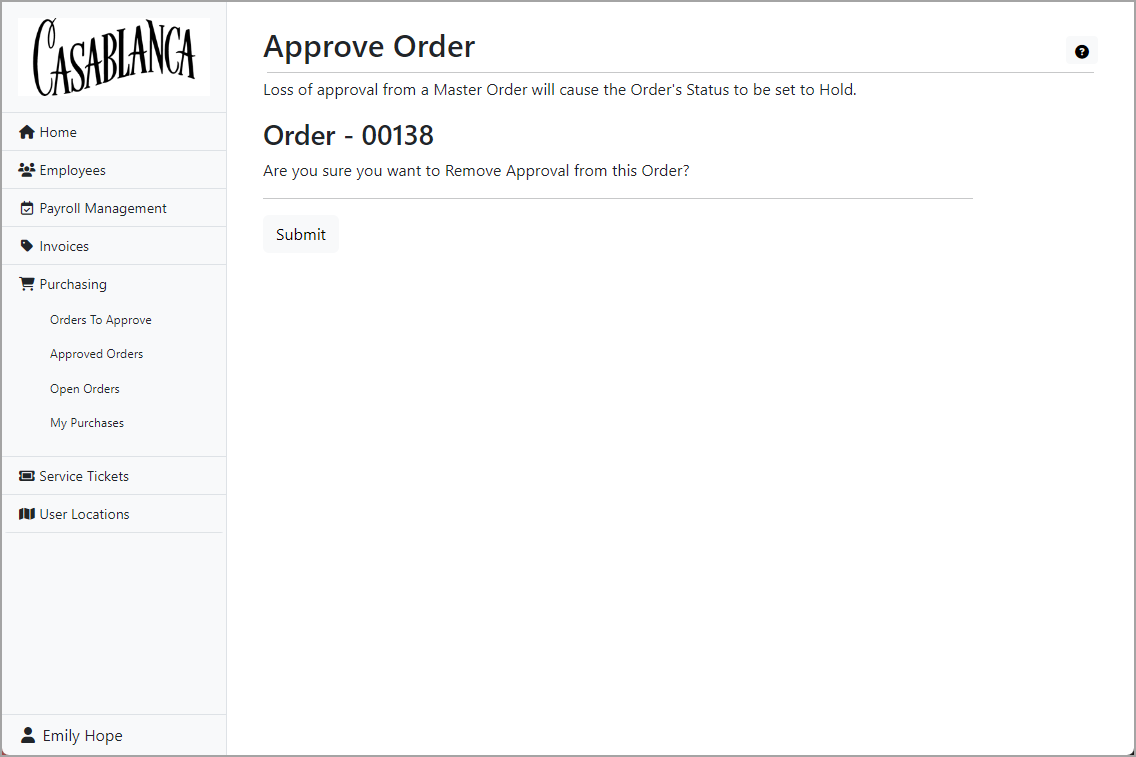
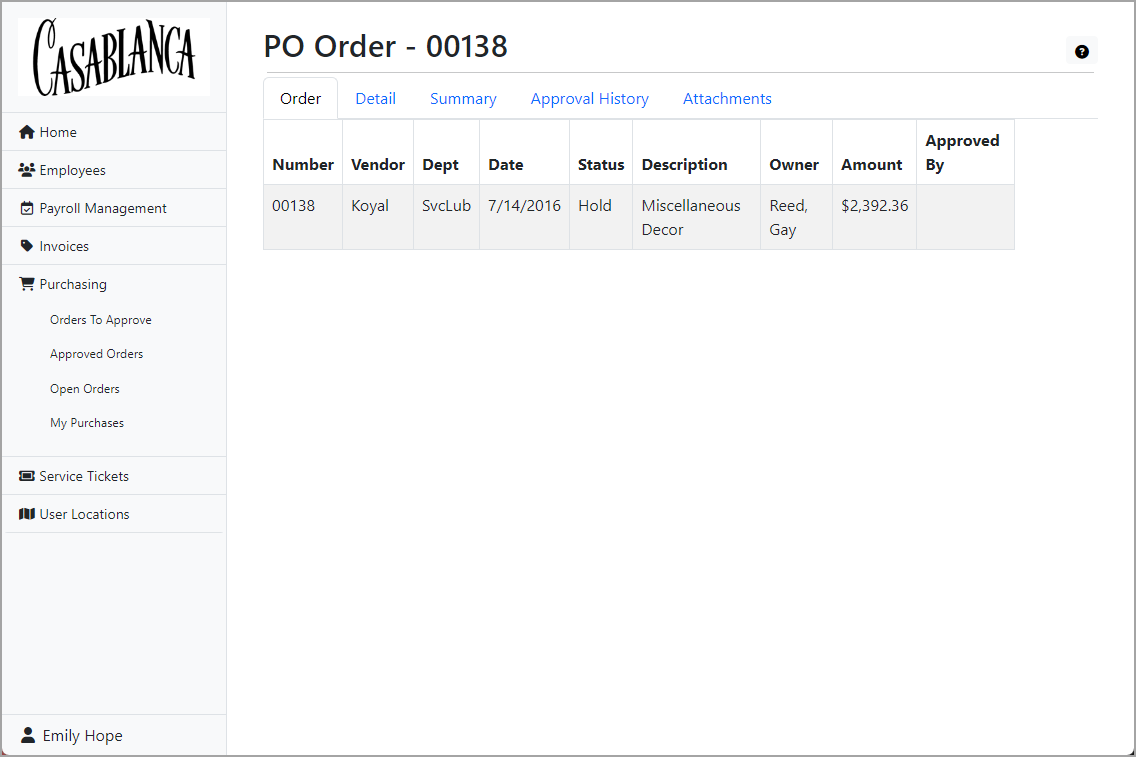
Click Remove Approval. Self-Serve prompts you to confirm that you want to remove approval from the order and reminds you that the order status will change to "Hold".
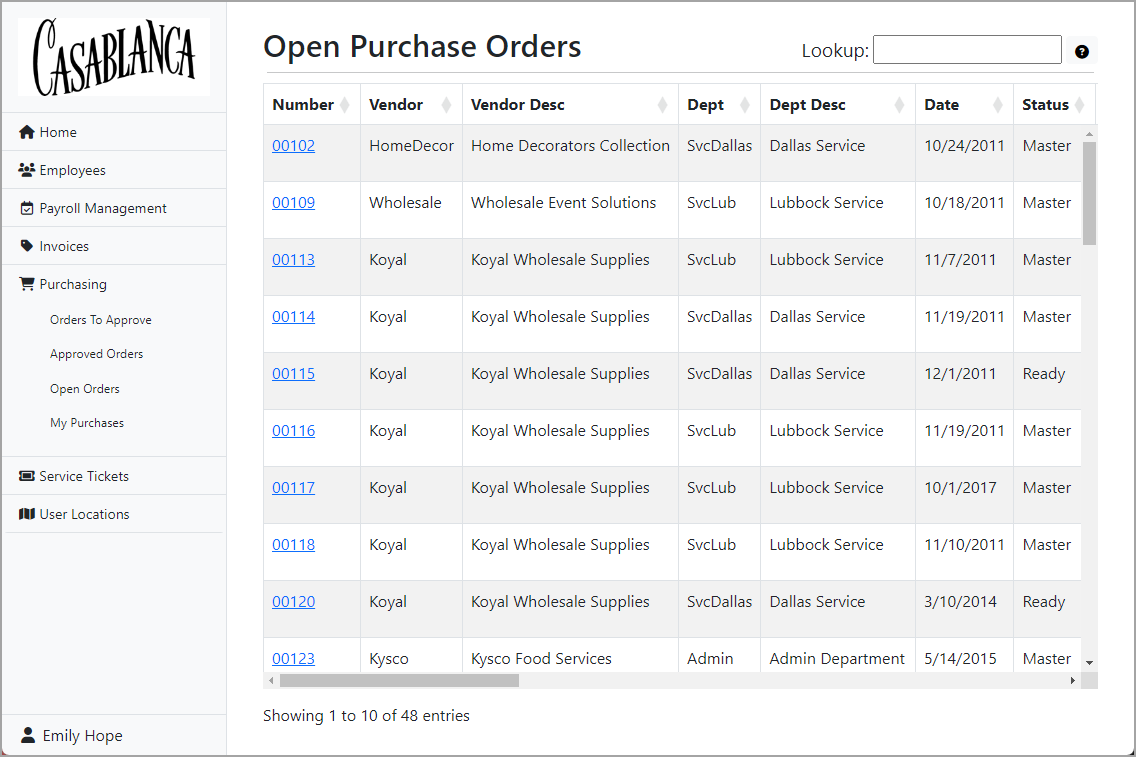
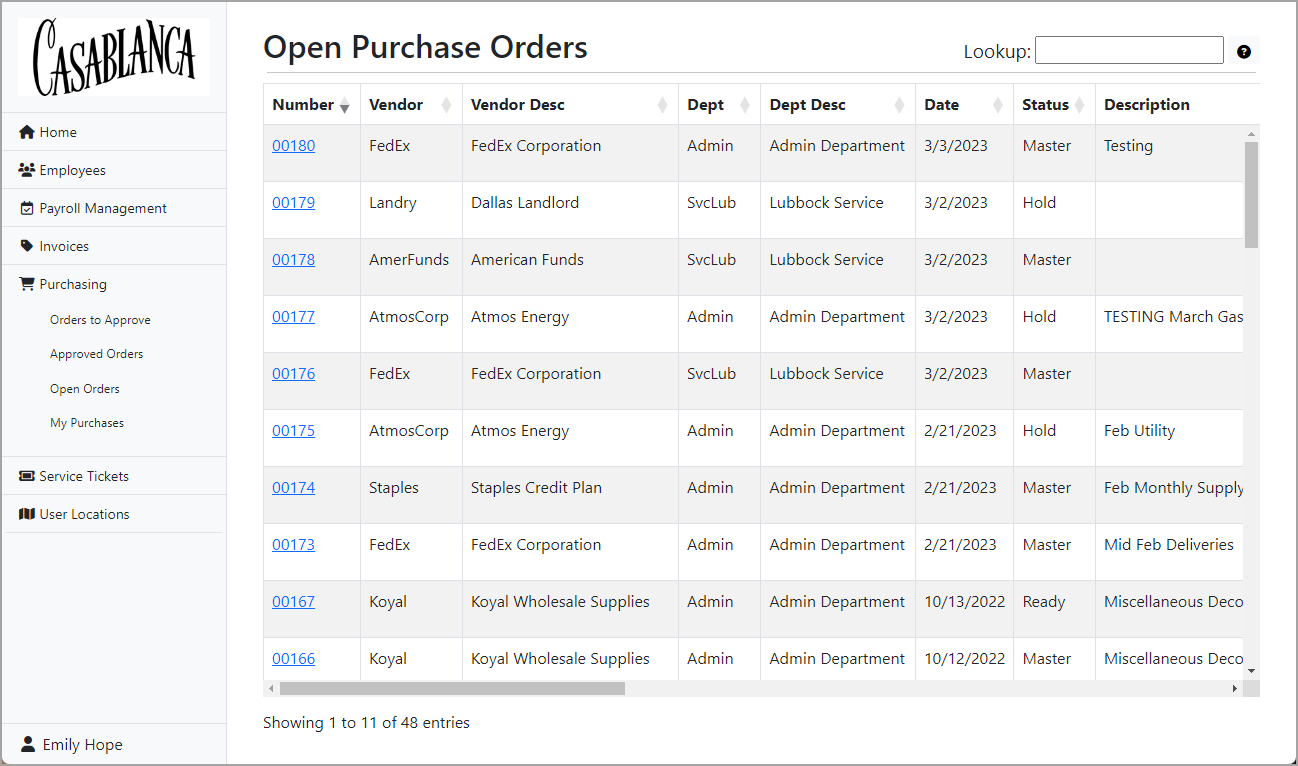
The Open Orders link is available to all Purchasing operators; however, unless you have approval permission, you can only view open orders. The Open Orders page shows purchase orders with a status of "New", "Hold", "Ready", or "Master".
In the navigation pane, expand Purchasing and click Open Orders. The Open Purchase Orders page opens.
To view details for a particular open purchase order, locate the row in the table which contains the purchase order and click the link in the Number column to load the purchase order record and its details.
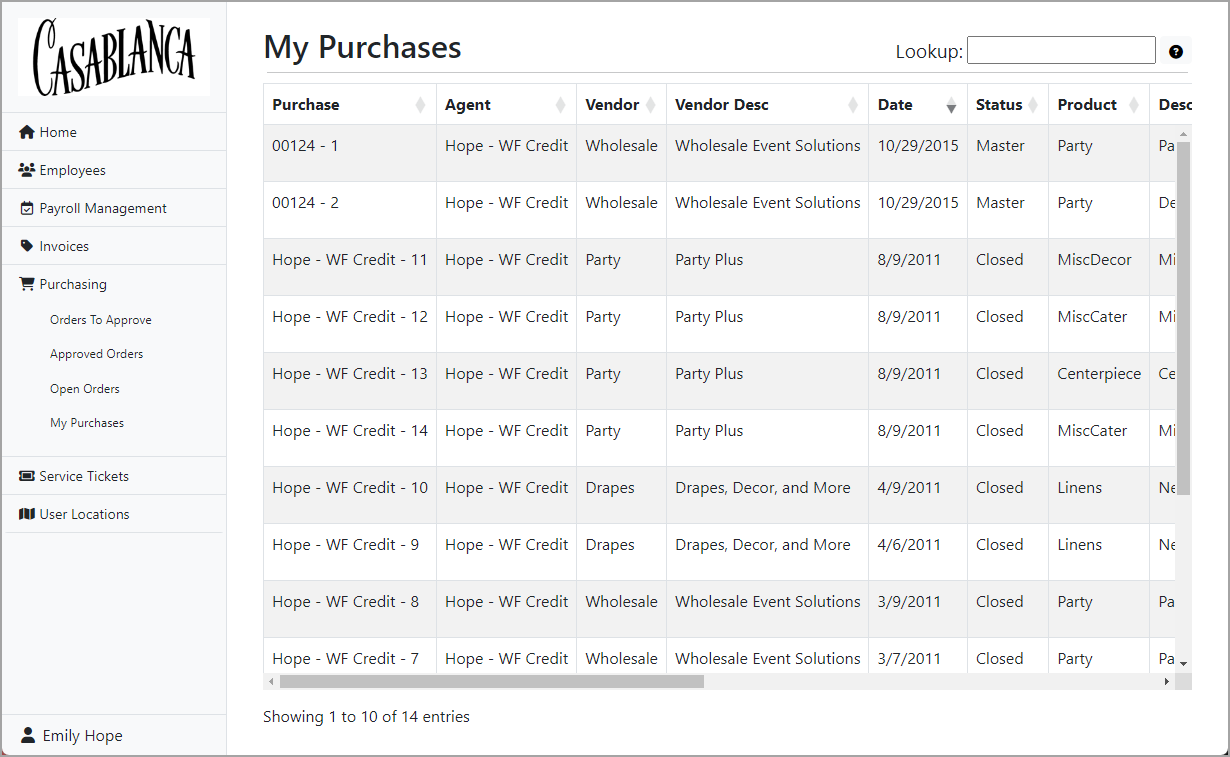
The My Purchases link is visible if you are an authorized user with "Visible" and "Read" permission on Purchases and at least one purchasing agent record is data-linked to your authorized user record. This link allows purchasing agents to view their purchases.
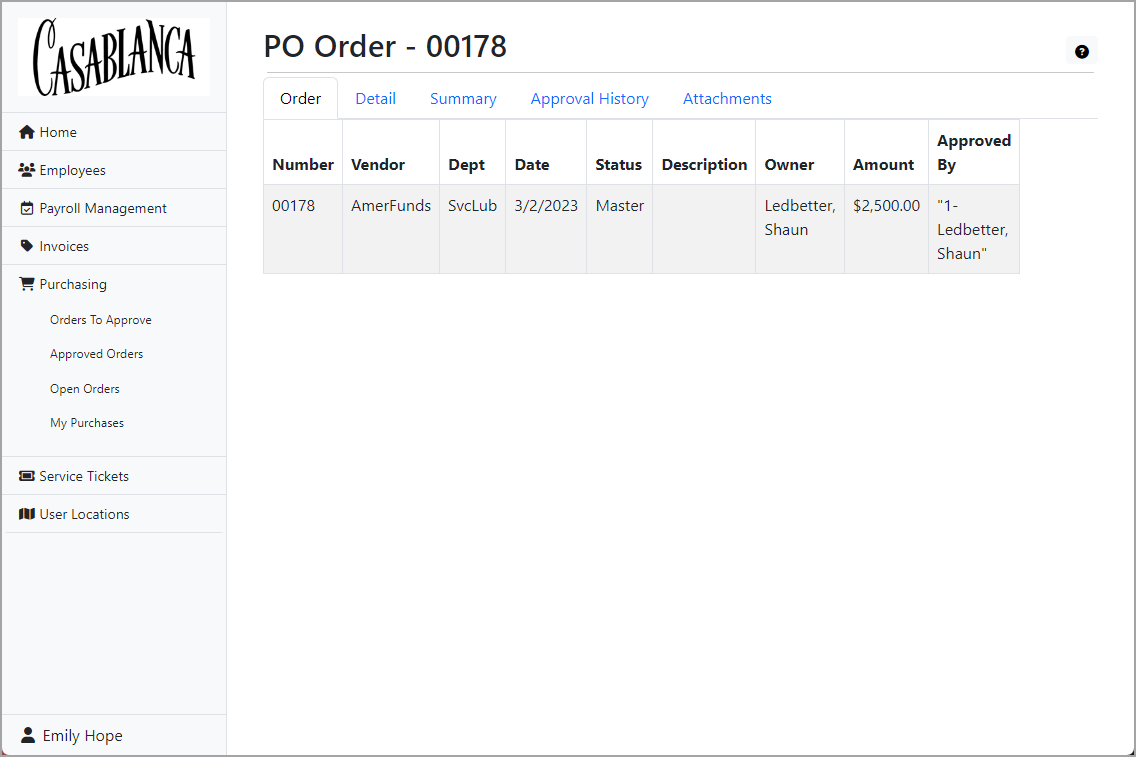
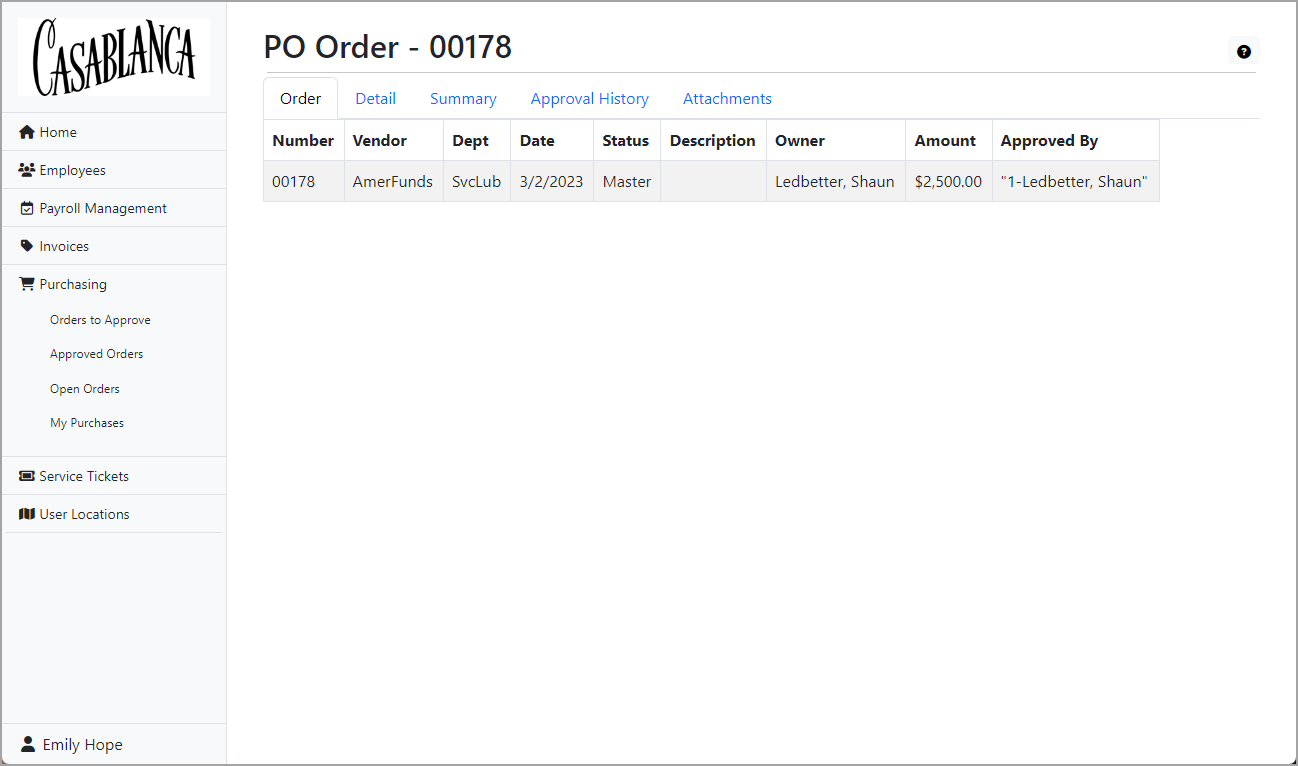
In the navigation pane, expand Purchasing and click the link for the status of the purchase order you want to view. The appropriate page opens.
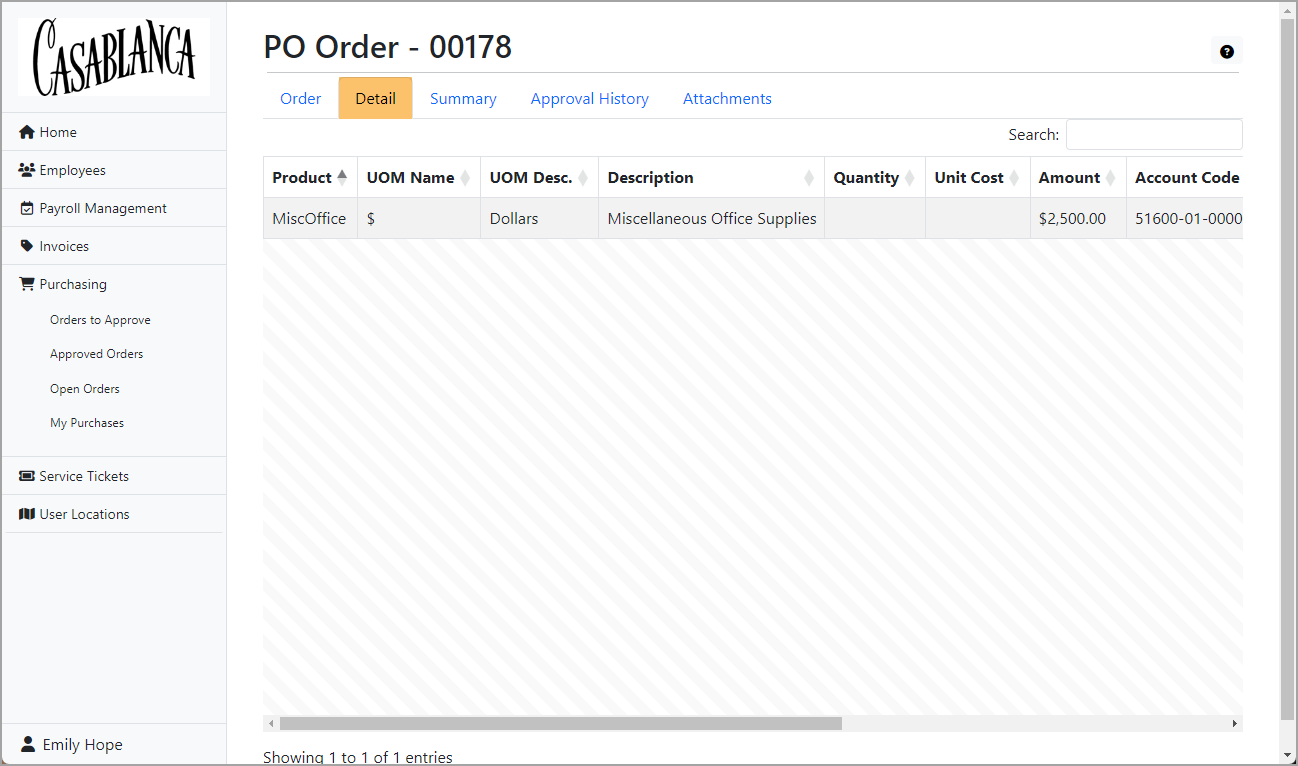
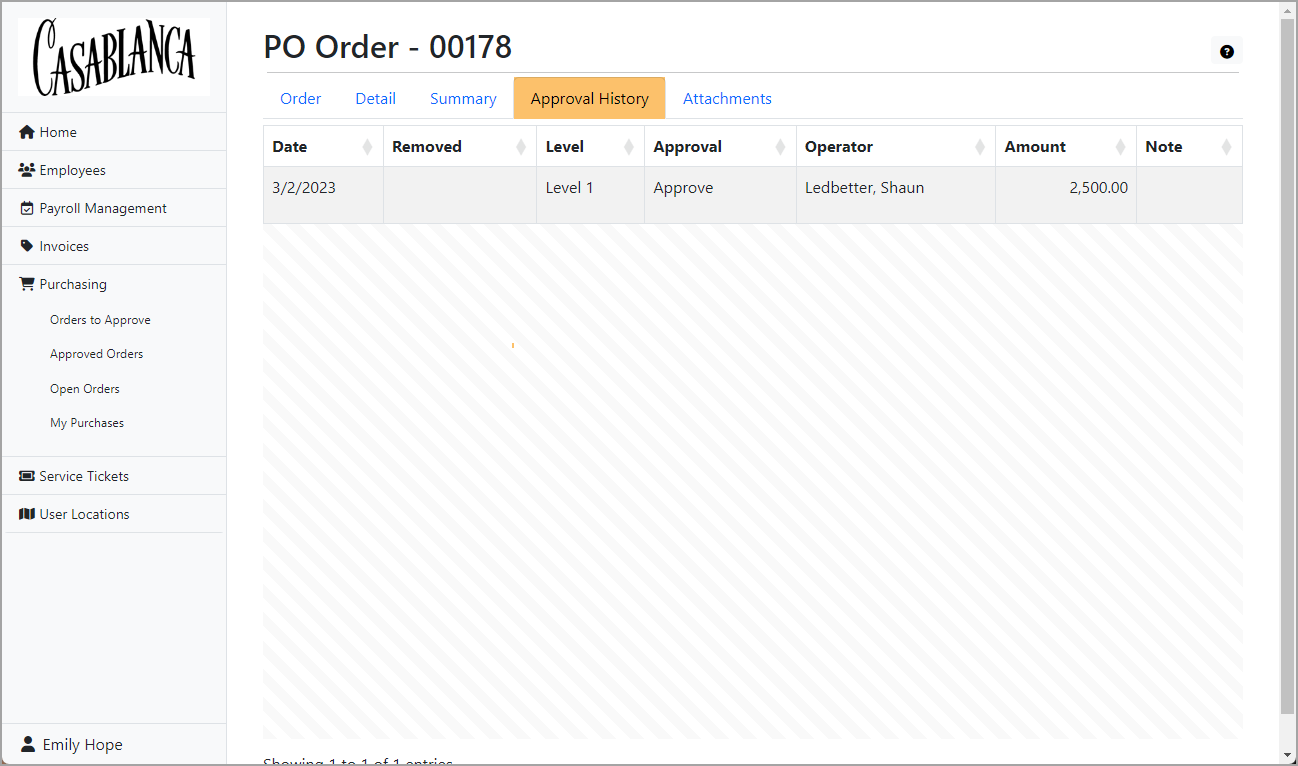
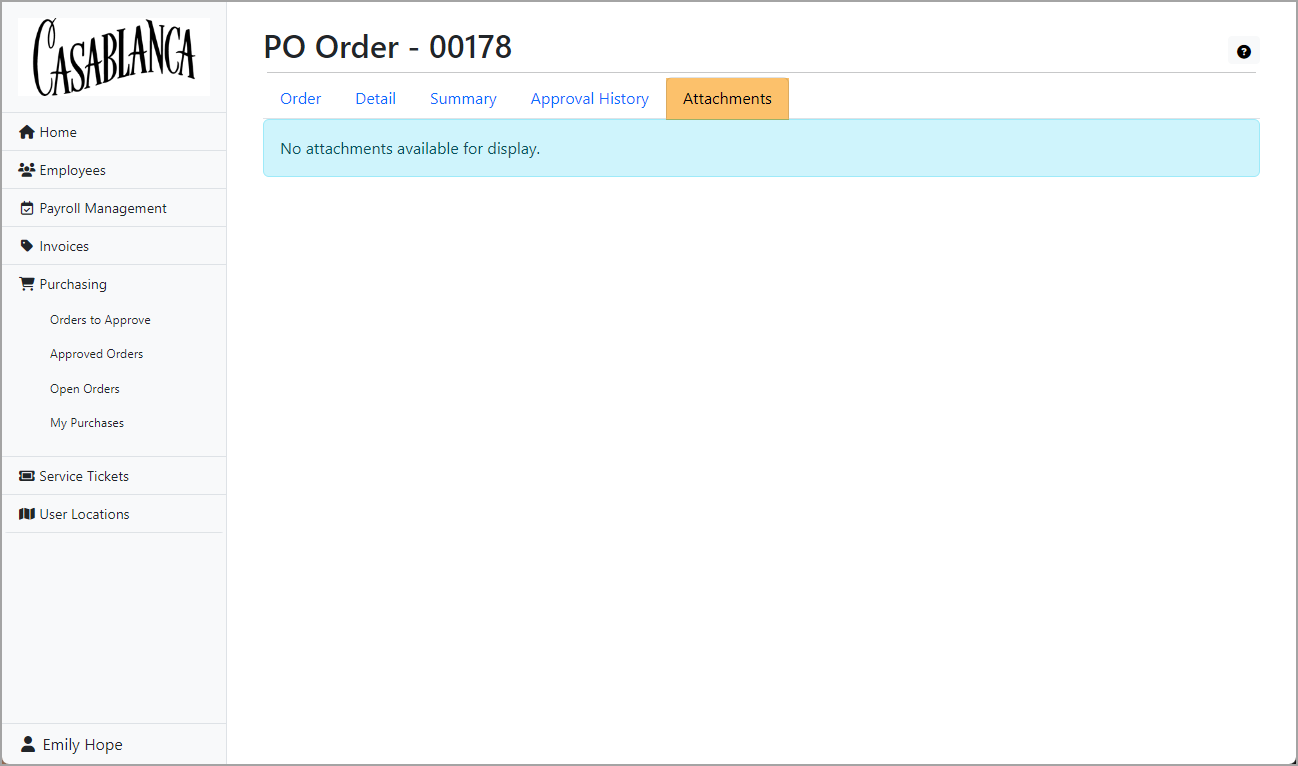
To view details for a particular purchase order, locate the row in the table which contains the purchase order and click the link in the Number column to load the purchase order record and its details.
Visit the Detail, Summary, Approval History, and Attachments tabs as needed.