Note
Only authorized users with appropriate company permissions and accesses can use the export and import features.
ActivityHD provides wizards to help you with exporting and importing data. Files are exported in XML format, a format which preserves the important details of your records as you move them. You can use export and import to move data from one ActivityHD company to another. You can import data from an outside source into ActivityHD. You can use export and import to move data between ActivityHD and third party programs.
The export and import features are available nearly everywhere you find data in ActivityHD - which is everywhere! You can export all records in a folder, selected records in the HD view, or a single record open in its native editor.
Export data from ActivityHD
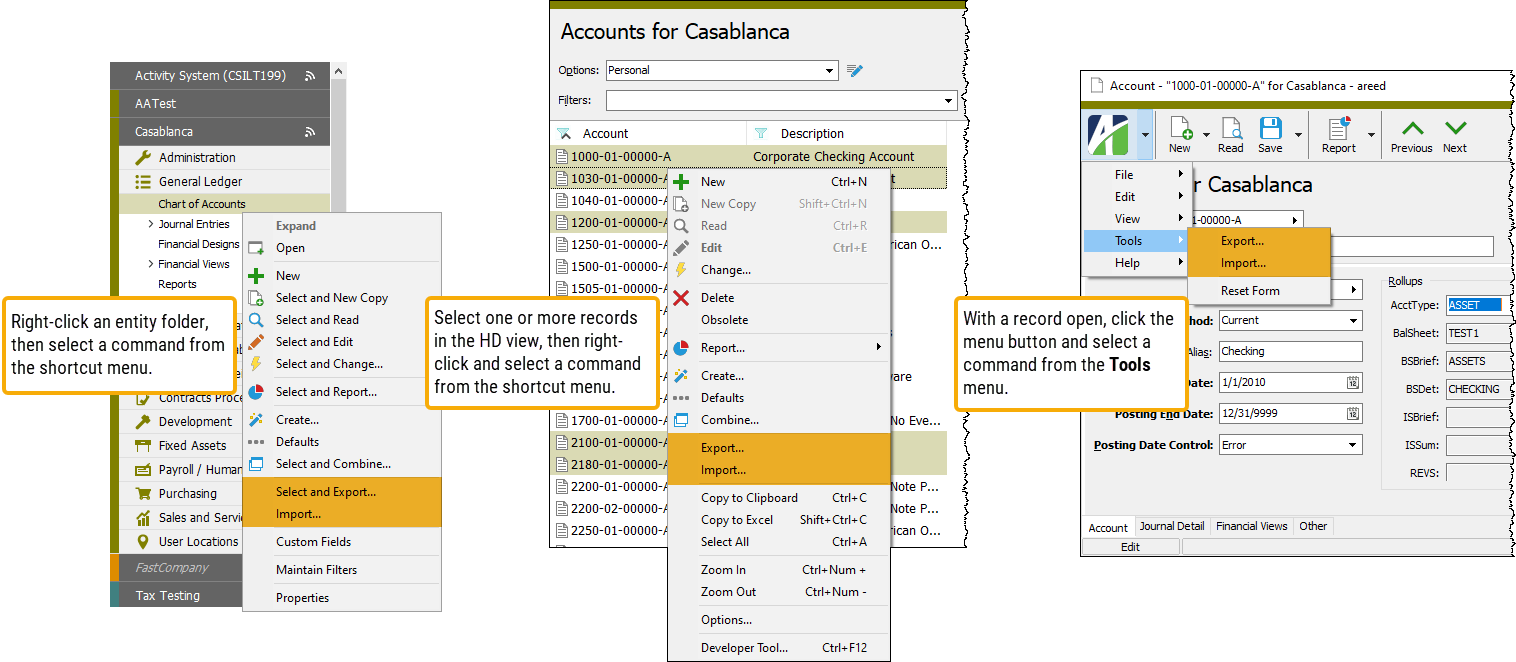
- In the Navigation pane, highlight the entity folder with the data you want to export.
- Start the export wizard.
- To export all or a filtered subset of records:
- Right-click the entity folder and select Select and Export from the shortcut menu.
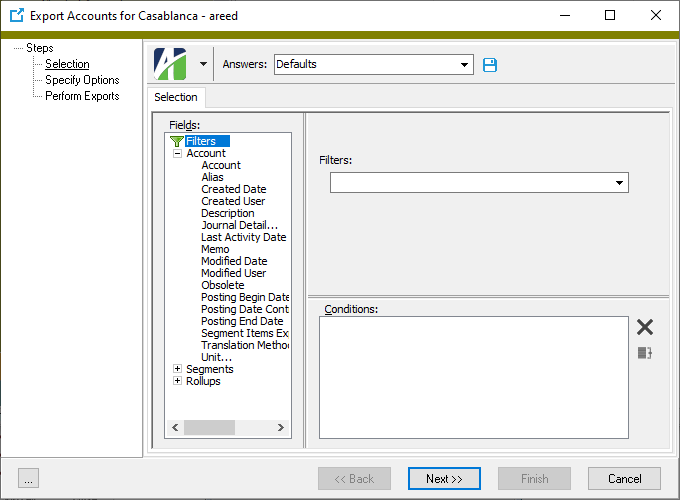
- On the Selection tab, define any filters to apply to the data.
- Click Next >>.
- Right-click the entity folder and select Select and Export from the shortcut menu.
- To export specifically selected records:
- In the HD view, select the records to include in the export. You can use Ctrl and/or Shift selection to select multiple records.
- Right-click and select Export from the shortcut menu.
- To export a single record:
- In the HD view, double-click the record you want to export to open it in its native editor.
- Select
 > Tools > Export.
- To export all or a filtered subset of records:
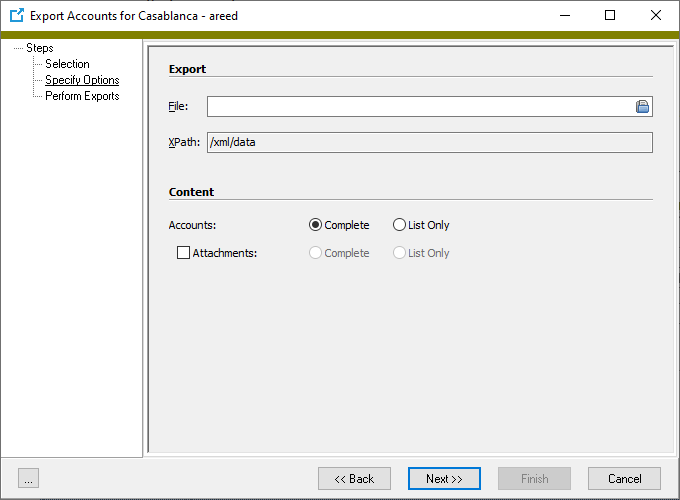
- In the File field, enter or browse to the path and file name for the export file.
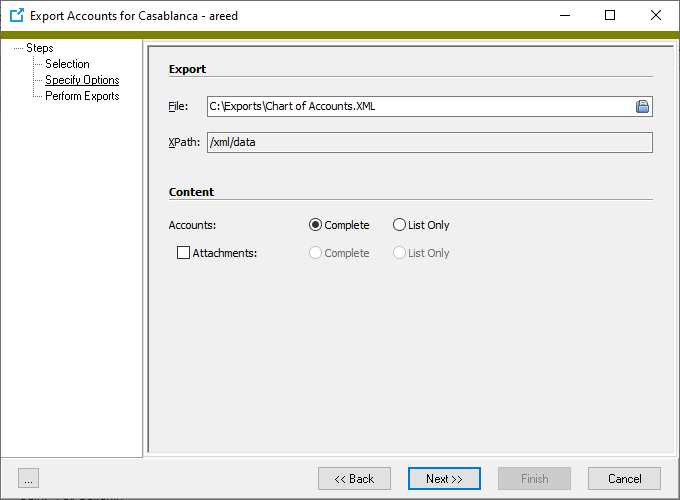
- The Content section prompts you for the entity information to export. Select the option that applies to you. Your options are:
- Complete. Exports the data for the selected records.
- List Only. Exports only a list of the selected records.
- If attachments are enabled for your system, the Attachments checkbox is enabled. Mark the checkbox if you want to include attachments in the export, then select the attachment information to export. Your options are:
- Complete. Exports the actual attachments on the selected records.
- List Only. Exports only a list of the attachments on the selected records.
- Click Next >>. ActivityHD prompts you to confirm that you want to perform the export.
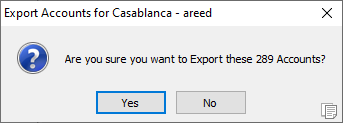
- Click Yes. The data is exported to the destination file.
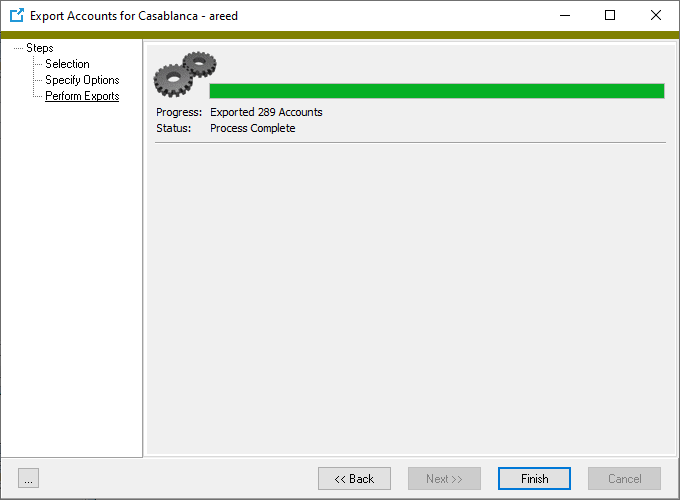
- Click Finish.
Note
For data consistency reasons, AP payment data can be exported from, but not imported to ActivityHD.
Import data from a folder
When you import records using the Import action from an entity folder, you specify an import file, confirm that you want to import, and proceed with importing. Issues are reported in the wizard when the import concludes. Importing from an entity edit window provides an interactive process where the user controls import progress and has the opportunity to understand and diagnose import issues and errors as they occur.
- In the Navigation pane, highlight the entity folder to import records into.
- Right-click and select Import from the shortcut menu. The import wizard starts.
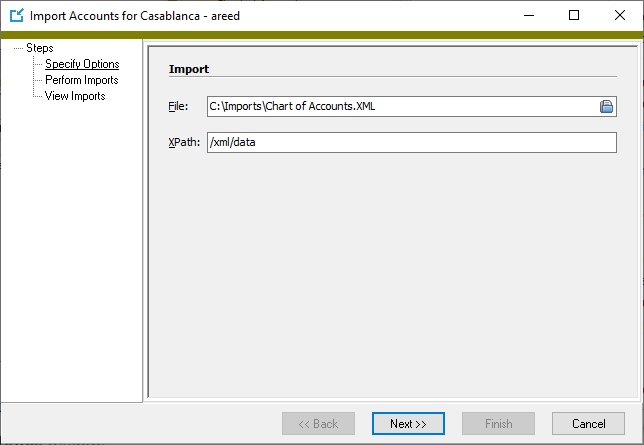
- In the File field, click
 to open the Browse window.
 - Navigate to and highlight the file to import.
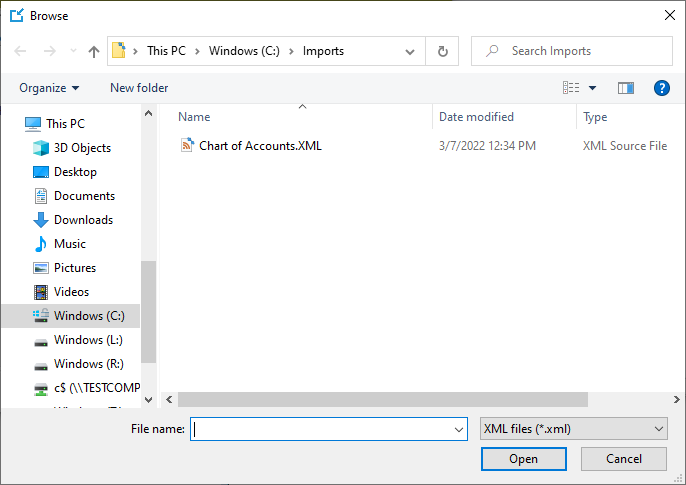
- Click Open. The path and file name load in the wizard.
- Click Next >>. ActivityHD prompts you to confirm your action.
- Click Yes.
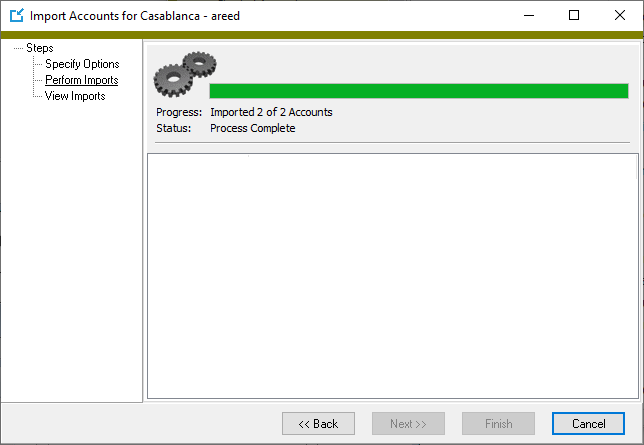
- When the import completes, click Finish.
Import data from an edit window
In the past, only the first record in an import file was imported when using the Import action from an edit window. The improved Import feature (introduced in version 8.18-0) removes this limitation and is interactive to make it easier for users to understand and diagnose any issues or errors that occur while importing. This is especially useful when using automation to modify data records.
To perform an import from an edit window:
- Open a record of the entity type you want to import records for.
- From the menu, select > Tools > Import. The Import dialog for the entity opens.
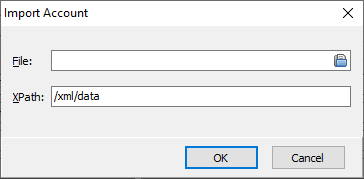
- In the File field, click to open the Browse window.
- Navigate to and highlight the file to import.
- Click Open. The path and file name load in the dialog.
- Click OK. The Import progress dialog opens.
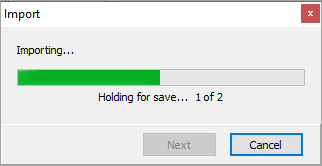
- Interact with the dialog as suggested by on-screen cues.
- When the import completes, click Finish.
The key differences between importing via the edit window versus importing via a folder or HD view are:
- An Import dialog is visible during the process and allows users to control import progress using Next and Cancel buttons.
- Attempting to use the Delete command (@Command = "Delete") results in the following error message:
The import command 'Delete' is not supported in this context.
- If the @Save(True/False) attribute is included and set to "True", then saving occurs automatically. Otherwise, the process pauses and waits for the user to save each imported record. This is useful in understanding errors that could occur when saving.
Default import behavior
When importing an XML file that contains one or more entities, the default behavior is to create a new entity for each XML data element. You can override this behavior by adding the "Command" attribute with values of "New", "Edit", and "Delete" to the data element.
Example
<XML ID='{BC66CBF8-10E1-4EA0-BFB9-C5B95B8AEF92}' Type='Positions'>
    <data Command='Edit' Code='President' ID='{B94ED681-827A-4B0E-8FED-01253DDB65C4}'>
        <Code Value='President'/>
        <Description Value='New Description Here'/>
        ...
    </data>
</XML ID>The order that you import data into ActivityHD is important. If the data you are importing depends on other data that hasn't been imported yet, your import will fail.
-
You cannot import entity records that reference other entity records which are not in the destination database.
Examples
Permissions that reference authorized users who are not yet in the destination database cannot be imported. You may need to import or create the authorized users first. Security can be particularly thorny since authorized users can reference permissions and security views and permissions and security views can reference authorized users.
Payroll groups that reference segment items cannot be imported before the segment items they reference.
- You cannot import entity records that reference custom data which does not exist in the destination database.
|
5225 S Loop 289, #207 Lubbock, TX 79424 806.687.8500 | 800.354.7152 |
© 2025 AccountingWare, LLC All rights reserved. |