Developer tab
Every entity with an automation interface has an optional Developer tab which can be shown to reveal the automation fields available in ActivityHD with their names and values and with the XML syntax for exporting and importing entity records.
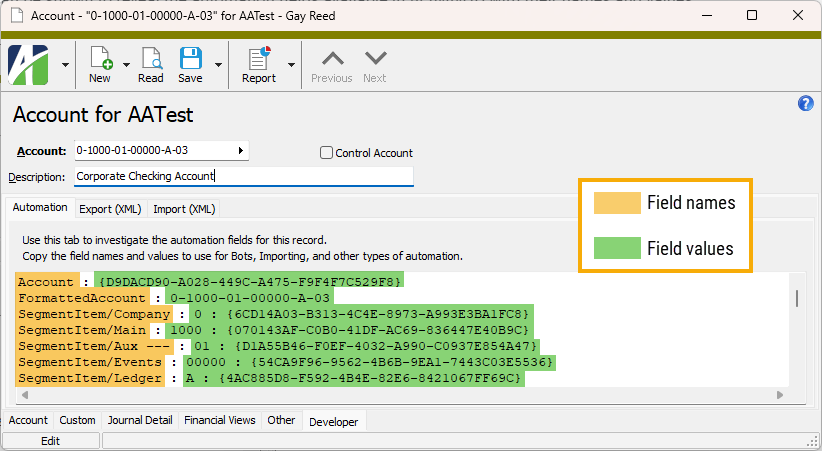
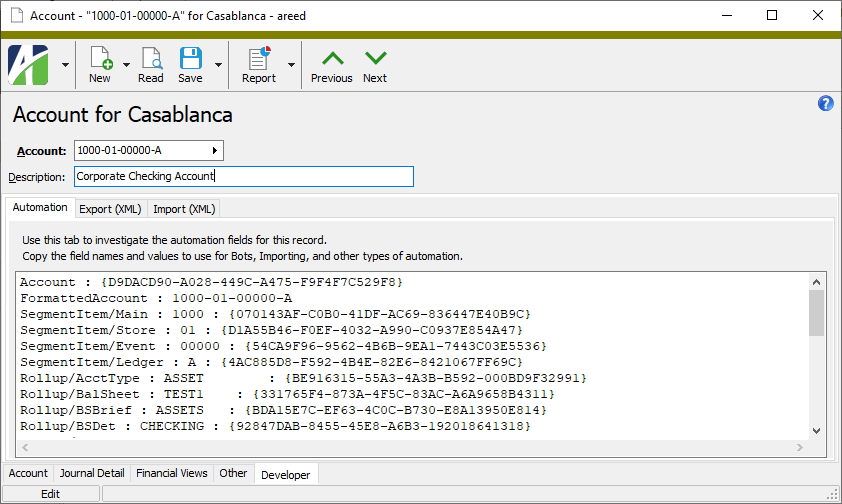
The Automation subtab shows field names and values:
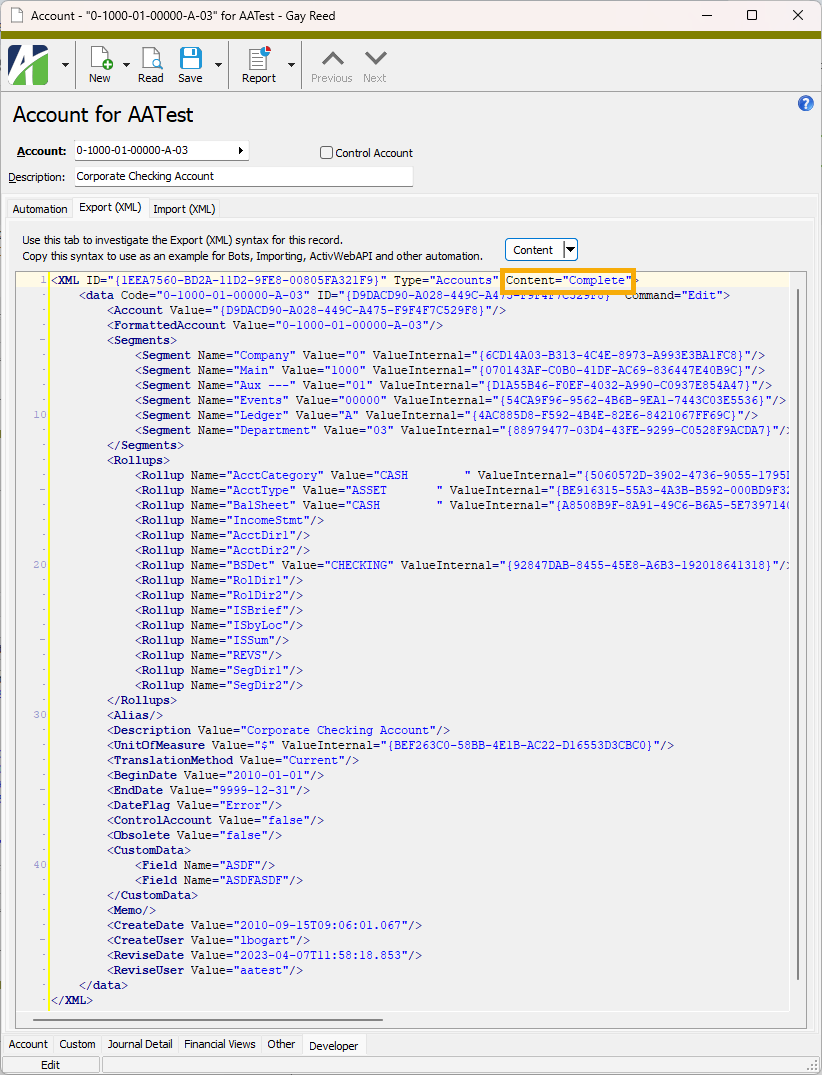
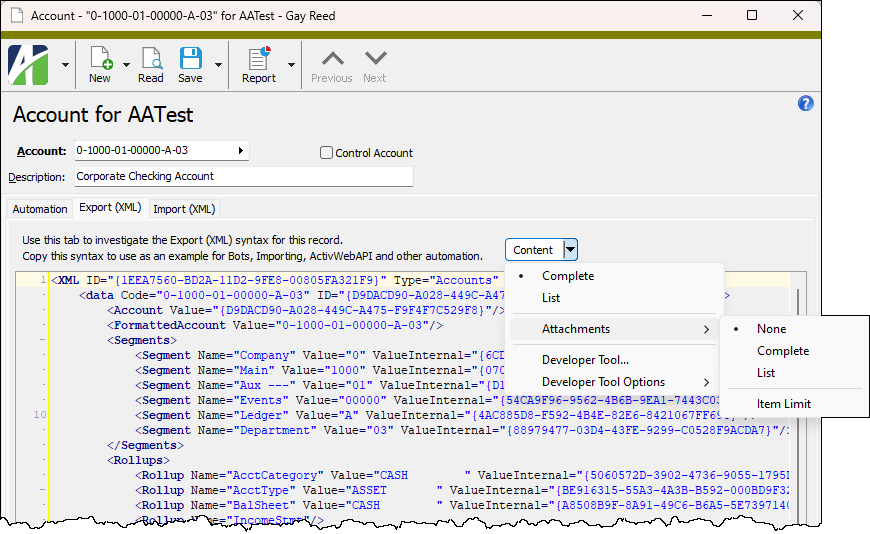
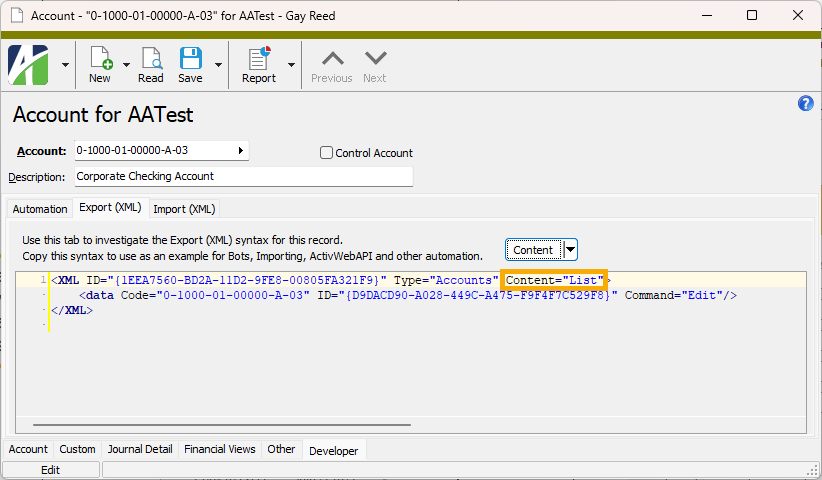
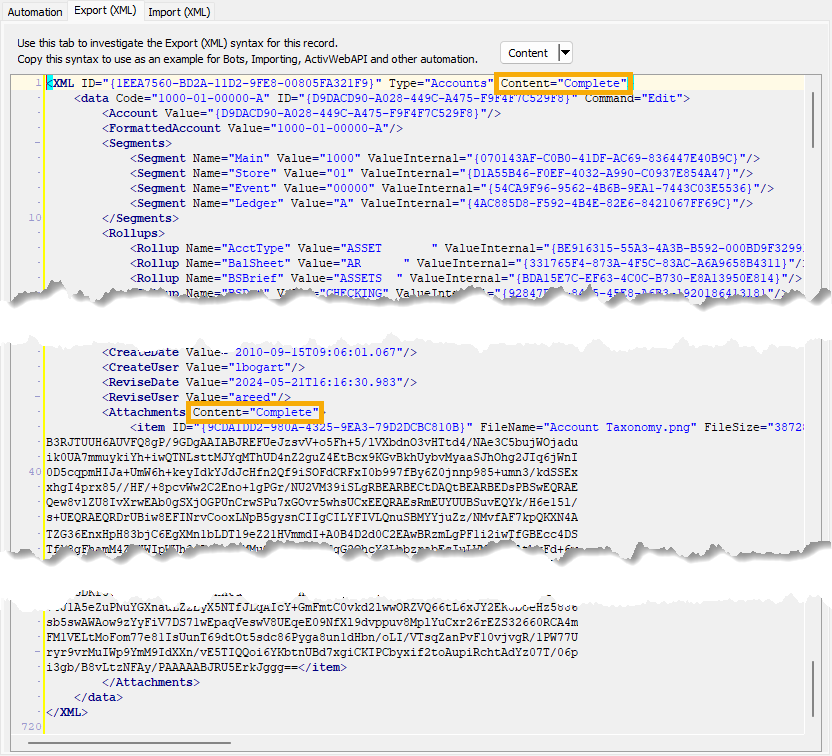
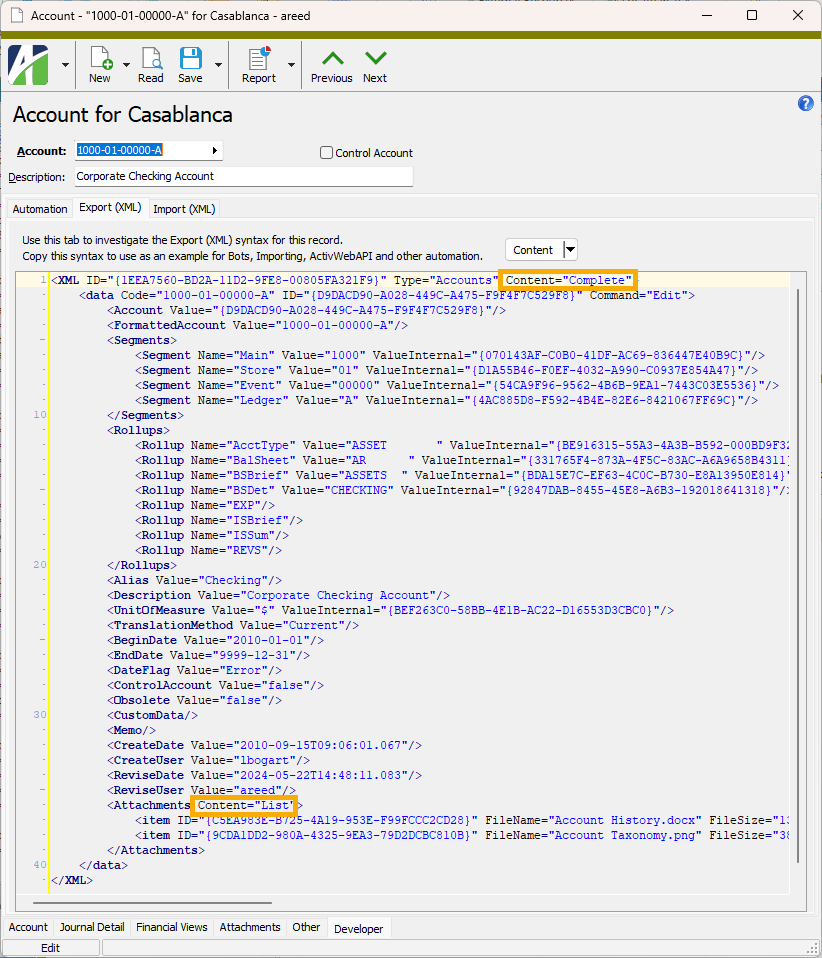
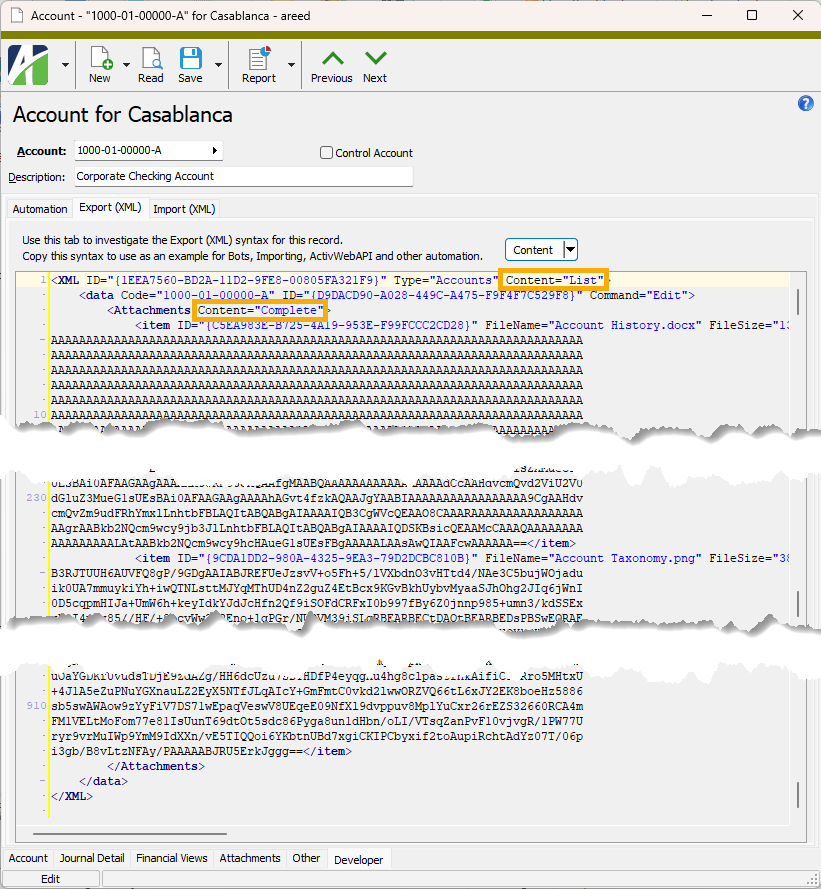
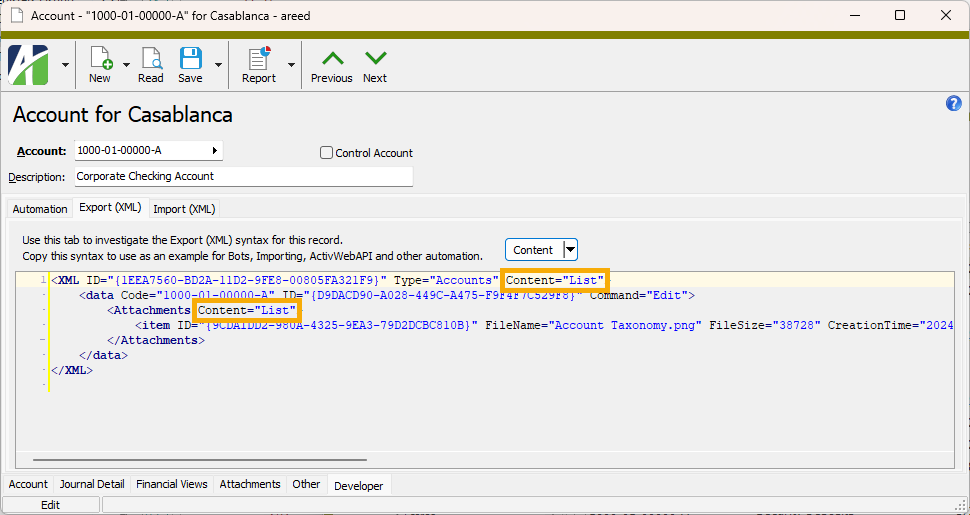
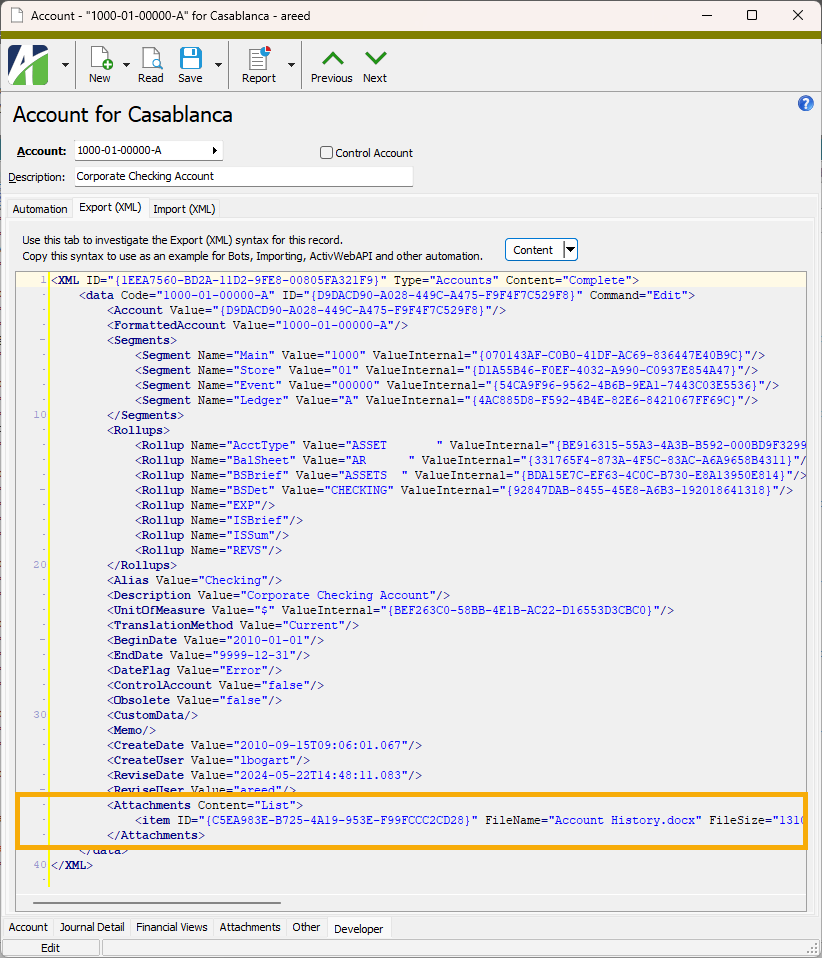
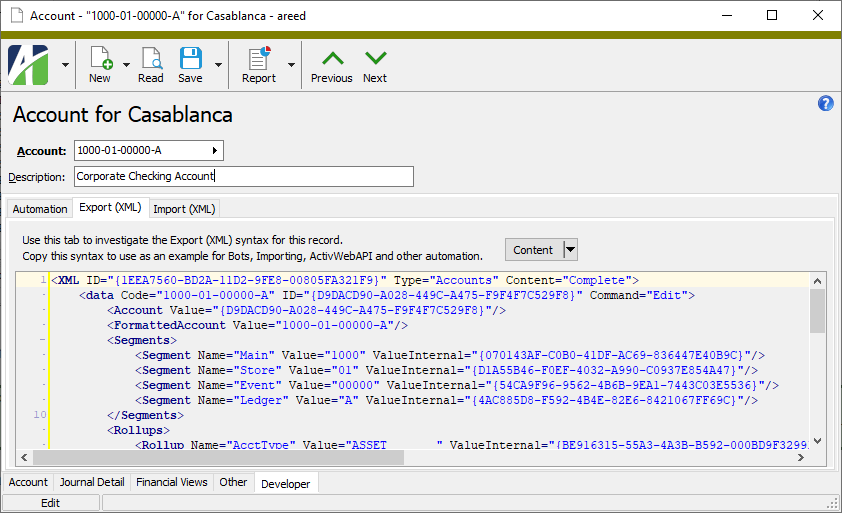
The Export (XML) subtab shows the XML syntax for exporting the selected entity record.
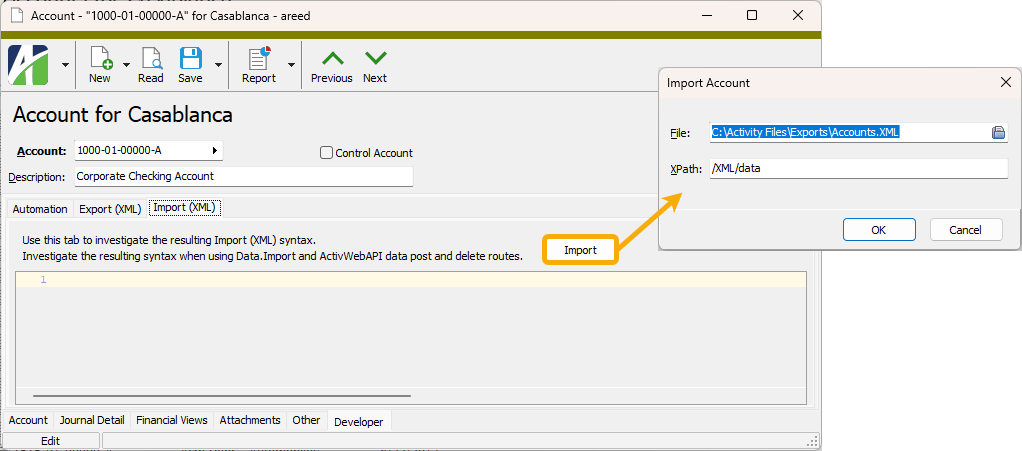
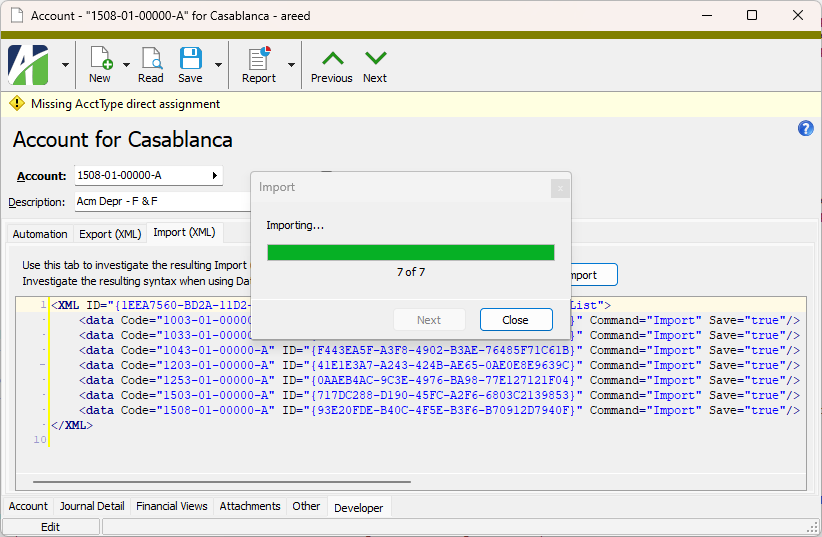
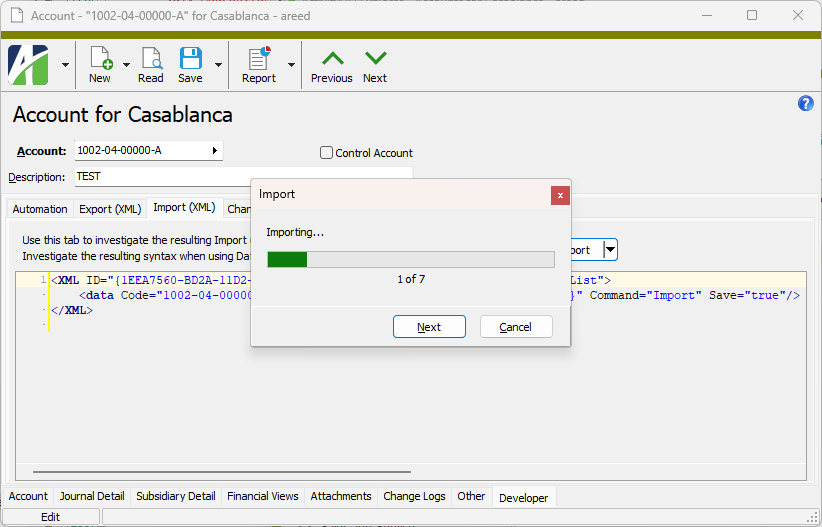
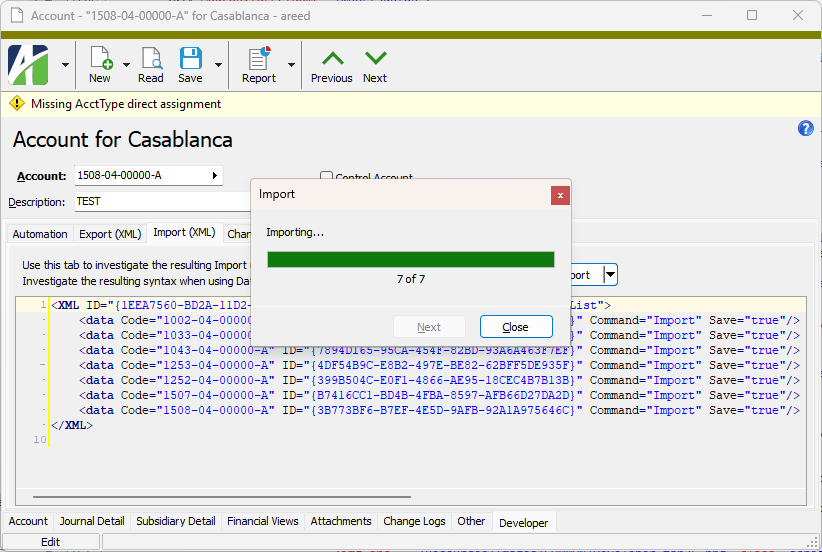
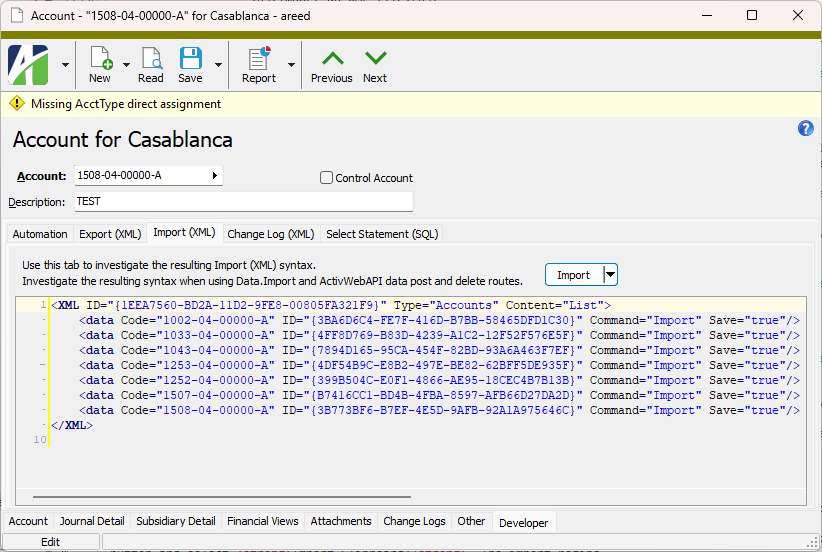
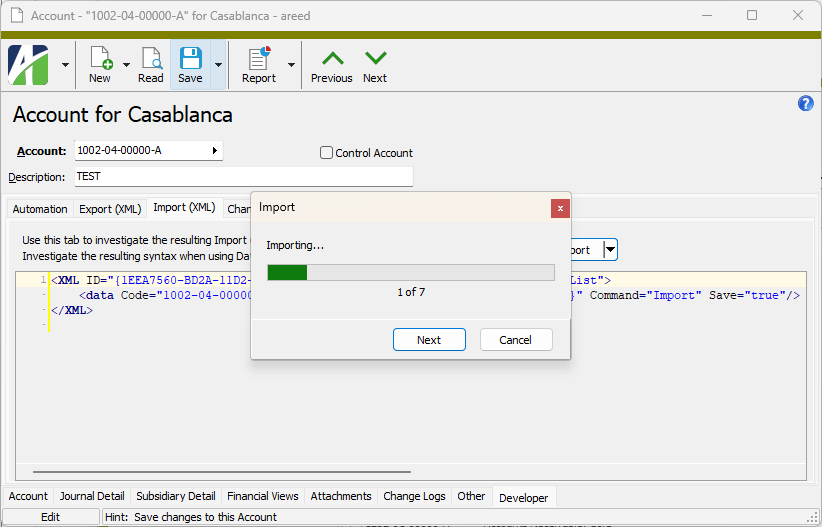
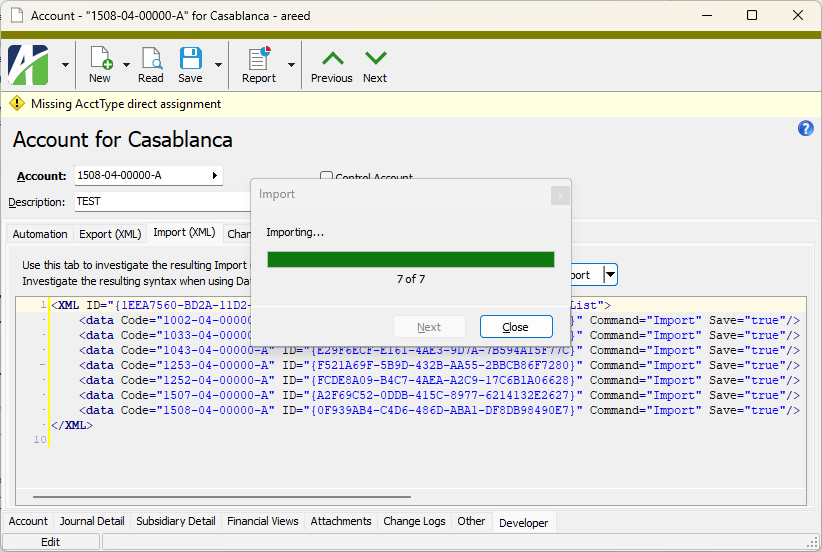
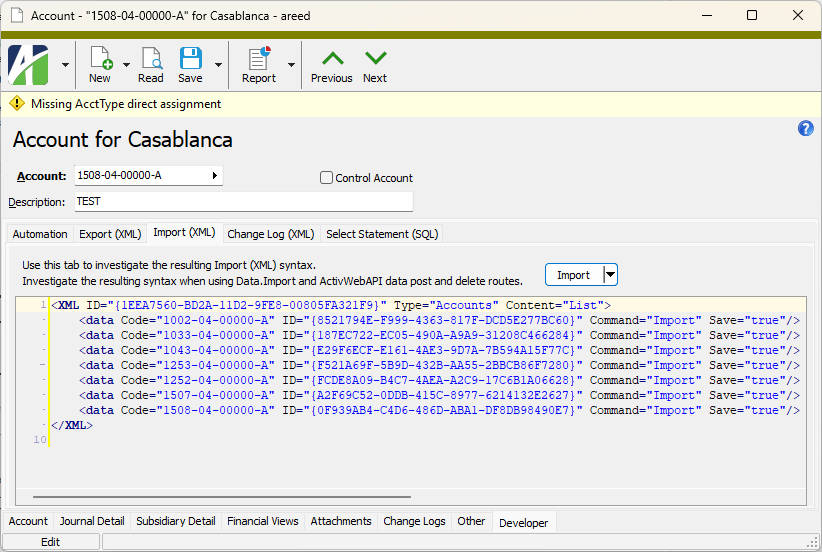
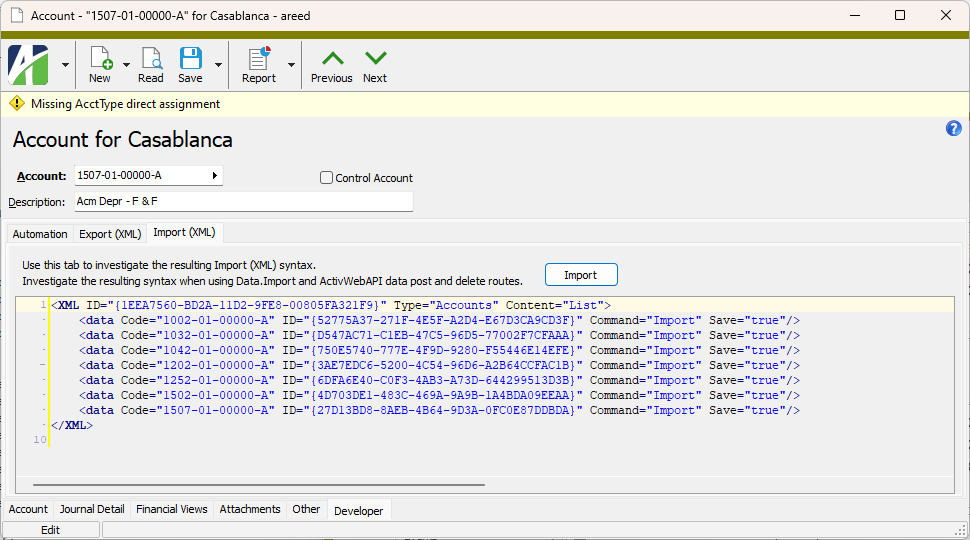
The Import (XML) subtab allows you to select a file for import and shows the XML syntax for importing entity records.
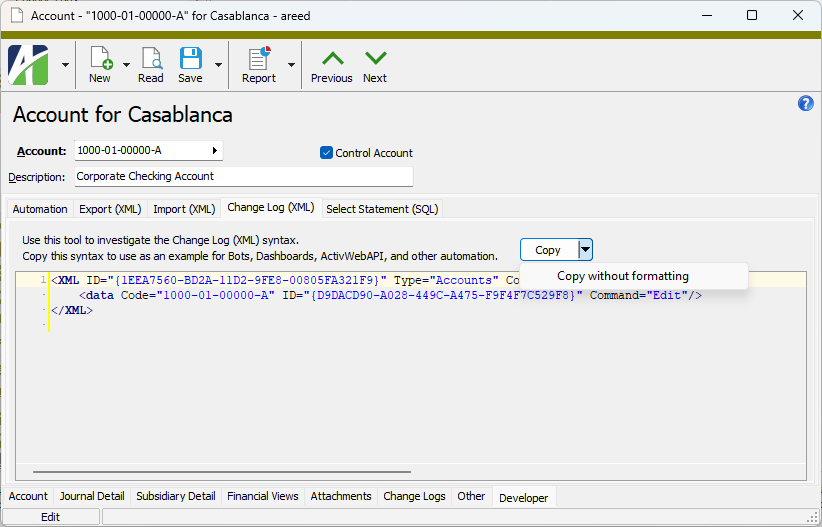
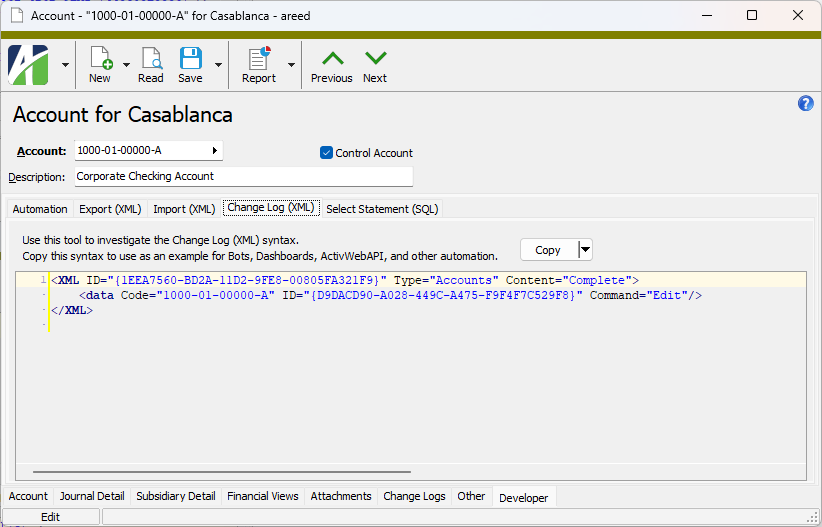
The Change Log (XML) subtab shows the XML syntax for the change log. The syntax can be copied as exemplary syntax for bots, dashboards, ActivWebAPI, and other automation purposes. This feature can be enabled/disabled by marking/clearing the Enable Change Logs checkbox in the System Options dialog.
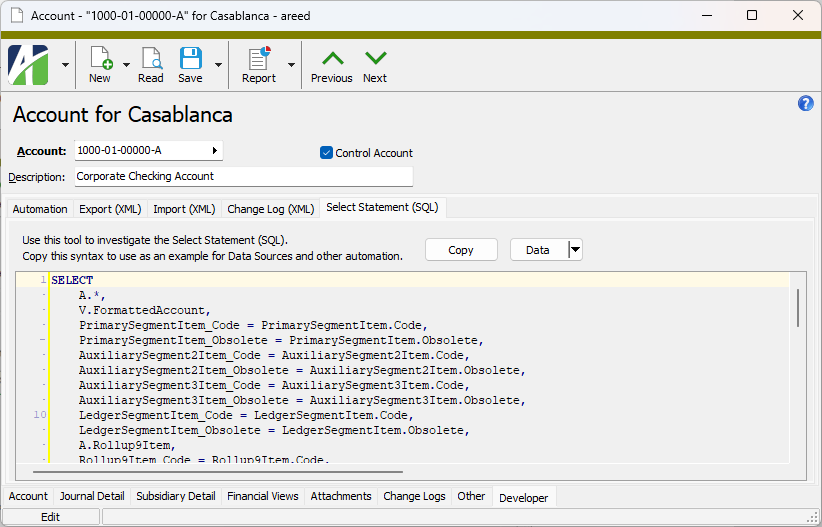
The Select Statement (SQL) subtab shows the SQL syntax used to access the current data record.
The information in these tabs is useful in the creation of bots and development of other forms of automation.
Tip
You can move off the Developer tab and make changes to the entity record, then return to the Developer tab to see the tab updated with the changes you made!
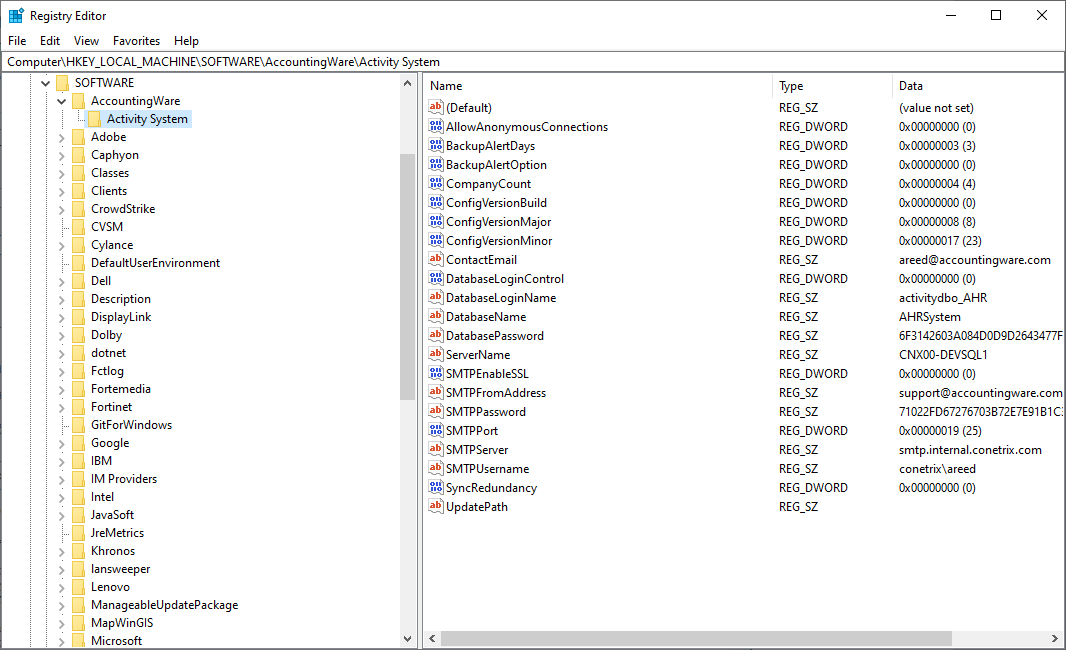
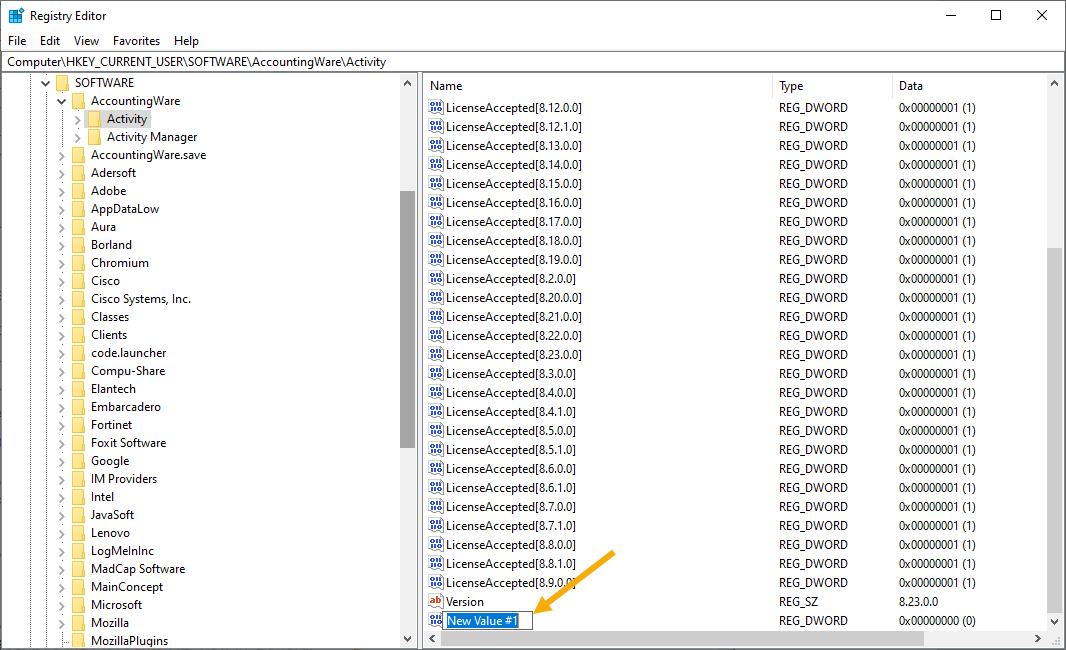
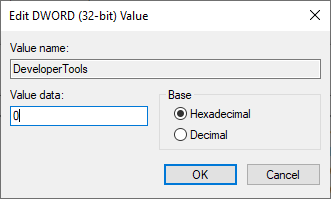
To gain access to the Developer tabs, you must first have Developer Tools enabled.
After Developer Tools are enabled, new options appear in the Tools menu of every ActivityHD entity which has an automation interface. If Developer Tools are enabled and these actions do not appear in an entity window, then the entity does not currently have an automation interface.
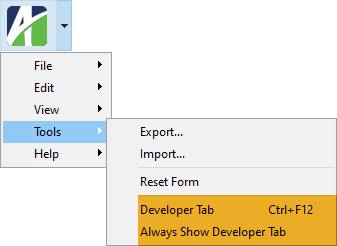
- Developer Tab. This action shows the Developer tab for the current entity only and the tab disappears once you close the editing window. You can press Ctrl+F12 at any time from an automation-capable entity to display the tab again.
- Always Show Developer Tab. This action shows the Developer tab for every entity with an automation interface and persists until you turn the feature off by reselecting Always Show Developer Tab. (The presence or absence of a checkmark in the menu margin next to the action indicates whether the feature is on or off.)