Data links are associations you make between related records that help keep the records up to date. Data links should only be created when data on two or more records represents the same entity. For example, if you have an AP vendor who is also an AR customer, you can create a data link between them and designate the data that you want to keep automatically updated. If the data is changed on one record, it immediately updates on the other record. For instance, suppose the address fields on a vendor and a customer record are linked. If the address on the customer record is changed, the vendor record is also updated.
The following record types are eligible for data linking: authorized users; AP vendors, contacts, and locations; AR customers, contacts, salespersons, and locations; banks and bank contacts; employees and HR contacts; and PO agents, operators, departments, and shipping addresses.
Linked data is indicated on data records by blue field labels.
Note
To add or remove data-linked records or to change the field link settings, a user must have access to all the affected linked records. However, once links are established, any edit to one of the data-linked records is propagated to the other linked records.
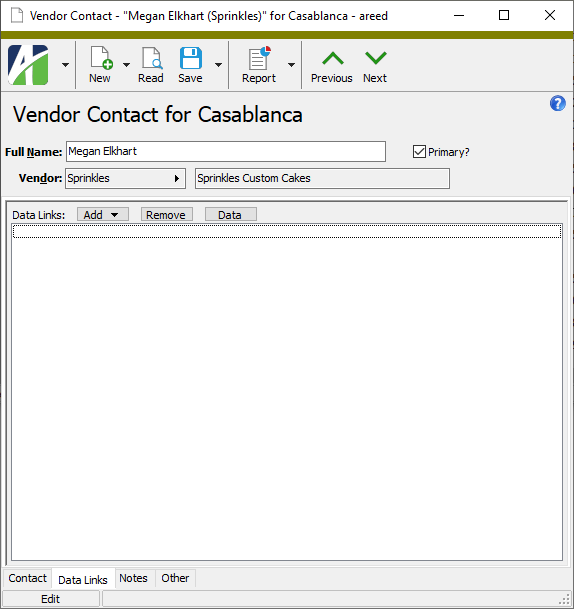
Open the record you want to link to another record.
Select the Data Links tab.
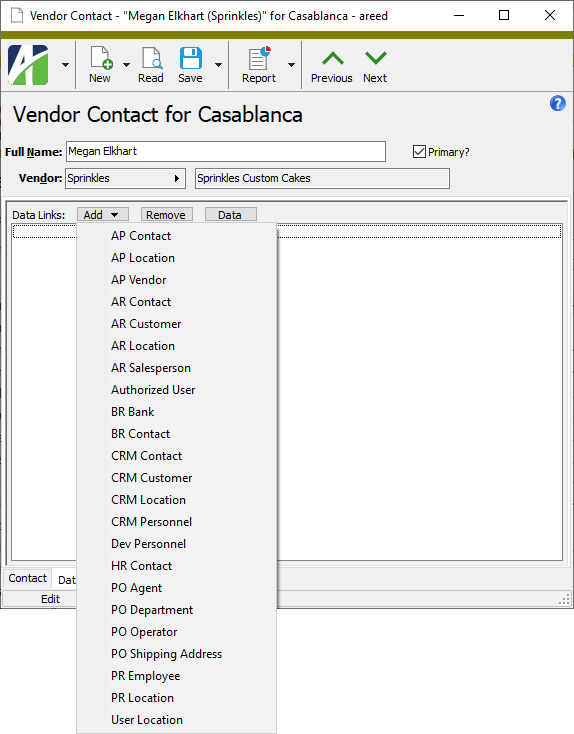
Click Add. The list of record types that the current record can be linked to opens.
Select the type of record to link to. The Find dialog for that record type opens.
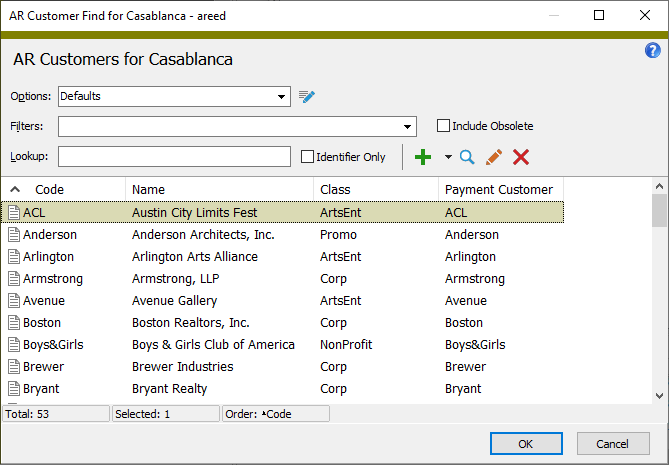
Locate the record to link to, highlight it, and click OK.
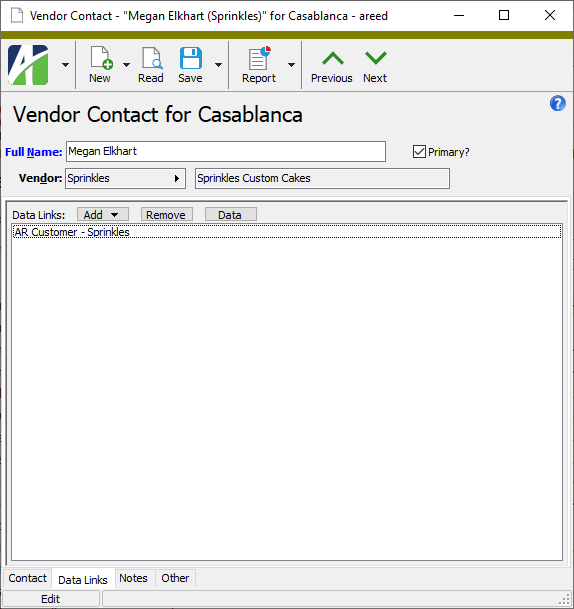
If there are no data conflicts, ActivityHD creates default links for you.
If you want to accept the links that ActivityHD added automatically, you can skip to the last step. If you want to manage the links yourself or if the system warned you of data differences, continue with the next step.
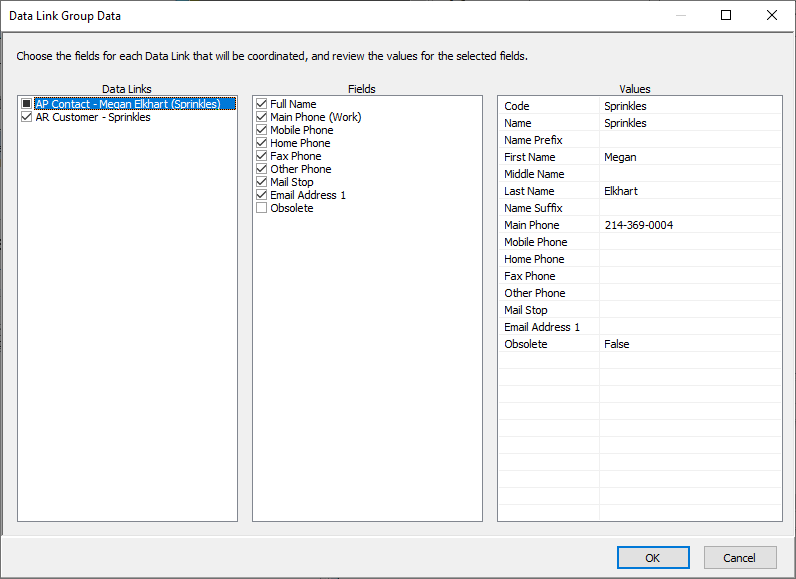
Click Data. The Data Link Group Data dialog box opens.
The Data Link Group Data dialog box is divided into three sections: Data Links, Fields, and Values.
The Data Links list box shows the records that are linked to the current record. The checkbox next to a data link can be in one of three states:
A clear checkbox means that none of the fields for the data link is selected for sharing. Clicking a clear checkbox selects all fields for sharing.
A checkbox filled with a dark square means that some of the fields for the data link are selected for sharing. Clicking a checkbox filled with a dark square selects all fields for sharing.
A black checkmark means that all of the fields for the data link are selected for sharing. Clicking a checkbox with a black checkmark deselects all fields.
The Fields list box shows the fields eligible for linking for the record that is selected in the Data Links list box. If multiple records are selected, the Fields list box shows the combined list of fields for the selected records.
If only one data link is selected:
A clear checkbox means the field is not shared. Clicking a clear checkbox selects the field for sharing.
A black checkmark means the field is selected for sharing. Clicking a checkbox with a black checkmark deselects the field.
If two or more data links are selected:
A clear checkbox means the field is not selected for sharing for any of the selected data links. Clicking the checkbox selects the field for sharing by all selected data links.
A checkbox filled with a dark square means the field is selected for sharing for at least one but not all of the selected data links. Clicking the checkbox selects the field for sharing by all selected data links.
A black checkmark means the field is selected for sharing. Clicking a checkbox with a black checkmark deselects the field for all selected data links.
The Values section shows the current values for all selected fields. Discrepancies in linked records are indicated in bold to signal that your attention is needed. You can edit or deselect values directly in the Values section.
For each data link you need to manage data sharing for, select the link in the Data Links list box, then select or deselect the fields for linking in the Fields list box.
Tip
As of ActivityHD 9.10-0, a Select All feature has been added to dual checklist controls such as the control in the Data Link Group Data dialog box. This feature is useful for selecting all data links in the Data Links list box and assigning one or more fields to all of them or for selecting all fields in the Fields list box and assigning one or more data links to all of them.
To select all items in a list box, put focus in the list box, right-click, and select "Select All", or put focus in the list box and press Ctrl+A.
When you finish selecting fields, examine the data in the Values section. Make any necessary changes. In particular, ensure that conflicts indicated in bold are resolved.
The following procedure can be used to create new entity records from existing entity records of a different type. For example, if you have an AR customer who becomes a vendor, you can link the new vendor record to the existing customer record to create links to the data that the vendor record and customer record have in common.
In the Navigation pane, highlight the folder for the type of entity record you need to create.
Click . The data entry window opens.
Select the Data Links tab.
Click Add. The list of record types opens.
Select the type of record to link to. The Find dialog for that record type opens.
Locate the record to link to, highlight it, and click OK.
Click Data. The Data Link Group Data dialog box opens.
Using the principles in "Create a data link" above, establish the desired links and verify data values. The linked data from record(s) you linked to is pulled into the new record.