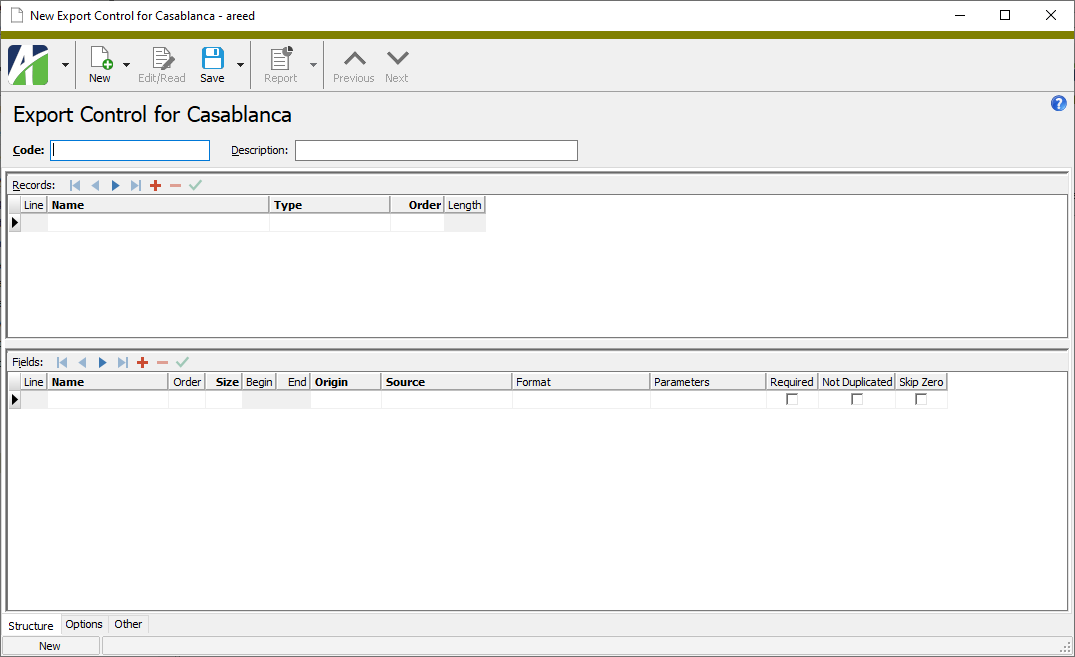
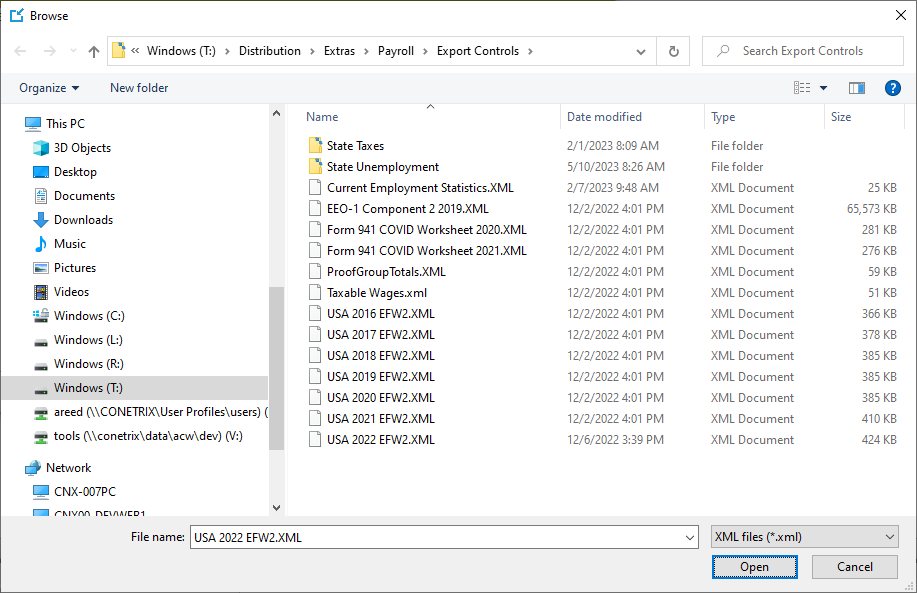
For your convenience, the ActivityHD distribution includes a few export control files which can be imported to your system. These include layouts for USA EFW2, state EFW2s, Canadian T4, California Quarterly Wage (DE 6), and New Employee Registry (DE 34). You can find these files in the Extras folder: ...\Extras\Payroll\Export Controls\.
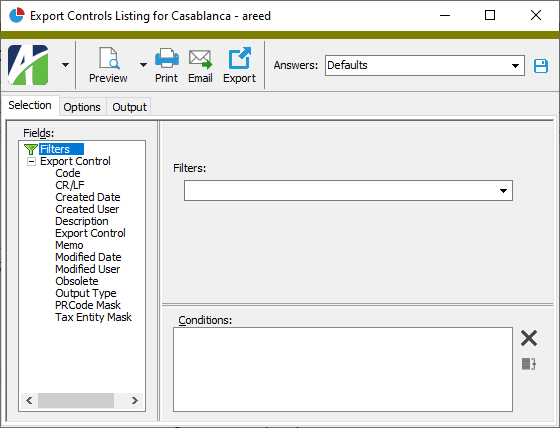
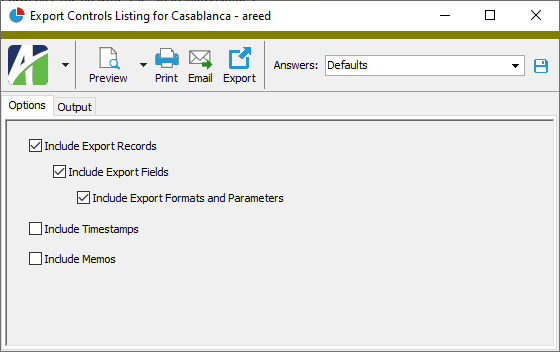
Export controls are used to generate the Create Totals File (see below) and to print the Employee Totals File Report.

Employee Totals File Report
Purpose
The Employee Totals File Report shows employee totals for the export file and the export control you designate.
Content
For each record represented on the report, the report shows:
- record number
- defined fields.
For each field represented on the report, the report shows:
- field number
- beginning position of field
- ending position of field
- length of field
- field name
- field value
- formatted number (when the field value is a number).
The following totals appear on the report:
- total records reported
- total fields reported.
Print the report
- In the Navigation pane, highlight the Payroll/Human Resources > Employees folder.
- Right-click the Employees folder and select Report Totals File from the shortcut menu.
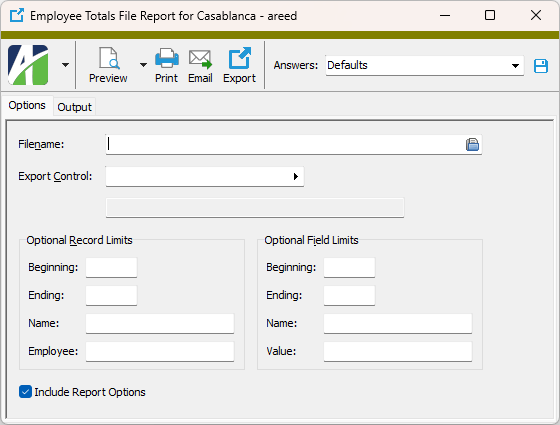
- On the Options tab in the Filename field, enter the path and file name of the export totals file or browse to it and select it.
- Select the Export Control to use for the report. The export control specifies the record and field definitions used for the totals file.
- The fields in the Optional Record Limits section let you filter by one or more of the following fields:
- Beginning. Enter the smallest record number to include on the report.
- Ending. Enter the largest record number to include on the report.
- Name. To filter by record name, enter the value or partial value to match.
Employee. To filter by employee name, enter the value or partial value to match.
Note
In the past, the Name and Employee fields often required wildcarding to produce the desired result. As of version 9.4-0, wildcarding is built into these fields. Wildcards are assumed at the beginning, end, and between words of the value entered.
- The fields in the Optional Field Limits section let you filter by one or more of the following fields:
- Beginning. Enter the smallest field number to include on the report.
- Ending. Enter the largest field number to include on the report.
Name. To filter by field name, enter the value or partial value to match.
Value. To filter by field value, enter the value or partial value to match.
Note
In the past, the Name and Employee fields often required wildcarding to produce the desired result. As of version 9.4-0, wildcarding is built into these fields. Wildcards are assumed at the beginning, end, and between words of the value entered.
- To include a section at the end of the report with the report settings used to produce the report, leave the Include Report Options checkbox marked. To produce the report without this information, clear the checkbox.
- Select the Output tab.
- In the Design field, look up and select the report design to use.
- In the toolbar, click the icon for the type of output you want:
 - Provides access to two preview options.
- Preview - Click the icon or click the drop-down arrow and select Preview from the drop-down menu to view the report in the Crystal Reports viewer.
- Preview to PDF - Click the drop-down arrow next to the icon and select Preview to PDF to view the report in the PDF reader.
 - Opens the Print dialog so that you can select and configure a printer and then print a paper copy of the report.
 - Opens the dialog so that you can address and compose an email that the report will be attached to. For best results, ensure your email client is running before you attempt to send a report via email.
 - Opens the Export Report dialog so that you can save the report to a file. File types include Crystal Reports (.rpt), PDF (.pdf), Microsoft Excel (.xls), Microsoft Word (.doc), rich text (.rtf), and XML (.xml).
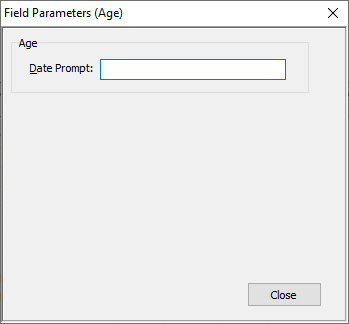
Export controls: Age
The Age parameter returns an employee's age as of a specified date.
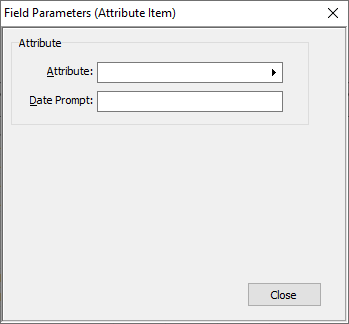
Export controls: Attribute Item
The Attribute Item parameter returns the attribute item that was in effect for the designated attribute as of a specified date.
-
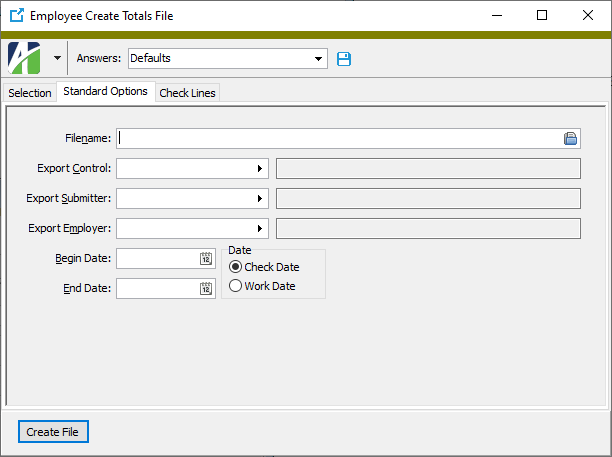
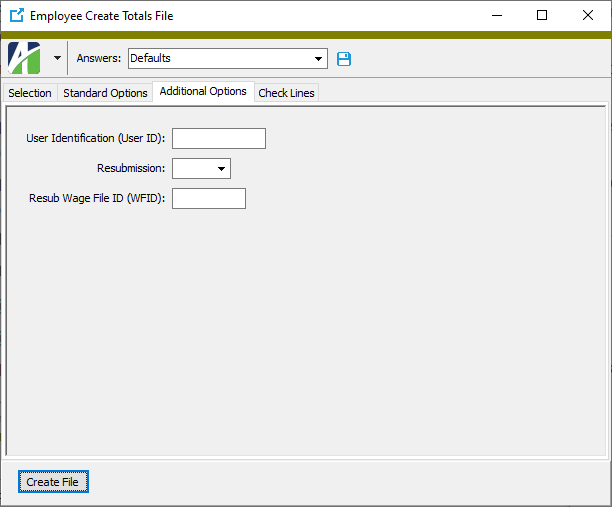
- If you want to prompt for a date on the Additional Options tab of the Create Totals File wizard when the export file is created to determine which attribute item was in effect as of that date, enter a label for the prompt in the Date Prompt field. Otherwise, the end date from the Standard Options tab is used to determine which attribute item to use.
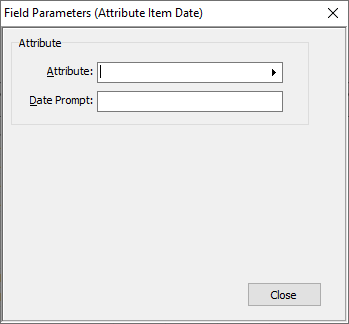
Export controls: Attribute Item Date
The Attribute Item Date parameter returns the effective date of the attribute item for the designated attribute as of a specified date.
-
- If you want to prompt for a date on the Additional Options tab of the Create Totals File wizard when the export file is created to determine which attribute item was in effect as of that date, enter a label for the prompt in the Date Prompt field. Otherwise, the end date from the Standard Options tab is used to determine which attribute item date to use.
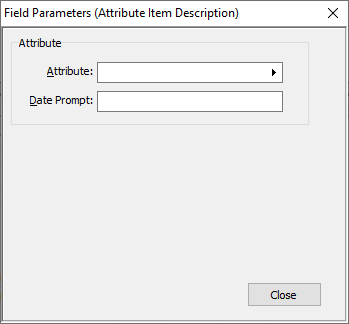
Export controls: Attribute Item Description
The Attribute Item Description parameter returns the description of the attribute item that was in effect for the designated attribute as of a specified date.
-
- If you want to prompt for a date on the Additional Options tab of the Create Totals File wizard when the export file is created to determine which attribute item was in effect as of that date, enter a label for the prompt in the Date Prompt field. Otherwise, the end date from the Standard Options tab is used to determine which attribute item description to use.

Export controls: Group Coverage
An employee is considered covered by a group if the employee has at least one check where (1) the coverage date falls between the pay period begin date and end date, and (2) the check contains at least one check line in the coverage group (and tax entity, if one is specified). If the employee is covered, the value for true is written to the totals file; otherwise, the value for false is written to the file.
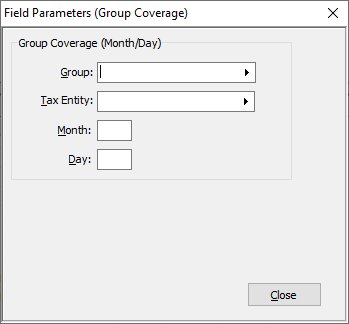
- In the Group field, select the check line group for the coverage test.
- In the Tax Entity field, select the tax entity to apply to the coverage test.
- In the Month field, enter the number of the month for the coverage test. The month number is relative to the date range you select when you create the totals file.
- In the Day field, enter the day of the month (1-31) for the coverage test.
Example
If you specify a date range of October 1 to December 31 when you create the totals file, then Month 1 is October, Month 2 is November, and Month 3 is December. If you want to test November, enter 2.
Export controls: Group Total
The Group Total parameter returns the group total that results when the conditions you specify are applied.
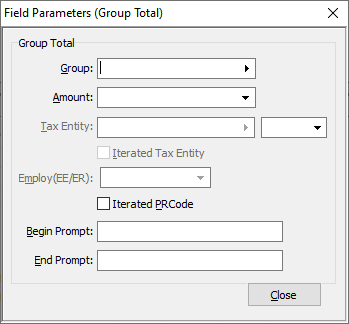
- In the Group field, select the check line group to calculate a total for.
- From the Amount drop-down list, select the amount to report. Your options are:
- Source (or the name assigned to the source on the group record)
- Result (or the name assigned to the result on the group record)
- If the selected group is qualified by tax entity, the Tax Entity field is enabled. Select the tax entity to apply to the group total calculation and then from the adjacent drop-down list, select whether to "Include" or "Exclude" the tax entity. The default selection is "Include". Use "Exclude" to get a group total for all tax entities except the specified tax entity. If you need to to iterate over multiple tax entities, leave this field blank, mark the Iterated Tax Entity checkbox, and specify a tax entity mask in the Tax Entity Mask field on the Options tab. This causes ActivityHD to iterate over the tax entities that match the mask. Iterating allows you to report the group total for the current tax entity for this row.
- If the selected group is qualified by employee/employer, the Employ(EE/ER) field is enabled. From the drop-down list, select the contributor to limit tax and deduction totals to. Your options are:
- <blank>
- Employee
- Employer
-
- If you want to limit the group total to a different check date or work date range than the one specified on the Standard Options tab of the Create Totals File wizard, enter labels for the begin and end dates of the alternate date range in the Begin Prompt and End Prompt fields. The date range prompts will appear on the Additional Options tab.
Example
The state of Michigan asks employers to report the total compensation from other states besides Michigan. The "Include/Exclude" options help you accomplish this. Create a row in the export control with the following settings:
- Name: UI taxable wages for other states
- Origin: Employee
- Source: Group Total
- Parameters: Group = Unemployment Wages, Tax Entity = USA.MI, "Exclude"
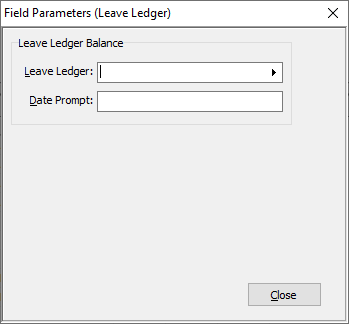
Export controls: Leave Ledger
The Leave Ledger parameter returns the leave ledger balance as of a specific date.
-
- If you want to prompt for the leave ledger balance calculation date on the Additional Options tab of the Create Totals File wizard when the export file is created, enter a label for the prompt in the Date Prompt field. Otherwise, the end date from the Standard Options tab is used to calculate the leave ledger balance.
Export controls: Parameter - Date
The Parameter - Date parameter returns the date value of a particular parameter as of a specific date.
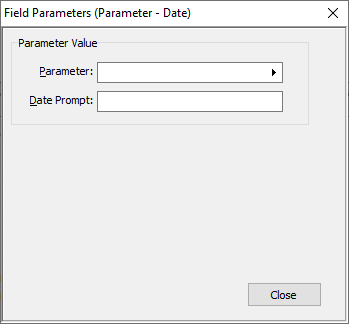
- In the Parameter field, select the name of the parameter for which to report a value for a specific date.
-
Note
ActivityHD evaluates the parameter segment by segment from left to right and returns the value from the rightmost segment that has a value on it.
If the parameter value is null, the field returns "12/30/1899".
Export controls: Parameter - Number
The Parameter - Number parameter returns the numeric value of a particular parameter as of a specific date.
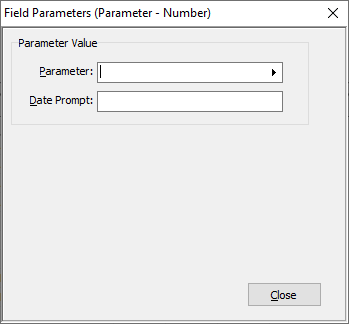
- In the Parameter field, select the name of the parameter for which to report a value for a specific date.
-
Note
ActivityHD evaluates the parameter segment by segment from left to right and returns the value from the rightmost segment that has a value on it.
If the parameter value is null, the field returns "000".
Export controls: Parameter - String
The Parameter - String parameter returns the string value of a particular parameter as of a specific date.
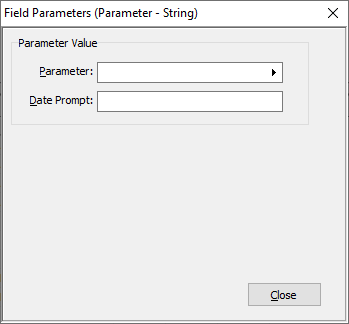
- In the Parameter field, select the name of the parameter for which to report a value for a specific date.
-
Note
ActivityHD evaluates the parameter segment by segment from left to right and returns the value from the rightmost segment that has a value on it.
If the parameter value is null, the field returns "".
Export controls: Parameter - Yes/No
The Parameter - Yes/No parameter returns the "1" (true) or "0" (false) value of a particular parameter as of a specific date.
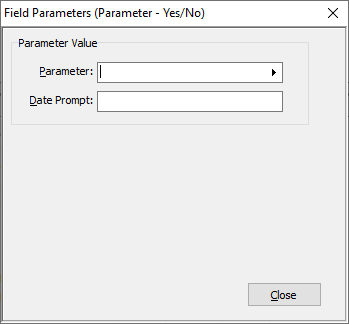
- In the Parameter field, select the name of the parameter for which to report a value for a specific date.
-
Note
ActivityHD evaluates the parameter segment by segment from left to right and returns the value from the rightmost segment that has a value on it.
If the parameter value is null, the field returns "0".
Export controls: Pay Grade Code
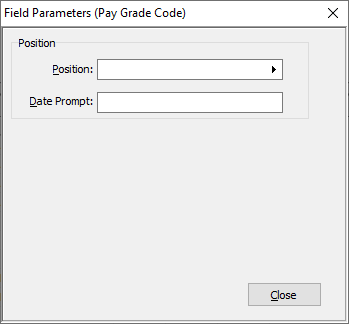
- In the Position field, select the position for which to return the pay grade code.
- If you want to prompt for the effective date of an employee position on the Additional Options tab of the Create Totals File wizard when the export file is created, enter a label for the prompt in the Date Prompt field. Otherwise, the end date from the Standard Options tab is used to determine which position to use.
Export controls: Pay Grade Description
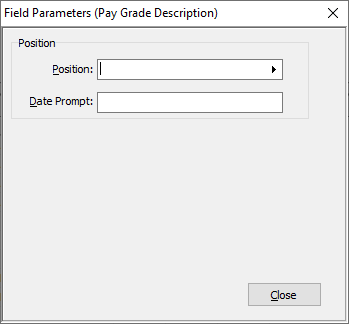
- In the Position field, select the position for which to return the pay grade description.
- If you want to prompt for the effective date of an employee position on the Additional Options tab of the Create Totals File wizard when the export file is created, enter a label for the prompt in the Date Prompt field. Otherwise, the end date from the Standard Options tab is used to determine which position to use.
Export controls: Pay Grade Maximum
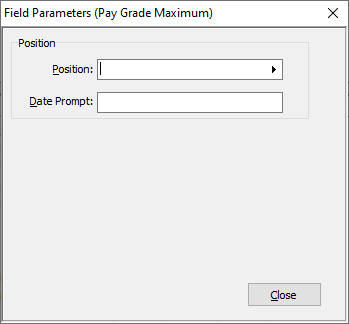
- In the Position field, select the position for which to return the pay grade maximum.
- If you want to prompt for the effective date of an employee position on the Additional Options tab of the Create Totals File wizard when the export file is created, enter a label for the prompt in the Date Prompt field. Otherwise, the end date from the Standard Options tab is used to determine which position to use.
Export controls: Pay Grade Minimum
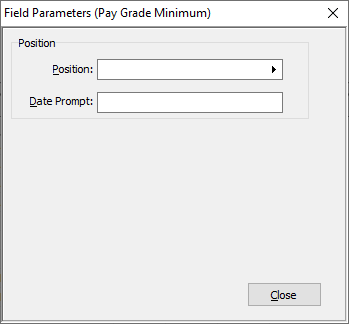
- In the Position field, select the position for which to return the pay grade minimum.
- If you want to prompt for the effective date of an employee position on the Additional Options tab of the Create Totals File wizard when the export file is created, enter a label for the prompt in the Date Prompt field. Otherwise, the end date from the Standard Options tab is used to determine which position to use.
Export controls: Position Code

- In the Position field, select the position for which to return the position code.
- If you want to prompt for the effective date of an employee position on the Additional Options tab of the Create Totals File wizard when the export file is created, enter a label for the prompt in the Date Prompt field. Otherwise, the end date from the Standard Options tab is used to determine which position to use.
Export controls: Position Description
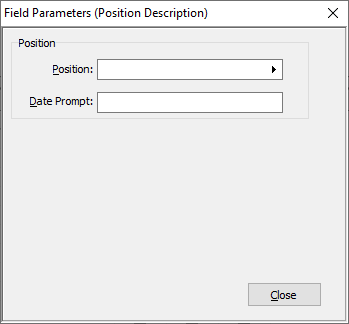
- In the Position field, select the position for which to return the position description.
- If you want to prompt for the effective date of an employee position on the Additional Options tab of the Create Totals File wizard when the export file is created, enter a label for the prompt in the Date Prompt field. Otherwise, the end date from the Standard Options tab is used to determine which position to use.
Export controls: Position Level
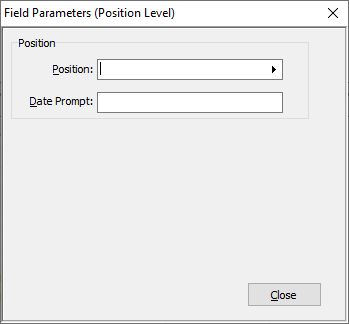
- In the Position field, select the position for which to return the position level.
- If you want to prompt for the effective date of an employee position on the Additional Options tab of the Create Totals File wizard when the export file is created, enter a label for the prompt in the Date Prompt field. Otherwise, the end date from the Standard Options tab is used to determine which position to use.
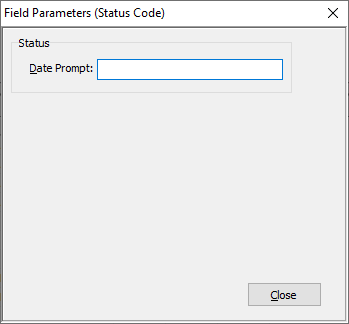
Export controls: Status Code
The Status Code parameter returns the status code for an employee's status as of a specific status effective date.
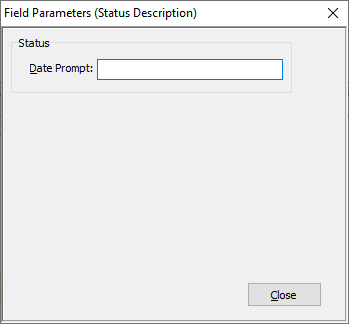
Export controls: Status Description
The Status Description parameter returns the status description for an employee's status as of a specific status effective date.
Export controls: Supervisor Code
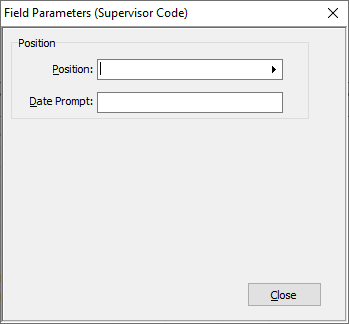
- In the Position field, select the employee's position for which to return the supervisor's position code.
- If you want to prompt for the effective date of an employee position on the Additional Options tab of the Create Totals File wizard when the export file is created, enter a label for the prompt in the Date Prompt field. Otherwise, the end date from the Standard Options tab is used to determine which position to use.
Export controls: Supervisor Position Description
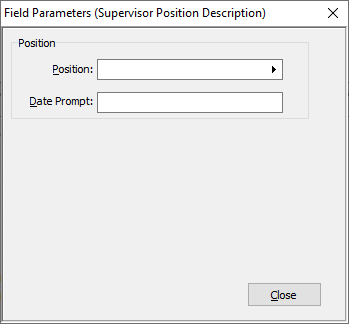
- In the Position field, select the employee's position for which to return the supervisor's position description.
- If you want to prompt for the effective date of an employee position on the Additional Options tab of the Create Totals File wizard when the export file is created, enter a label for the prompt in the Date Prompt field. Otherwise, the end date from the Standard Options tab is used to determine which position to use.
Export controls: SUTA Wages Over Cutoff
The SUTA Wages Over Cutoff parameter returns the amount of SUTA wages over the maximum cutoff that results when the conditions you specify are applied. More specifically:
SUTA Wages Over Cutoff returns the total, by employee and by quarter, of the following per-check amount:
State Compensation - (PreUnemployment * State Compensation/Total Compensation) - Unemployment Wages
where
Total Compensation = Total result amount of check lines in the Compensation group
State Compensation = Total result amount of check lines in the Compensation group and the state tax entity.
PreUnemployment = Total result amount of check lines in the PreUnemployment group
Unemployment Wages = Total source amount of check lines in the Unemployment group and the state tax entity
To enter parameter values for SUTA Wages Over Cutoff:
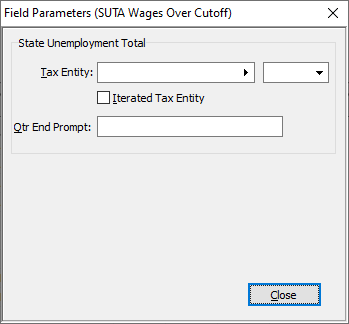
- In the Tax Entity field, select the tax entity for which to consider SUTA wages and then from the adjacent drop-down list, select whether to "Include" or "Exclude" the tax entity. The default selection is "Include". Use "Exclude" to get SUTA wages over cutoff for all tax entities except the specified tax entity. If you need to to iterate over multiple tax entities, leave this field blank, mark the Iterated Tax Entity checkbox, and specify a tax entity mask in the Tax Entity Mask field on the Options tab. This causes ActivityHD to iterate over the tax entities that match the mask. Iterating allows you to report the SUTA wages over cutoff for the current tax entity for this row.
- If you want to prompt for the quarter end date of the quarter for which to report SUTA wages over cutoff on the Additional Options tab of the Create Totals File wizard, enter a label for the prompt in the Qtr End Prompt field. Otherwise, the end date from the Standard Options tab is used to determine the quarter to provide SUTA wages over cutoff for.
Example
The state of Michigan asks employers to report the total excess wages for compensation from other states besides Michigan. The "Include/Exclude" options help you accomplish this. Create a row in the export control with the following settings:
- Name: UI excess wages for other states
- Origin: Employee
- Source: SUTA Wages Over Cutoff
- Parameters: Tax Entity = USA.MI, "Exclude"
Export controls: SUTA Wages Under Cutoff
The SUTA Wages Under Cutoff parameter returns the amount of SUTA wages under the maximum cutoff that results when the conditions you specify are applied. Since the source amount for Unemployment automatically cuts off at the limit, the total is the total source amount of check lines in the Unemployment group and the state tax entity.
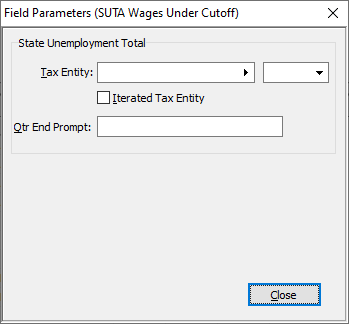
- In the Tax Entity field, select the tax entity for which to consider SUTA wages and then from the adjacent drop-down list, select whether to "Include" or "Exclude" the tax entity. The default selection is "Include". Use "Exclude" to get SUTA wages under cutoff for all tax entities except the specified tax entity. If you need to to iterate over multiple tax entities, leave this field blank, mark the Iterated Tax Entity checkbox, and specify a tax entity mask in the Tax Entity Mask field on the Options tab. This causes ActivityHD to iterate over the tax entities that match the mask. Iterating allows you to report the SUTA wages under cutoff for the current tax entity for this row.
- If you want to prompt for the quarter end date of the quarter for which to report SUTA wages under cutoff on the Additional Options tab of the Create Totals File wizard, enter a label for the prompt in the Qtr End Prompt field. Otherwise, the end date from the Standard Options tab is used to determine the quarter to provide SUTA wages under cutoff for.
Export controls: Unit Of Pay Amount
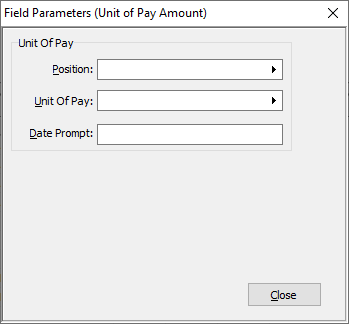
- In the Position field, select the position for which to return the unit of pay amount.
- In the Unit of Pay field, select the unit of pay code for which to return the amount.
- If you want to prompt for the effective date of an employee position on the Additional Options tab of the Create Totals File wizard when the export file is created, enter a label for the prompt in the Date Prompt field. Otherwise, the end date from the Standard Options tab is used to determine which position to use.
Export controls: Unit Of Pay Code
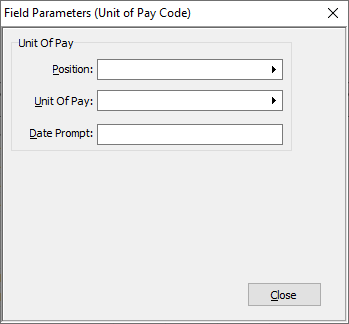
- In the Position field, select the position for which to return the unit of pay code.
- In the Unit of Pay field, select the unit of pay code for which to return the code.
- If you want to prompt for the effective date of an employee position on the Additional Options tab of the Create Totals File wizard when the export file is created, enter a label for the prompt in the Date Prompt field. Otherwise, the end date from the Standard Options tab is used to determine which position to use.
Export controls: Unit Of Pay Description

- In the Position field, select the position for which to return the unit of pay description.
- In the Unit of Pay field, select the unit of pay code for which to return the unit of pay description.
- If you want to prompt for the effective date of an employee position on the Additional Options tab of the Create Totals File wizard when the export file is created, enter a label for the prompt in the Date Prompt field. Otherwise, the end date from the Standard Options tab is used to determine which position to use.
Export controls: W-4 Allowances
The W4 Allowances parameter returns the number of allowances claimed on the employee's W4 which is active as of a specific W-4 effective date.
Export controls: W-4 Date
The W4 Date parameter returns the date of an employee's W-4 record which is active as of a specific W-4 effective date.
Export controls: W-4 Deductions
The W4 Deductions parameter returns the amount of deductions claimed on the employee's W4 which is active as of a specific W-4 effective date.

Export controls: W-4 Dependent Totals
The W4 Dependent Totals parameter returns the total amount claimed for dependents on the employee's W4 which is active as of a specific W-4 effective date.
Export controls: W-4 Exempt
The W4 Exempt parameter returns the exempt status (True/False) claimed on the employee's W4 which is active as of a specific W-4 effective date.
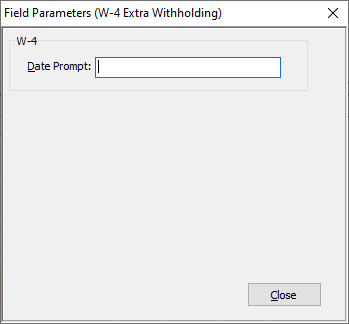
Export controls: W-4 Extra Withholding
The W4 Extra Withholding parameter returns the amount of extra withholding the employee requested to be withheld on the employee's W4 which is active as of a specific W-4 effective date.
Export controls: W-4 Filing Status
The W4 Filing Status parameter returns the employee's filing status reported on the employee's W4 which is active as of a specific W-4 effective date.

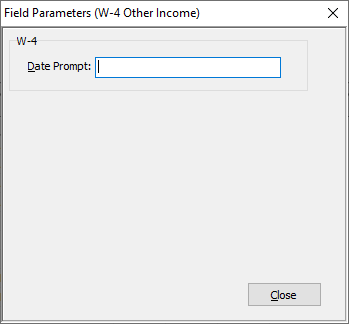
Export controls: W-4 Other Income
The W4 Other Income parameter returns the amount of other income declared on the employee's W4 which is active as of a specific W-4 effective date.
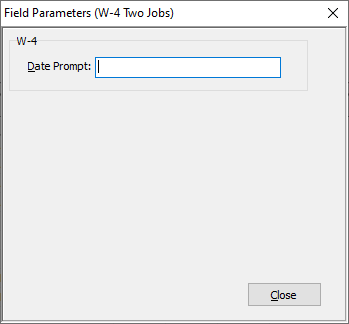
Export controls: W-4 Two Jobs
The W4 Two Jobs parameter returns whether the employee reported having two jobs (True/False) on the employee's W4 which is active as of a specific W-4 effective date.

Export controls: Batch Record Count
The Batch Record Count parameter returns the number of records for a designated export control record.
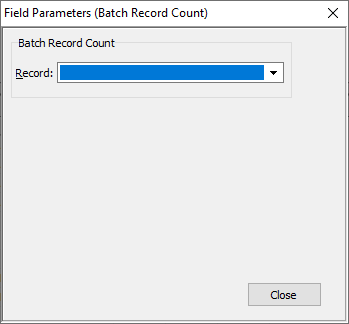
- From the Record drop-down list, select the export control record to count. Your options are all the export control records already defined for the current export control.
Example
The USA EFW2 file for electronic filing of W-2 information has a batch footer record called RT - Total Record. The Number of RW Records field in RT - Total Record obtains the batch record count by counting the number of employee wage records for RW - Employee Wage Record.
RT - Total Record also contains a total of all wages, tips, and compensation in the file. So the Wages, Tips and Other Compensation field in RT - Total Record obtains the batch total by totaling the values in the Wages, Tips and Other Compensation field from RW - Employee Wage Record.
Export controls: Batch Total
The Batch Total parameter returns the total for the specified field from the designated export control record.
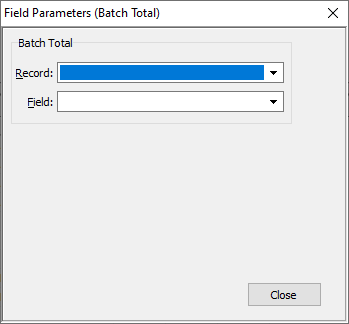
- From the Record drop-down list, select the export control record that contains the field you need to total. Your options are all the export control records already defined for the current export control.
- From the Field drop-down list, select the export control field to total.
Example
In the USA EFW2 file, the RT record contains a total of all wages, tips, and other compensation in the file. The total in the RT record comes from the RW - Employee Wage Record by totaling on its Wages, Tips and Other Compensation field.
Export controls: Dialog - Date
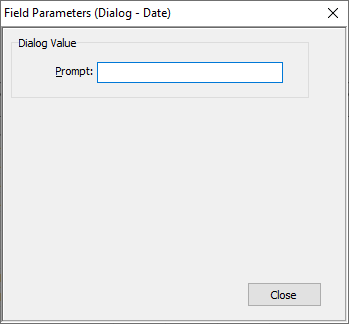
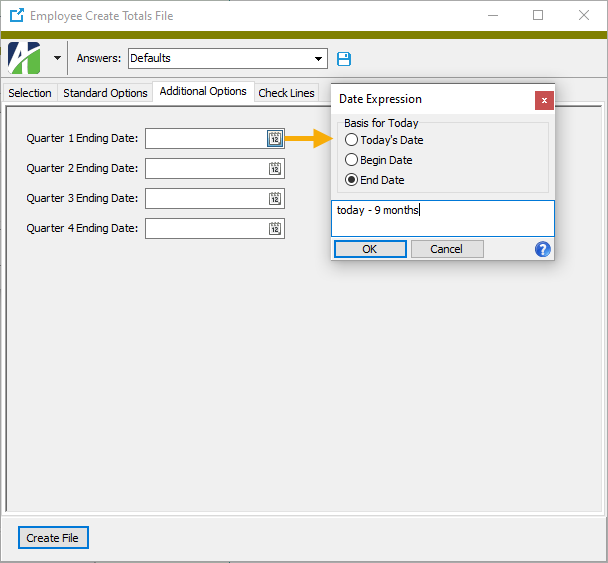
- In the Prompt field, enter a label for the date you want to prompt for on the Additional Options tab of the Create Totals File wizard. The dialog prompt allows you to enter information that is specific to a particular generation of the totals file.
Export controls: Dialog - Number

- In the Prompt field, enter a label for the number you want to prompt for on the Additional Options tab of the Create Totals File wizard. The dialog prompt allows you to enter information that is specific to a particular generation of the totals file.
Export controls: Dialog - String
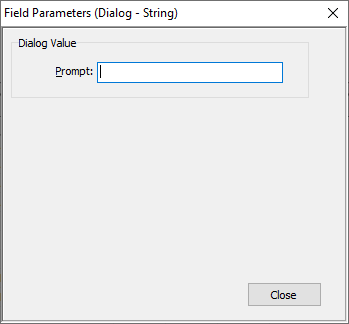
- In the Prompt field, enter a label for the string you want to prompt for on the Additional Options tab of the Create Totals File wizard. The dialog prompt allows you to enter information that is specific to a particular generation of the totals file.
Export controls: Dialog - Yes/No
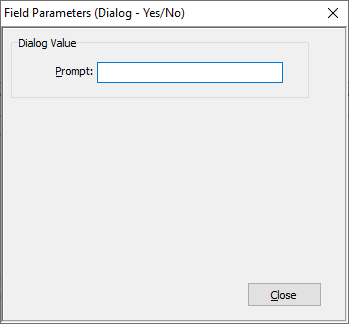
- In the Prompt field, enter a label for the true/false value you want to prompt for on the Additional Options tab of the Create Totals File wizard. The dialog prompt allows you to enter information that is specific to a particular generation of the totals file.
Export controls: Field Append
When two fields are appended, the formatted value of the first field is immediately followed by the formatted value of the second field.

- From the Field 1 drop-down list, select the field to append another field to.
- From the Field 2 drop-down list, select the field to append immediately after the first field.
Export controls: Field Coalesce
When two fields are coalesced, the formatted value of the first field is returned if the first field is not blank. If the first field is blank, the formatted value of the second field is returned.

- From the Field 1 drop-down list, select the field with the value you prefer to return provided it is not blank.
- From the Field 2 drop-down list, select the alternate field to use if the first field is blank.
Export controls: Field Compare
When two fields are compared, the Field Compare parameter returns "true" if the comparison of Field 1 to Field 2 is true; "false", if the comparison is false.
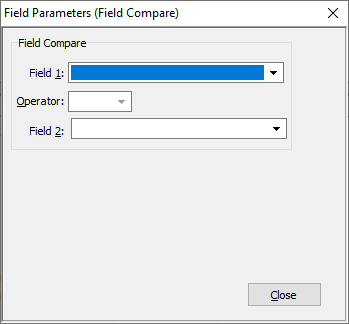
- From the Field 1 drop-down list, select the first field to compare.
- From the Operator drop-down list, select the comparison operator to use. Your options are:
- = - Equal
- > - Greater Than. Not available on True/False fields.
- ≥ - Greater Than or Equal. Not available on True/False fields.
- < - Less Than. Not available on True/False fields.
- ≤ - Less Than or Equal. Not available on True/False fields.
- <> - Not Equal
- AND - Logical AND. Only available on True/False fields.
- OR - Logical OR. Only available on True/False fields.
- From the Field 2 drop-down list, select the field to compare the first field to.
Note
If you need to compare a field value to a specific value, create a "Literal" field and enter the specific value for the parameter. Leave the Order column for the field blank so that its values will not print.
Export controls: Field Difference
The Field Difference parameter returns the value of a first field minus the value of a second field.
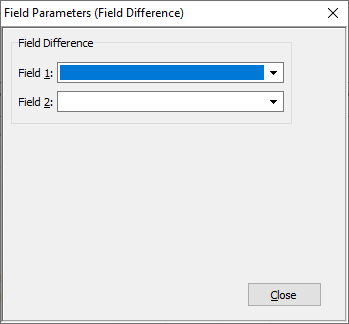
- From the Field 1 drop-down list, select the field with the value to subtract from.
- From the Field 2 drop-down list, select the field with the value to subtract from the first field value.
Export controls: Field Format dialogs
The layout of the Field Format dialogs depends on the data type of the field you are defining.
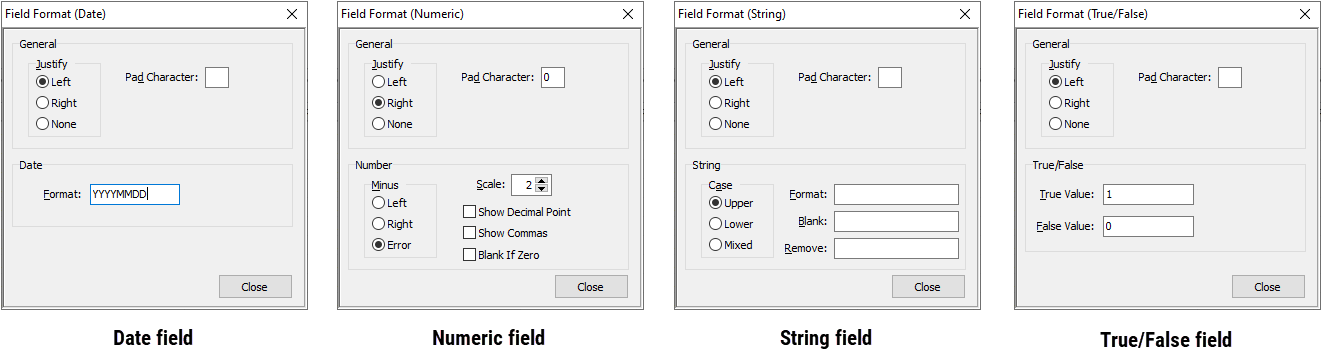
- Left. Typically used for alphanumeric fields.
- Right. Typically used for numeric fields.
- None
Dialogs for date fields prompt for the following additional information:
Dialogs for numeric fields prompt for the following additional information:
- Left. Place the minus sign to the left of the number.
- Right. Place the minus sign to the right of the number.
- Error. Report an error.
Dialogs for string fields prompt for the following additional information:
- Upper. Render all characters in uppercase: CASE.
- Lower. Render all characters in lowercase: case.
- Mixed. Capitalize initial characters only: Case.
If the field requires specific formatting, enter a format template. Use X's as placeholders.
Example
To enter a format template for social security numbers, enter XXX-XX-XXXX.
Enter any characters you want ActivityHD to strip from the string.
Examples
To remove dashes, enter "-". Spaces are not removed. 806-687-8500 becomes 8066878500.
To remove dashes and periods, enter "-.". 2014-45-10.A becomes 20144510A.
To remove a space and any other character, enter " ?" (a space followed by any other character). However, you cannot just remove a space. ActivityHD already trims trailing spaces from field values.
To remove spaces and periods, enter " ." (a space followed by a period). Trust me. I know what I'm doing. becomes TrustmeIknowwhatI'mdoing.
Dialogs for true/false fields prompt for the following additional information:
Export controls: Field Maximum
The Field Maximum parameter returns the value of the larger of two fields.

- From the Field 1 drop-down list, select the field with the value to compare a second field's value to.
- From the Field 2 drop-down list, select the second field to compare.
Export controls: Field Minimum
The Field Minimum parameter returns the value of the smaller of two fields.

- From the Field 1 drop-down list, select the field with the value to compare a second field's value to.
- From the Field 2 drop-down list, select the second field to compare.
Export controls: Field Product
You can use two fields to produce a third field. If you do, the first two fields must be defined in the record before you can set up the field that uses them.
The Field Product parameter returns the result of multiplying two field values.

- From the Field 1 drop-down list, select the field to use as one factor of the product.
- From the Field 2 drop-down list, select the field to use as a second factor of the product.
Export controls: Field Quotient
The Field Quotient parameter returns the result of dividing one field value by another field value.

- From the Field 1 drop-down list, select the field to use as the dividend of the quotient.
- From the Field 2 drop-down list, select the field to use as the divisor.
Export controls: Field Sum
The Field Sum parameter adds the values of two fields.

- From the Field 1 drop-down list, select the first field to add.
- From the Field 2 drop-down list, select the second field to add.
Export controls: File Record Count
The File Record Count returns the number of records for a designated export control record.

- From the Record drop-down list, select the export control record to count. Your options are all the export control records already defined for the current export control.
Export controls: File Total
The File Total parameter returns the total for the specified field from the designated export control record.

- From the Record drop-down list, select the export control record that contains the field you need to total. Your options are all the export control records already defined for the current export control.
- From the Field drop-down list, select the export control field to total.
Export controls: Identifier
The Identifier parameter allows you to enter a string to help identify the record type.
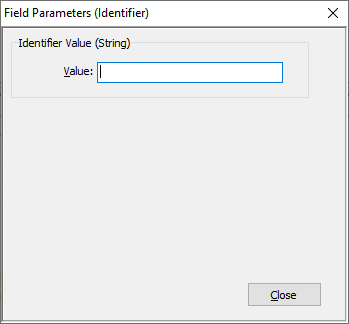
- In the Value field, enter the identifier for the record type.
Example
Employee detail records in the EFW2 file are identified by RW. While you could use a source of Literal - String to write "RW" to the file, using an identifier tells the totals file which records to parse as employee detail.
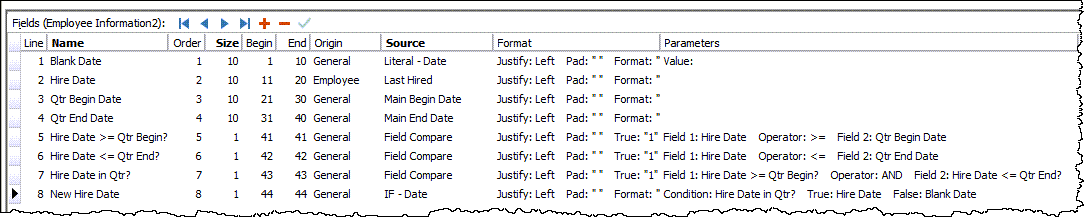
Export controls: IF - Date
The IF - Date parameter returns one of two date field values.

- From the Condition drop-down list, select the True/False field to evaluate.
- From the If True drop-down list, select the field with the date to return if the condition is true.
- From the If False drop-down list, select the field with the date to return if the condition is false.
Export controls: IF - Number
The IF - Number parameter returns one of two number field values.
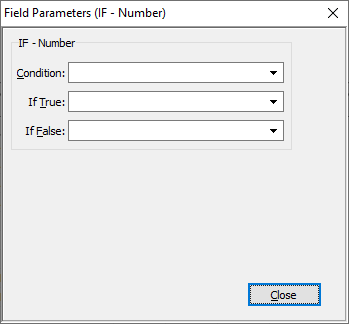
- From the Condition drop-down list, select the True/False field to evaluate.
- From the If True drop-down list, select the field with the number to return if the condition is true.
- From the If False drop-down list, select the field with the number to return if the condition is false.
Export controls: IF - String
The IF - String parameter returns one of two string field values.
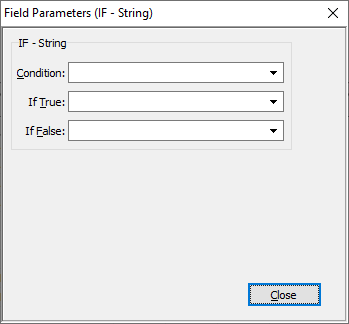
- From the Condition drop-down list, select the True/False field to evaluate.
- From the If True drop-down list, select the field with the string to return if the condition is true.
- From the If False drop-down list, select the field with the string to return if the condition is false.
Export controls: IF - Yes/No
The IF -Yes/No parameter returns one of two Yes/No field values.
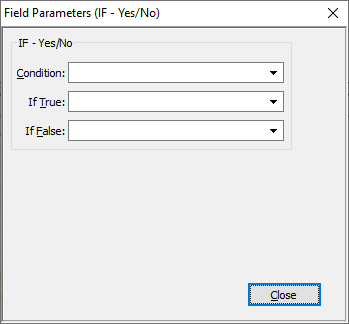
- From the Condition drop-down list, select the True/False field to evaluate.
- From the If True drop-down list, select the field with the Yes/No value to return if the condition is true.
- From the If False drop-down list, select the field with the Yes/No value to return if the condition is false.
Export controls: Literal - Date
The Literal - Date parameter always returns the specified date for this field.

-
In the Value field, enter the date value for this field.
Note
Literal dates can be blank.
Examples

Export controls: Literal - Number
The Literal - Number parameter always returns the specified numeric value for this field.
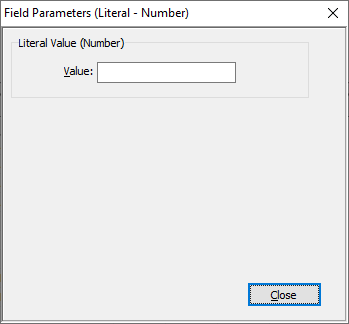
- In the Value field, enter the numeric value for this field.
Export controls: Literal - String
The Literal - String parameter always returns the specified string value for this field.
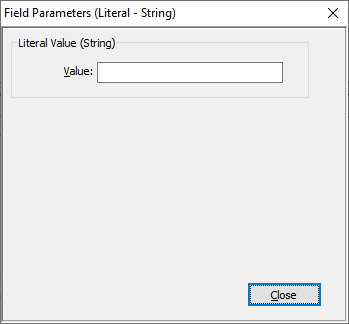
- In the Value field, enter the string value for this field.
Export controls: Literal - Yes/No
The Literal - Yes/No parameter always returns the specified value (true or false) for this field.
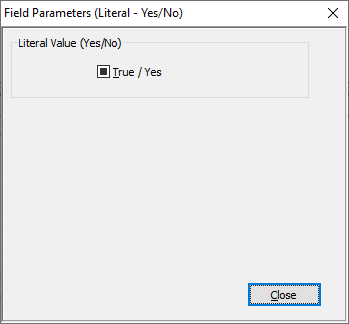
- Mark the True/Yes checkbox if the value of this field should always be "true" or "yes". Ensure the checkbox is cleared if the value should always be "false" or "no".
Export controls: Parameter - Date
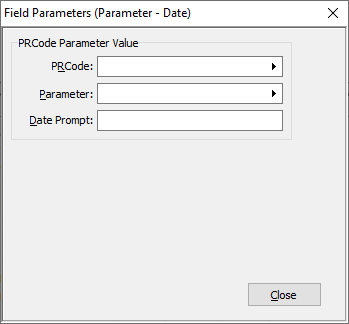
- In the PRCode field, select the PRCode associated with the parameter value you want to report in this field.
- In the Parameter field, select the date-type parameter with the value to report in this field.
- If you want to prompt for the parameter value effective date on the Additional Options tab of the Create Totals File wizard when the export file is created, enter a label for the prompt in the Date Prompt field. Otherwise, the end date from the Standard Options tab is used to determine which parameter value to use.
Note
ActivityHD evaluates the parameter segment by segment from left to right and returns the value from the rightmost segment that has a value on it.
Export controls: Parameter - Number
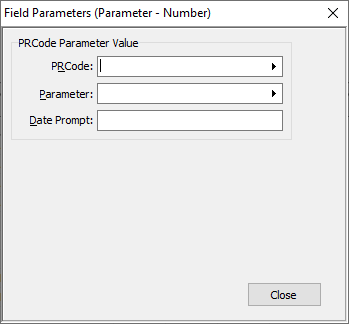
- In the PRCode field, select the PRCode associated with the parameter value you want to report in this field.
- In the Parameter field, select the number-type parameter with the value to report in this field.
- If you want to prompt for the parameter value effective date on the Additional Options tab of the Create Totals File wizard when the export file is created, enter a label for the prompt in the Date Prompt field. Otherwise, the end date from the Standard Options tab is used to determine which parameter value to use.
Note
ActivityHD evaluates the parameter segment by segment from left to right and returns the value from the rightmost segment that has a value on it.
Export controls: Parameter - String
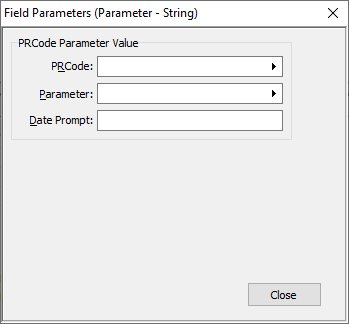
- In the PRCode field, select the PRCode associated with the parameter value you want to report in this field.
- In the Parameter field, select the string-type parameter with the value to report in this field.
- If you want to prompt for the parameter value effective date on the Additional Options tab of the Create Totals File wizard when the export file is created, enter a label for the prompt in the Date Prompt field. Otherwise, the end date from the Standard Options tab is used to determine which parameter value to use.
Note
ActivityHD evaluates the parameter segment by segment from left to right and returns the value from the rightmost segment that has a value on it.
Export controls: Parameter - Yes/No
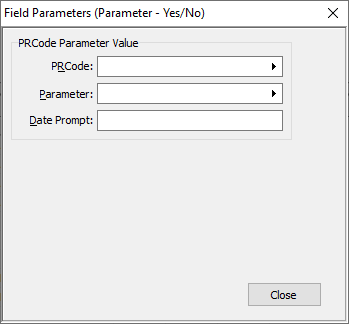
- In the PRCode field, select the PRCode associated with the parameter value you want to report in this field.
- In the Parameter field, select the Yes/No-type parameter with the value to report in this field.
- If you want to prompt for the parameter value effective date on the Additional Options tab of the Create Totals File wizard when the export file is created, enter a label for the prompt in the Date Prompt field. Otherwise, the end date from the Standard Options tab is used to determine which parameter value to use.
Note
ActivityHD evaluates the parameter segment by segment from left to right and returns the value from the rightmost segment that has a value on it.
Export controls: Quarter Number
The Quarter Number parameter returns the number of the financial quarter as of a specific date.
Export controls: Work Days
The Work Days parameter returns the number of work days in the calendar period that contains a specified date.
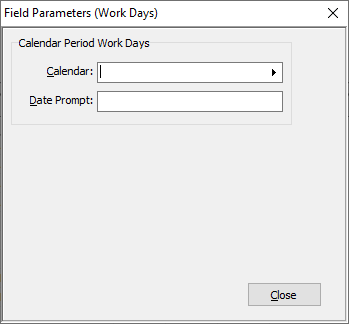
- In the Calendar field, select the GL calendar to use to determine the number of work days to report in this field.
-
Export controls: PRCode Code
The Code parameter returns the actual PRCode(s).
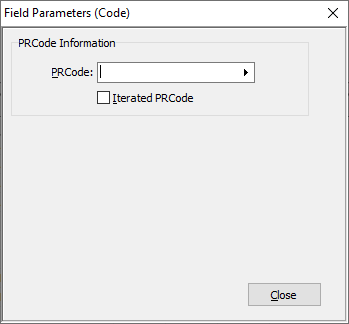
-
Select the PRCode to use for the source information for this field or leave this field blank, mark the Iterated PRCode checkbox, and specify a PRCode mask in the PRCode Mask field on the Options tab. This causes ActivityHD to iterate over the PRCodes that match the mask. Iterating allows you to report the current PRCode for this row.
Example
Suppose you want to report all garnishments for an employee. Leave the PRCode field blank, mark the Iterated PRCodes checkbox, and enter a mask such as Ded.G.*in the PRCode Mask field. These options would produce a separate record for each employee/garnishment combination.
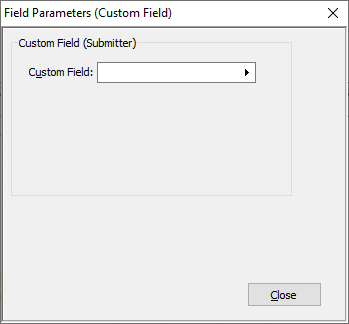
Export controls: PRCode Custom Field
The Custom Field parameter returns the value in the selected custom field that is associated with the designated PRCode(s).
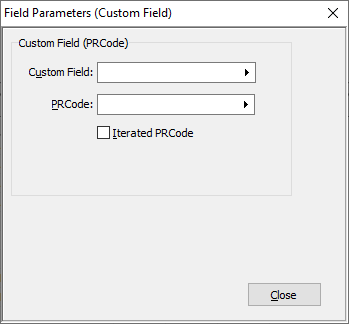
- In the Custom Field field, select the custom field on PRCodes that will provide the field value.
- Select the PRCode to use as the source of the custom field value or leave this field blank, mark the Iterated PRCode checkbox, and specify a PRCode mask in the PRCode Mask field on the Options tab. This causes ActivityHD to iterate over the PRCodes that match the mask. Iterating allows you to report the custom field value for the current PRCode for this row.
Export controls: PRCode Description
The Description parameter returns the description of the designated PRCode(s).
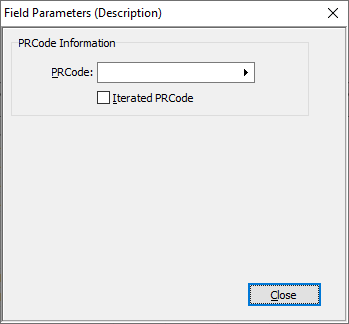
- Select the PRCode to use for the source information for this field or leave this field blank, mark the Iterated PRCode checkbox, and specify a PRCode mask in the PRCode Mask field on the Options tab. This causes ActivityHD to iterate over the PRCodes that match the mask. Iterating allows you to report the description for the current PRCode for this row.
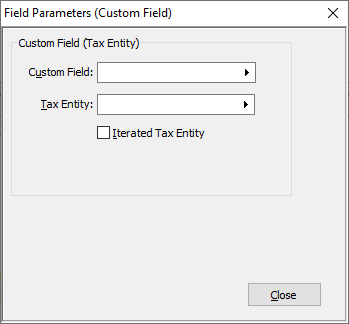
Export controls: Tax Entity Custom Field
The Custom Field parameter returns the custom field value associated with the designated tax entity(ies).
-
- Select the Tax Entity to use as the source of the custom field value or leave this field blank, mark the Iterated Tax Entity checkbox, and specify a tax entity mask in the Tax Entity Mask field on the Options tab. This causes ActivityHD to iterate over the tax entities that match the mask. Iterating allows you to report the custom field value for the current tax entity for this row.
Example
Suppose you want to report all Indiana counties that an employee works in. Leave the Tax Entity field blank, mark the Iterated Tax Entity checkbox, and enter a mask such as Tax.USA.IN.* in the Tax Entity Mask field. These options would produce a separate record for each employee/county combination.
Export controls: Tax Entity Employer ID
The Employer ID parameter returns the employer ID(s) associated with the designated tax entity(ies).

- Select the Tax Entity to use as the source of the employer ID or leave this field blank, mark the Iterated Tax Entity checkbox, and specify a tax entity mask in the Tax Entity Mask field on the Options tab. This causes ActivityHD to iterate over the tax entities that match the mask. Iterating allows you to report the employer ID for the current tax entity for this row.
Export controls: Tax Entity Federal Code
The Federal Code parameter returns the federal code(s) associated with the designated tax entity(ies).
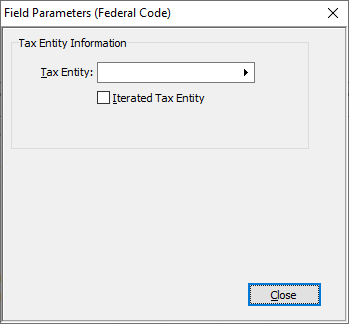
- Select the Tax Entity to use as the source of the federal code or leave this field blank, mark the Iterated Tax Entity checkbox, and specify a tax entity mask in the Tax Entity Mask field on the Options tab. This causes ActivityHD to iterate over the tax entities that match the mask. Iterating allows you to report the federal code for the current tax entity for this row.
Export controls: Tax Entity Local Code
The Local Code parameter returns the local code(s) associated with the designated tax entity(ies).

- Select the Tax Entity to use as the source of the local code or leave this field blank, mark the Iterated Tax Entity checkbox, and specify a tax entity mask in the Tax Entity Mask field on the Options tab. This causes ActivityHD to iterate over the tax entities that match the mask. Iterating allows you to report the local code for the current tax entity for this row.
Export controls: Tax Entity Maximum SUTA Wages
The Maximum SUTA Wages parameter returns the maximum SUTA wages amount associated with the designated tax entity(ies) as of the specified date.
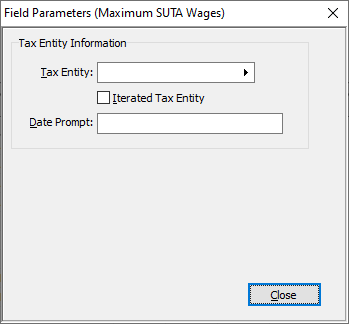
- Select the Tax Entity to use as the source of the maximum SUTA wages amount or leave this field blank, mark the Iterated Tax Entity checkbox, and specify a tax entity mask in the Tax Entity Mask field on the Options tab. This causes ActivityHD to iterate over the tax entities that match the mask. Iterating allows you to report the employer ID for the current tax entity for this row.
- If you want to prompt for the date as of which to determine the maximum SUTA wages amount on the Additional Options tab of the Create Totals File wizard when the export file is created, enter the label for the prompt in the Date Prompt field. Otherwise, the end date from the Standard Options tab is used to determine the maximum SUTA wages amount.
Export controls: Tax Entity State Code
The State Code parameter returns the state code(s) associated with the designated tax entity(ies).

- Select the Tax Entity to use as the source of the state code or leave this field blank, mark the Iterated Tax Entity checkbox, and specify a tax entity mask in the Tax Entity Mask field on the Options tab. This causes ActivityHD to iterate over the tax entities that match the mask. Iterating allows you to report the state code for the current tax entity for this row.