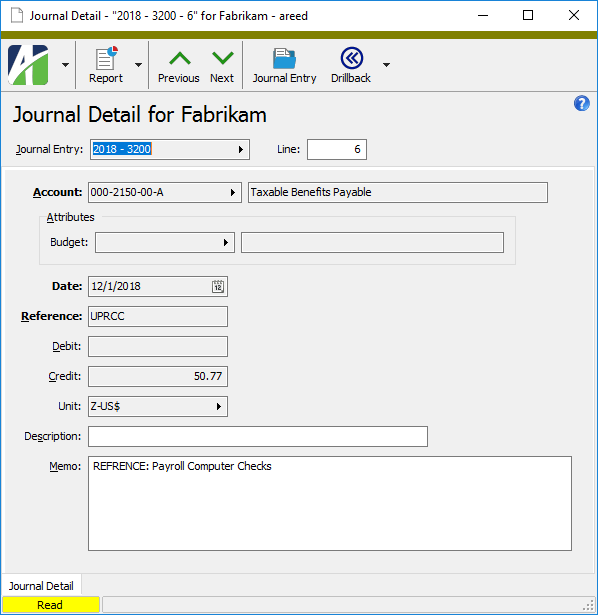
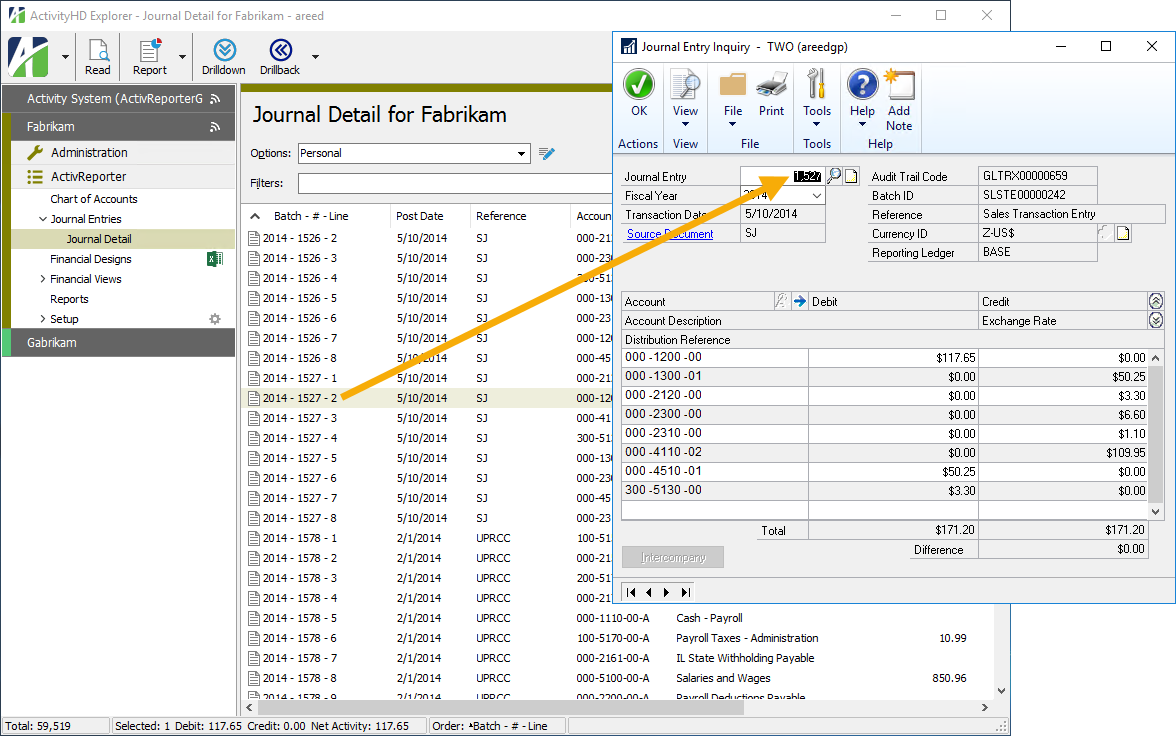
Journal detail
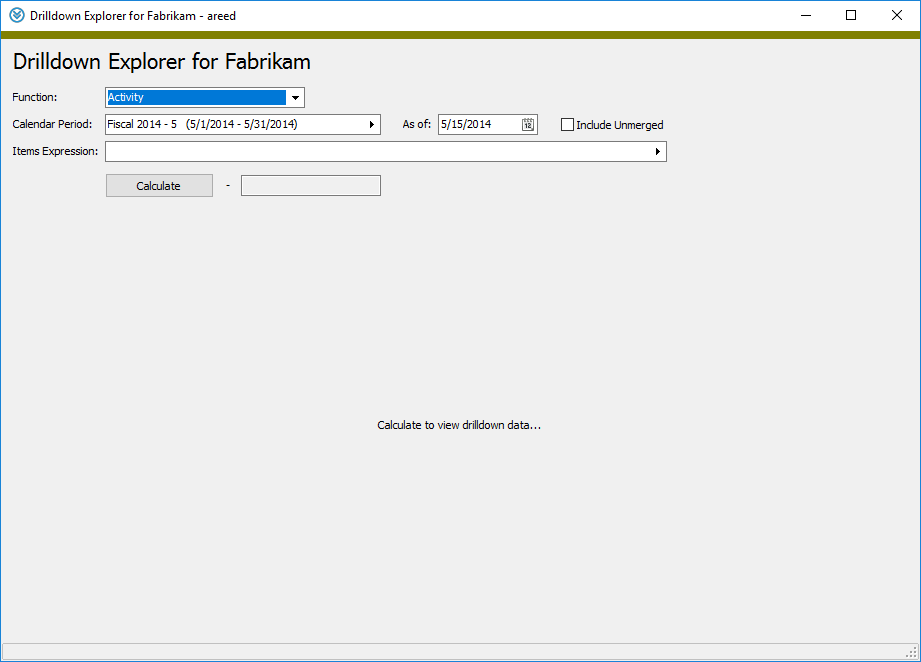
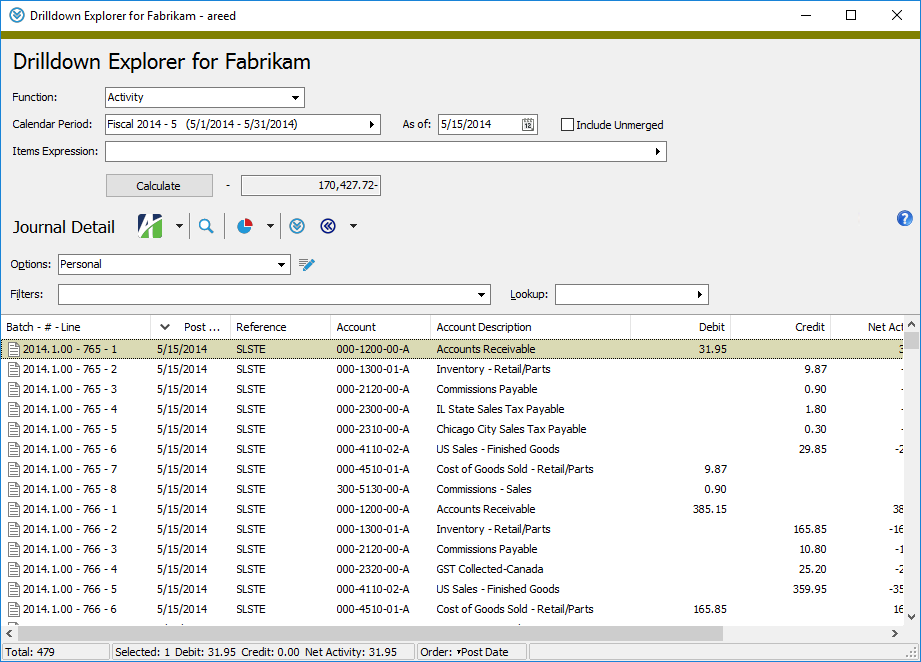
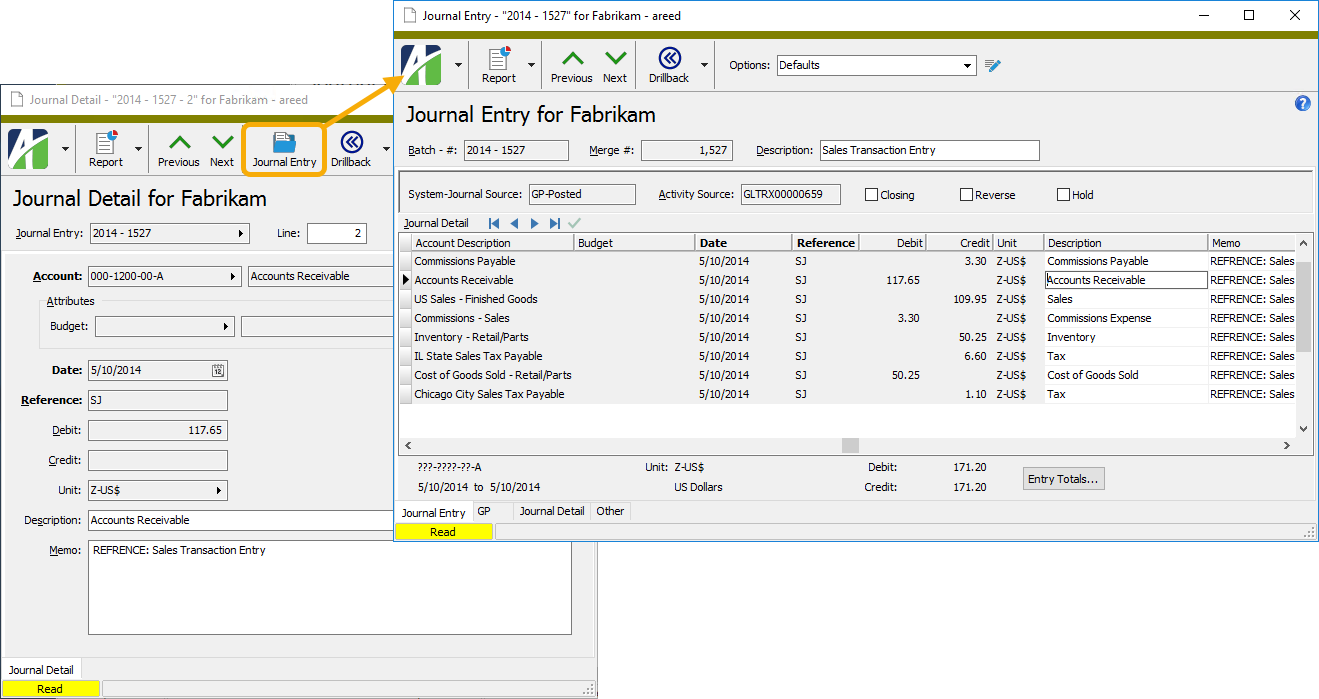
The Journal Entry Detail folder provides access to the journal detail lines which constitute your journal entries. From this folder, you can view detail lines, drill back to Journal Entry Inquiry in Dynamics GP, and access the drilldown tool.
Journal detail security
Common accesses available on journal detail
| Access | A user with this access can... |
|---|---|
| Data | Have read-only access to journal detail from anywhere in the software (e.g., field validations, filters, date expressions). |
| Read | Have read-only access to journal detail records. |
| Report | Run reports with journal detail information. |
| Report Designs | Create and edit report designs with journal detail information. This access enables the Report Designs button on the Output tab of report dialogs. |
| Shared Answers | Create and edit saved answers related to journal detail. |
| Shared Filters | Create and edit shared filters on journal detail. |
| Visible | View the Journal Detail folder in the Navigation pane. |
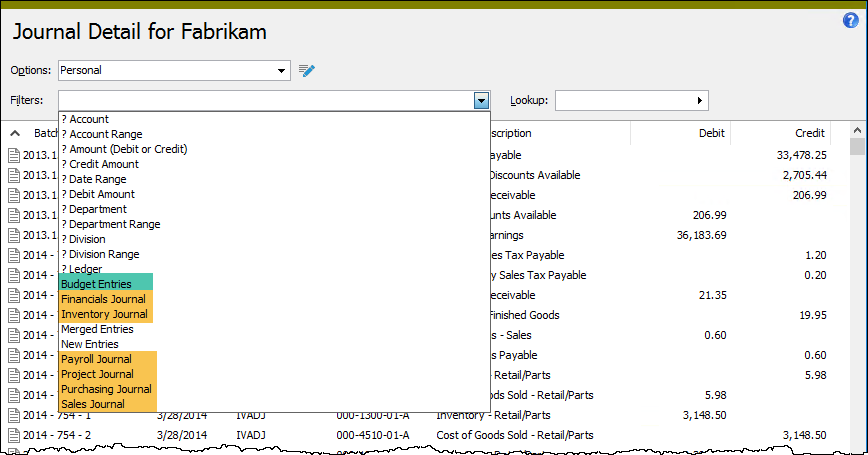
Journal detail filters
The following built-in filters are available for journal detail:
| Filter Name | Effect |
|---|---|
| ? Account | Prompts for an account segment item and lists the journal detail entries that reference accounts with the segment item. |
| ? Account Range | Prompts for a range of account segment items and lists the journal detail entries that reference accounts with account segment items in that range. |
| ? Amount (Debit or Credit) | Prompts for a range of amounts and lists the journal detail entries with a debit or credit amount in that range. |
| ? Credit Amount | Prompts for a range of amounts and lists the journal detail entries with a credit amount in that range. |
| ? Date Range | Prompts for a range of dates and lists the journal detail entries with a posting date in that date range. |
| ? Debit Amount | Prompts for a range of amounts and lists the journal detail entries with a debit amount in that range. |
| ? Department | Prompts for a department segment item and lists the journal detail entries that reference accounts with the department segment item. |
| ? Department Range | Prompts for a range of department segment items and lists the journal detail entries that reference accounts with department segment items in that range. |
| ? Division | Prompts for a division segment item and lists the journal detail entries that reference accounts with the division segment item. |
| ? Division Range | Prompts for a range of division segment items and lists the journal detail entries that reference accounts with division segment items in that range. |
| ? Ledger | Prompts for a ledger segment item and lists the journal detail entries that reference accounts with the ledger segment item. |
| Budget Entries | Lists budget journal detail entries only. |
| Financials Journal | Lists financial journal detail entries only. |
| Inventory Journal | Lists inventory journal detail entries only. |
| Merged Entries | Lists merged journal detail entries only. |
| New Entries | Lists unmerged journal detail entries only. |
| Payroll Journal | Lists payroll journal detail entries only. |
| Project Journal | Lists project journal detail entries only. |
| Purchasing Journal | Lists purchasing journal detail entries only. |
| Sales Journal | Lists sales journal detail entries only. |
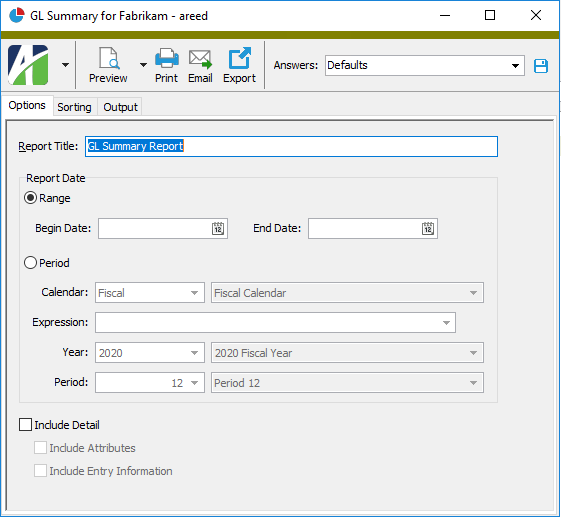
Calendar Period
- Calendar
-
- Expression
-
A period expression which defines a relative reporting period for the financial view. You can select a period expression from the drop-down list or enter a period expression directly in the field. To explicitly specify a reporting period for the selected calendar, use the Year and Period fields instead.
The dropdown contains the following common period expressions:
- Current
- Current - 1 period
- Current - 1 year
For help with proper period expression syntax, click the help button to the right of the field.
- Year
- The year from the GL calendar to use for the financial view. If a period expression is entered in the Expression field, ActivReporter automatically updates this field for you.
- Period
- The period from the selected year to use for the financial view. If a period expression is entered in the Expression field, ActivReporter automatically updates this field for you.
Account Conditions
Enter a SQL condition statement here to exclude or include information from the financial view. Alternatively, you can use the table below to describe the conditions you need and ActivReporter will build and add the conditions to this text box.
Enter a mask for the selected item values when the values you need to select have common characters but are not in a particular order.
Press F3 to look up the value.
If a value is already selected, you can press F4 to open the record in its native editor.
Enter the first value in the range of item values you need to select. Use a range when the values are in a defined order.
Press F3 to look up the value.
If a value is already selected, you can press F4 to open the record in its native editor.
Enter the last value in the range of item values you need to select. Use a range when the values are in a defined order.
Press F3 to look up the value.
If a value is already selected, you can press F4 to open the record in its native editor.