View Options
ActivReporter includes an alternative method for managing the data in the HD view called View Options. This method allows you to save and recall special configurations of the columns and rows shown in the HD view. View Options is turned off by default. To turn View Options on, select ![]() > View > New View Options in ActivityHD Explorer. To turn off View Options, repeat the process.
> View > New View Options in ActivityHD Explorer. To turn off View Options, repeat the process.

Columns
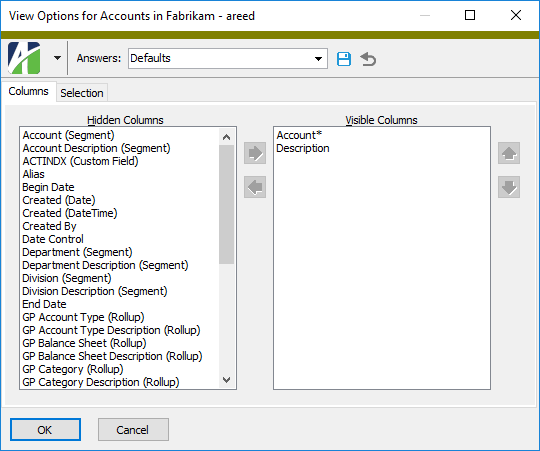
The columns in the HD view represent different categories of data that the system gathers about an entity; e.g., account numbers, codes, descriptions, dates, balances, etc. View Options allows you to determine which of these categories of information to show in the HD view. One or more columns with values which uniquely identify a data record are required to be in the HD view. These are denoted in the View Options dialog by an asterisk (*).
Selecting columns in the View Options dialog performs much like column selection in the Options dialog which is present when View Options is turned off. You can order columns in the View Options dialog or by dragging and dropping them in the HD view itself.

The Defaults button on the Columns tab resets the set of visible columns to the default values.
Rows
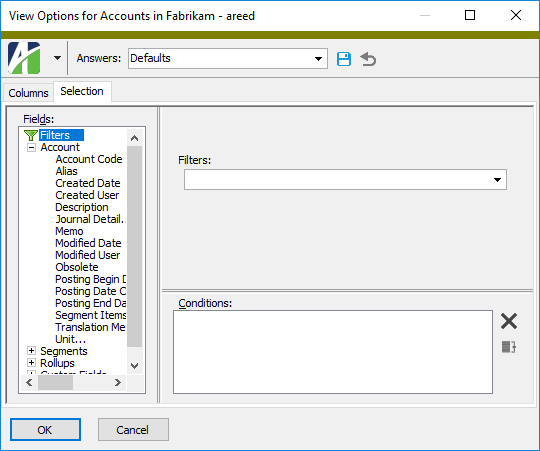
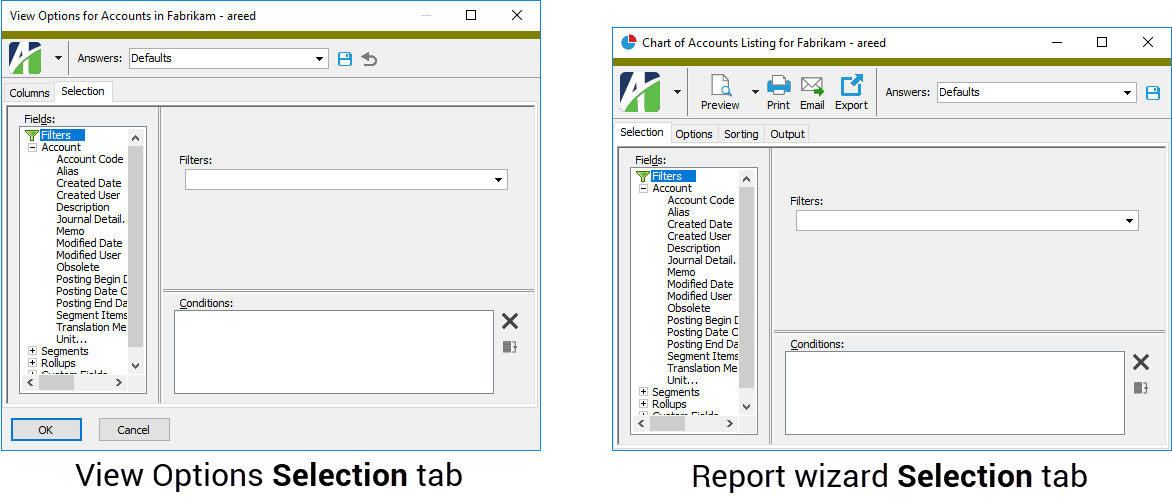
The rows in the HD view represent actual data records. By default, ActivityHD shows all data records for an entity, but filters can be applied to limit the rows to records which fulfill particular criteria. You can filter rows using the filtering controls above the HD view or you can use the Selection tab in the View Options dialog to build selection criteria.
The method for selecting rows in the View Options dialog mirrors record selection in report set-up wizards, process wizards, and similar locations.
Special view options and features
Two views are built into the View Options feature for each entity: "Defaults" and "Personal". All other views are named by the user.
The "Defaults" view
The "Defaults" view contains ActivReporter's default HD view configuration for an entity.
The "Personal" view
The "Personal" view contains a user's existing column settings. A user's "Personal" view cannot be deleted and cannot include selection conditions. Changes to a user's "Personal" view are saved automatically. When an automation object applies view options, the "Personal" view is applied unless a different view is specified.
Shared views
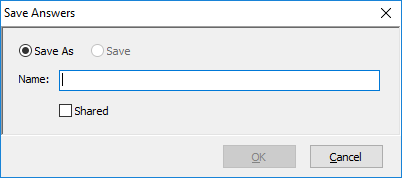
When you save a view you can choose whether to keep it to yourself (a "little p" personal view) or share it with your colleagues (no surprise here, a "shared" view). To share a view, simply mark the Shared checkbox in the Save Answers dialog.
Personal views
A personal view is a view you create but choose not to share with others. Changes to a personal view, like changes to the "Personal" view, are saved automatically.
Notation
*
When you make changes to the "Defaults" view or to a shared view, ActivReporter remembers the changes until you save the view or discard the changes. A view in this state is denoted with a trailing asterisk (*). Once changes are saved or discarded, the asterisk is removed. If you save the changes to the "Defaults" view, you must save the view with a new name. If you save the changes to a shared view which you created and shared, you can save it with the same name, or with a new name if you want to preserve the original shared view. If you make changes to a shared view which was shared with you by another user, you must save the view with a new name.
If the view selected in the Options dropdown is surrounded by an orange rectangle, the view includes selection conditions. The rectangle alerts you that the data in the HD view is filtered.