ActivityHD ribbon
The ActivityHD ribbon provides tools in Excel for creating, calculating, and producing financial statements. To activate the ribbon, the ribbon add-in must be registered (see below). Once registered, the ribbon is visible among the other Excel ribbons.


Registering the Excel add-in to enable the ActivityHD ribbon
The ActivityHD ribbon is added to the Excel menu by means of the Activity.xlam add-in tool. The add-in must be registered for each user. The add-in is automatically registered for the installation user. The add-in is automatically registered for other users the first time they edit a financial design from within ActivReporter. If the add-in is not registered and you need to edit a financial design Excel workbook outside of ActivReporter or you need to run an import macro, do the following:
- Ensure all instances of Excel are closed.
-
In the Windows task bar, click
 , then navigate to AccountingWare ActivityHD > ActivityHD Excel Add-in. The tool determines the status of the add-in. If it is not registered, you are prompted to do so.
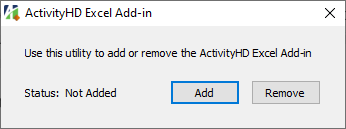
- If the status is "Not Added", the add-in is not registered. Click Add. The status changes to "Added".
- Close the message box.
If you need to unregister the add-in, the process is the same except that the starting status will be "Added", you should click the Remove button, and the ending status will be "Not Added".
Click on a menu group below to reveal the commands available in the group.
Connect

- Connect/Disconnect
-
When this command is labeled "Connect", Excel is not connected to a data source. Select Connect to connect to a server and company database.
When this command is labeled "Disconnect", Excel is connected to a data source. Select Disconnect to end the current connection.
- Change Connection
- Select this command to disconnect from the current data source, and to connect to a different data source.
- Connection Status
-
Select this command to view the current connection status. A popup opens to inform you.

Output
Save

- Save
- Saves incremental changes using the same file name and folder location.
- Save As With Formulas
- Saves incremental changes, but provides the opportunity to save with a different file name and folder location.
- Save As With Values
- Saves the file with a designated file name and folder location, replacing formulas with values and protecting the worksheet(s) so that values cannot be changed inadvertently. Drill-down ability is preserved.

- Sends the print selection to the designated printer.
- Print Preview
- Provides a preview of the print selection.
Combine

- Combine
- Combines the open workbook with one or more workbooks you select. The source files are not changed when a Combine action is performed.
Calculation
Calculate
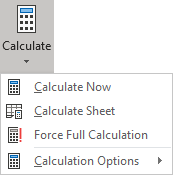
- Calculate Now (F9)
- Manually recalculates all open worksheets, including data tables.
- Calculate Sheet (Shift+F9)
- Manually recalculates the current worksheet.
- Force Full Calculation
- Performs a full calculation of the data and rebuilds the dependencies for all open workbooks.
- Calculation Options
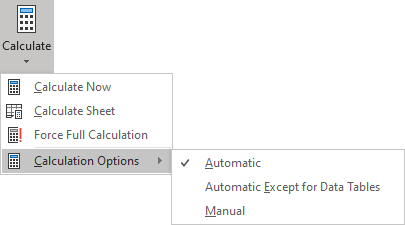
- Automatic
- (Default) Recalculates all dependent formulas every time a change occurs to a value, formula, or name.
- Automatic Except for Data Tables
- Recalculates all dependent formulas, except data tables, every time a change occurs to a value, formula, or name.
- Manual
- Recalculates open workbooks only when the user presses F9 or clicks Calculate Now.
Refresh
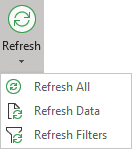
- Refresh All
- (Default) Refreshes data and filters in one step.
- Refresh Data
- Clears the cache of the financial calculator and runs Excel's "CalculateFullRebuild" method (same method as Calculate > Force Full Calculation). This results in the most current information displaying in the financial design.
- Refresh Filters
- Refreshes filters only. No recalculation or cache-clearing is performed. This command is often used to resolve show/hide issues.
Options

- Options
-
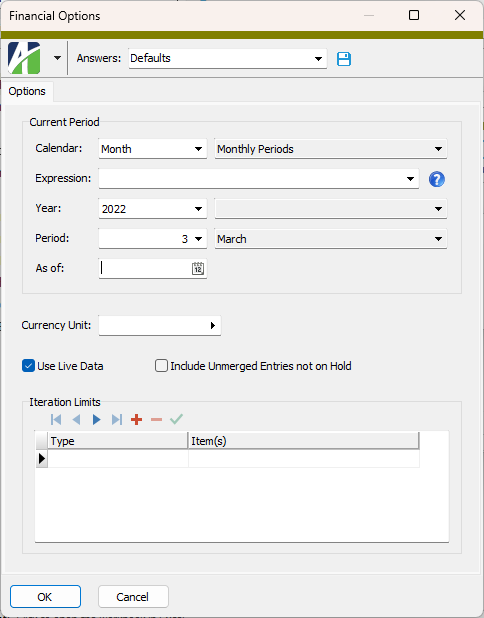
Opens the Financial Options dialog.
Drilldown

- Drilldown
- The button is enabled when the cell selected in the worksheet can be drilled down on. Drilldown is only available when using live data. Click to drill down to the detail behind the cell currently selected in the worksheet.
Log
- Log
-
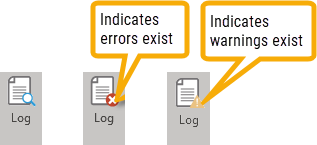
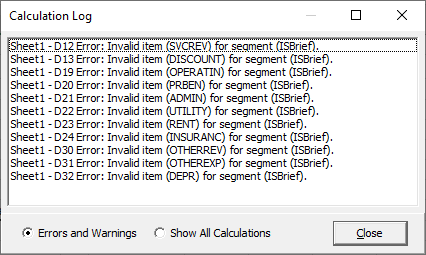
The button indicates when there are log entries for the current worksheet. Opens the Calculation Log where you can view calculation errors and warnings. Double-click a log entry to view the error or warning in a separate, more readable, window.
Functions
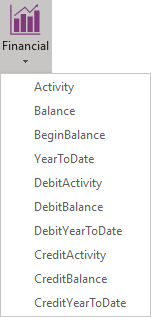
Financial
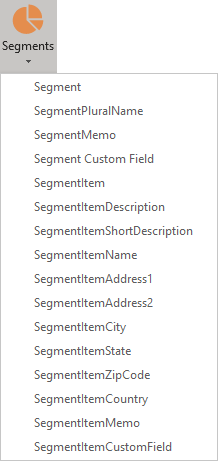
Segments
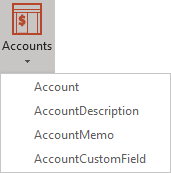
Accounts
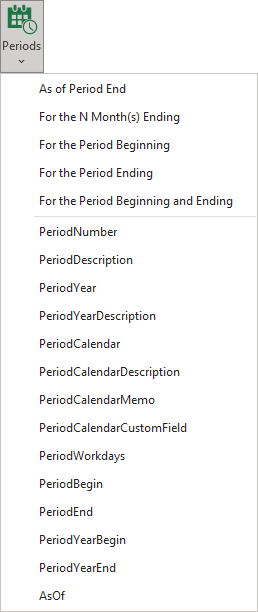
Periods
Company

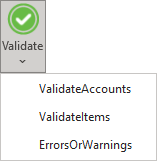
Validate
More
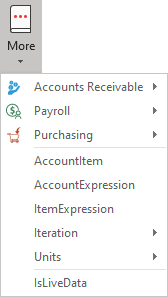
Accounts Receivable
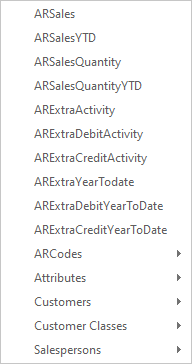
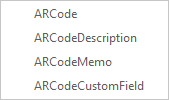
ARCodes
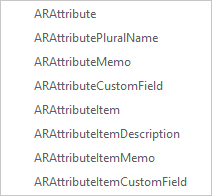
Attributes
Customers

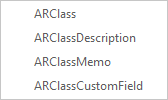
Customer Classes
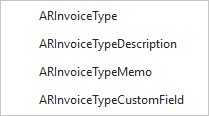
Invoice Types
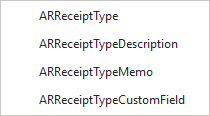
Receipt Types
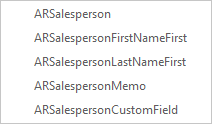
Salespersons
Payroll
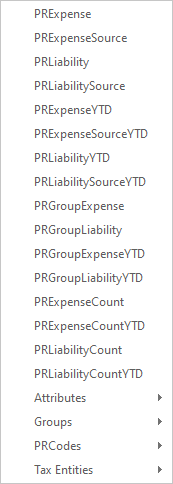
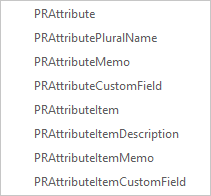
Attributes
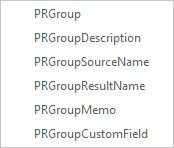
Groups
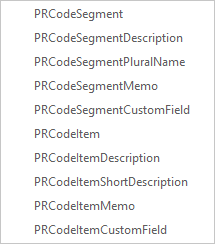
PRCodes
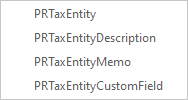
Tax Entities
Purchasing
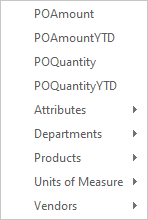
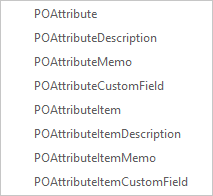
Attributes
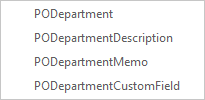
Departments
Products
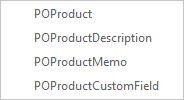
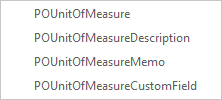
Units of Measure
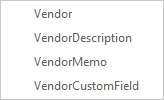
Vendors
Iteration

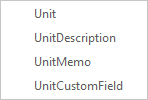
Units
Layout
Layout

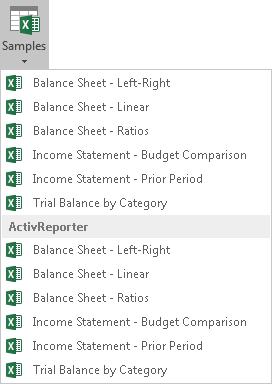
Samples
Print Area

- Set Print Area
- Sets the currently selected cells as the print area.
- Clear Print Area
- Clears the print area(s) defined on the current worksheet.
Print View

- Hide Non-Print Areas
- Hides the non-printing areas of the worksheet.
- Show Non-Print Areas
- Shows the non-printing areas of the worksheet.
Filter

- Filter
- Turns on and off filtering for the selected area. Click once to turn on filtering; click again to turn off filtering.
Clear

- Clear
- Clears the filter and sorting for the selected data.
Reapply

- Reapply
- Reapplies the filter and sorting for the selected data so that any changes made can be incorporated in the filter and sort.